
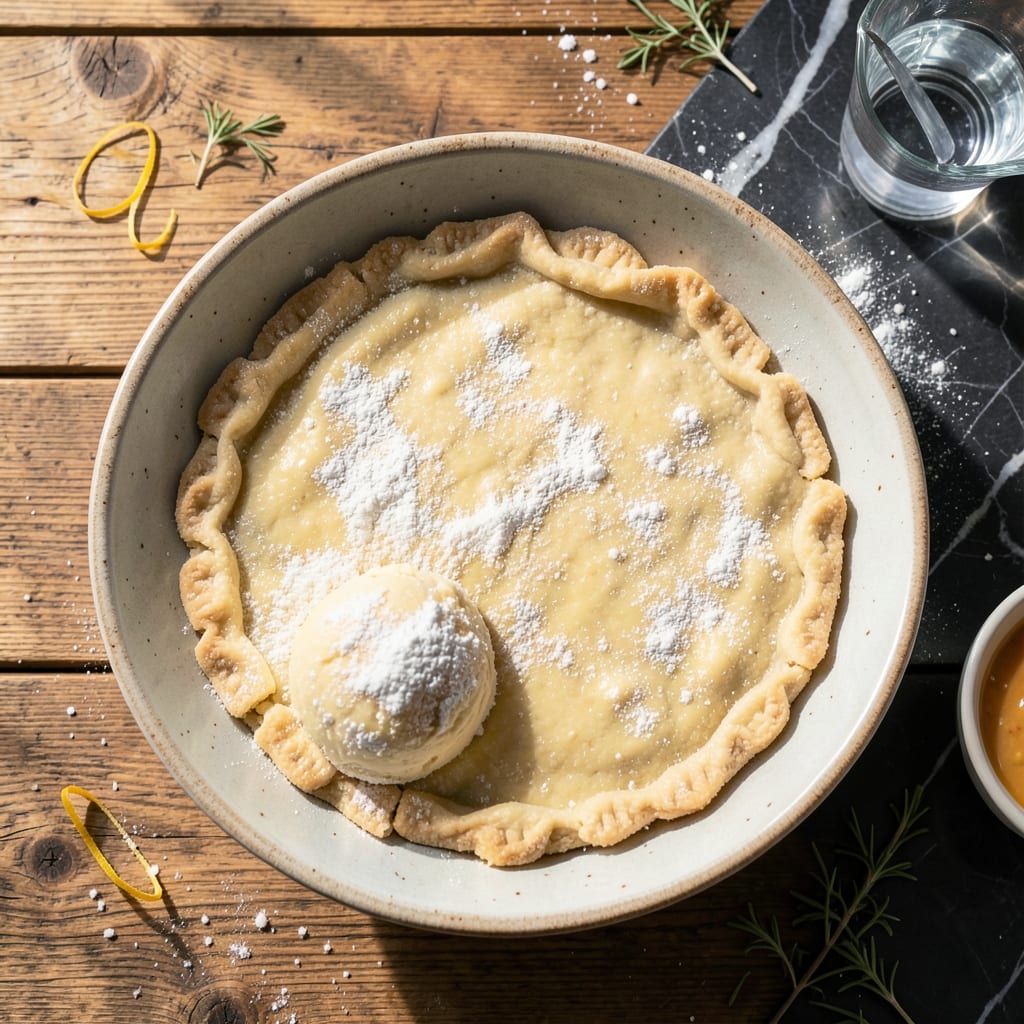
Achieving perfect pie crust with flaky layers both top and bottom is easier than you think. This method delivers consistent results every time with simple ingredients and precise technique.
The key is cold butter and minimal handling. Cutting the fat into the flour creates the layers that puff up during baking, while ice water keeps everything from getting tough.
You’ll end up with a golden, crisp crust that holds its shape and complements any filling. The double crust ensures your pie is encased in buttery, flaky perfection from first bite to last.
This recipe works for fruit, cream, or custard pies. Here’s how to make it right.
Ingredients for Pie Crust Recipe Top and Bottom
Simple ingredients, precise technique, and cold butter deliver that perfect flaky crust.
| Ingredient | Amount | Notes |
|---|---|---|
| All-Purpose Flour 🌾 | 2 ½ cups | Spoon and level, not packed |
| Unsalted Butter 🧈 | 1 cup | Cold, cut into small cubes |
| Ice Water 💧 | ½ cup | Plus 1-2 extra tablespoons |
| Granulated Sugar 🍚 | 1 tsp | Optional, for sweet crusts |
| Salt 🧂 | 1 tsp | Fine sea salt preferred |
| Shortening 🧈 | ¼ cup | Cold, for extra flakiness |
| Vodka 🍸 | 2 tbsp | Chilled, for tender texture |
| Large Egg Yolk 🥚 | 1 piece | Optional, for extra richness |
The butter must stay cold—cut it into small cubes and return to the fridge between steps. King Arthur Flour is ideal for its consistent protein content, but any all-purpose works. Shortening adds flakiness (use Crisco for reliability). For the vodka, any neutral brand will do—it evaporates during baking, leaving a tender crust without alcohol taste.
No vodka? Use ice water at a 1:1 ratio. Shortening can be all butter for flavor, but the crust may be slightly less flaky. For a sweeter crust, increase sugar to 1 tablespoon. The egg yolk is optional but adds richness—skip it for a vegan version (though this recipe isn’t vegan). Always use cold ingredients and handle the dough minimally.
The dough keeps 2-3 days wrapped in plastic in the fridge or 3 months frozen. Let it rest 30 minutes before rolling for easier handling. Baked crusts stay fresh 1 day at room temperature or 1 week frozen.
Why You’ll Love This Recipe
- Five Ingredients Only: I love that all I need is flour, butter, ice water, sugar, and salt—no fancy ingredients or last-minute store runs.
- Buttery Flake Magic: The cold butter and ice water create layers so crisp and flaky, it shames store-bought every time.
- Holiday or Tuesday: Honestly, I use this for Thanksgiving pies, but it’s just as reliable for a random weeknight dessert.
- Dough for Days: Makes enough for a top and bottom crust, and the scraps? Perfect for mini hand pies or lattice topping. Between us, nothing gets wasted.
Step-by-Step Instructions for Pie Crust Top and Bottom
Here is the method for achieving perfectly flaky layers that work for both top and bottom crusts.
Step 1: Combine Dry Ingredients and Cold Fats
In a large mixing bowl, whisk together the 2.5 cups All-Purpose Flour, 1 tsp Granulated Sugar, and 1 tsp Salt until evenly distributed. The sugar adds a subtle sweetness that balances the richness of the fats, while the salt enhances all the flavors.
Add the 1 cup Unsalted Butter (cold and cubed) and 0.25 cup Shortening (also cold) to the flour mixture. Using a pastry cutter or your fingers, work the fats into the flour until the mixture resembles coarse crumbs with pea-sized pieces of butter and shortening visible. This creates the flaky layers we’re after.
Step 2: Incorporate Wet Ingredients for Perfect Texture
Create a well in the center of the flour-fat mixture. Add the 0.5 cup Ice Water, 2 tbsp Vodka (chilled), and 1 piece Large Egg Yolk to the well. The vodka helps prevent gluten development, ensuring a tender crust, while the egg yolk adds richness.
Using a fork, gently toss the dry ingredients with the wet ingredients just until the dough begins to come together. You should still see some dry flour bits—this is normal. The key is to avoid overworking the dough, which would make it tough rather than flaky.
Step 3: Chill and Divide the Dough
Turn the dough out onto a lightly floured surface and gently press it together into a cohesive mass. Divide it into two equal portions, as you’ll need one for the bottom crust and one for the top. Shape each portion into a disk about 1 inch thick.
Wrap each disk tightly in plastic wrap and refrigerate for at least 1 hour (or up to 2 days). Chilling is critical—it relaxes the gluten, hydrates the flour, and firms up the fats, ensuring your crust doesn’t shrink during baking.
Step 4: Roll and Fit the Crusts
On a lightly floured surface, roll out one disk of dough into a 12-inch circle for a standard 9-inch pie plate. To prevent sticking, lift and rotate the dough as you roll. Transfer the rolled dough to the pie plate, pressing it gently into the bottom and sides without stretching.
Trim the edges, leaving a ½-inch overhang. For the top crust, roll out the second disk slightly larger than the first. Use it to cover the filling, then trim and crimp the edges to seal. Cut a few slits in the top crust to allow steam to escape during baking.
Step 5: Blind Bake the Bottom Crust (If Needed)
For pies with a wet filling, blind bake the bottom crust to prevent sogginess. Preheat your oven to 375°F. Line the crust with parchment paper and fill it with pie weights or dried beans. Bake for 15 minutes, then remove the weights and parchment.
Return the crust to the oven and bake for an additional 5-7 minutes until the bottom is lightly golden. This creates a barrier that keeps juicy fillings from making the crust soggy. Let it cool slightly before adding your filling and top crust.
Pro Tips For Making Pie Crust Recipe Top And Bottom
- Chill the Butter: Cut your unsalted butter into small cubes and freeze for 10-15 minutes before mixing—this keeps it from melting into the flour, which is what creates those flaky layers.
- Ice Water Only: Use the coldest water possible, straight from the ice bath, and add it 1 tablespoon at a time—too much liquid makes the dough tough, and I learned this the hard way.
- Rest the Dough: After shaping, let the dough rest in the fridge for at least 30 minutes (yes, even if you’re impatient like me) to relax the gluten and prevent shrinking.
- Dock the Bottom: Poke the bottom crust all over with a fork before adding filling to prevent air bubbles from forming—my grandmother swore by this, and she was right.
Pro Cooking Tips for This Recipe
Butter Temperature Control
Keep your 1 cup unsalted butter ice-cold until the moment you use it. I cut mine into ¼-inch cubes and return it to the fridge between steps. If the butter starts to soften, pop the bowl in the freezer for 5 minutes to firm it up. Cold butter creates steam during baking, which makes those flaky layers.
Minimal Dough Handling
Overworking the dough develops gluten, which makes your crust tough. I use a pastry cutter for the butter and shortening, then switch to a fork for the wet ingredients. Stop mixing as soon as the dough starts to come together—those dry bits will hydrate during chilling.
Chilling is Critical
Don’t rush the 1-hour chill in the fridge. This step relaxes the gluten, firms the fats, and hydrates the flour. I often chill mine overnight for convenience. For extra insurance, I freeze the dough for 15 minutes before rolling it out. 💡
Rolling Technique
Roll from the center outward, lifting and rotating the dough 90 degrees every few rolls to prevent sticking. Keep your surface and rolling pin lightly floured. If the dough cracks, press it back together—don’t reroll or it’ll get tough.
Preventing Soggy Bottoms
For juicy fillings, blind bake the bottom crust at 375°F for 15 minutes with pie weights. This creates a moisture barrier. I also brush the bottom crust with a thin layer of beaten egg white before adding the filling for extra protection.
Venting the Top Crust
Cut 4-5 slits in the top crust to allow steam to escape. Without proper venting, the filling can bubble out or the crust can get soggy. I use a sharp knife to make decorative cuts that double as vents.
Nutrition Facts
Frequently Asked Questions
Why do I need to chill the dough?
Chilling relaxes the gluten and firms the fat, preventing shrinking. It also hydrates the flour for easier rolling.
Can I make this without vodka?
Yes! Replace vodka with ice water at a 1:1 ratio. The crust will still be flaky but may be slightly less tender.
How do I prevent a soggy bottom crust?
Blind bake at 375°F for 15 minutes with weights. Brush with egg white before adding filling for extra protection.
Can I freeze the dough?
Wrap disks tightly in plastic and freeze for up to 3 months. Thaw overnight in the fridge before using.

- Pina Colada Dip Recipe Red Lobster: Tropical Creaminess With Toasted Coconut - October 12, 2026
- Pickled Sweet Cherry Peppers Recipe Canning: Tangy Heat for Pantry Staples - October 12, 2026
- Peppercorn Sauce Recipe Vegan: Rich Umami Depth Without Cream - October 12, 2026