
I’ve spent years perfecting this crust, and the secret to achieving flaky layers lies in the technique, not just the ingredients.
Shortening creates pockets of fat that melt during baking, forming those coveted flaky layers. The key is keeping everything cold and handling the dough as little as possible.
What you’ll get is a tender, flaky crust that holds its shape and delivers that perfect crunch with every bite. It’s the foundation for any great pie.
This method works for both sweet and savory pies, and the results are consistently impressive.
Ingredients for Pie Crust Recipe Using Shortening
Cold shortening and minimal handling create that perfect flaky texture for any pie.
| Ingredient | Amount | Notes |
|---|---|---|
| All-Purpose Flour 🌾 | 2 ½ cups | Spoon and level, not packed |
| Vegetable Shortening 🧈 | ¾ cup | Cold, solid form required |
| Salt 🧂 | 1 tsp | Fine grain preferred |
| Granulated Sugar 🍚 | 1 tbsp | Optional for sweet crusts |
| Ice Water 💧 | ½ cup | Plus 1 tbsp as needed |
| Unsalted Butter 🧈 | ¼ cup | Cold, cubed (optional for flavor) |
| Apple Cider Vinegar 🍏 | 1 tsp | Helps tenderize crust |
The shortening must stay cold—Crisco is the standard for this method (the all-vegetable version). Keep it in the fridge until ready to use. For the flour, King Arthur or Gold Medal all-purpose give consistent results. Don’t pack the flour into the measuring cup; spoon it in and level off. The salt enhances flavor, so don’t skip it even for sweet pies.
No shortening? Lard works but isn’t vegetarian. For a buttery flavor, replace up to half the shortening with cold unsalted butter. No apple cider vinegar? White vinegar or lemon juice at the same amount does the trick. The ice water amount varies—add just enough so the dough holds together without being sticky.
Store unrolled dough wrapped tightly in plastic for up to 3 days in the fridge, or freeze for 2 months. Baked crust keeps 1 week at room temperature in an airtight container. For best flakiness, use within a few days of making.
Why You’ll Love This Recipe
- Five Minute Mix: I dump flour, shortening, salt, sugar and ice water in a bowl and have dough ready before the oven preheats.
- Flaky Every Time: The shortening creates layers that crackle with each bite, and a pinch of sugar adds just the right hint of sweetness.
- Endless Possibilities: Sweet fruit pies, savory pot pies, even hand pies for lunchboxes—this crust works for every occasion I’ve thrown at it.
- Pocketbook Friendly: A cup of shortening costs less than butter and stretches across multiple pies, so I can bake without breaking the bank.
Step-by-Step Instructions for Pie Crust Using Shortening
Master the technique for a perfectly flaky crust that will impress every time.
Step 1: Combine Dry Ingredients
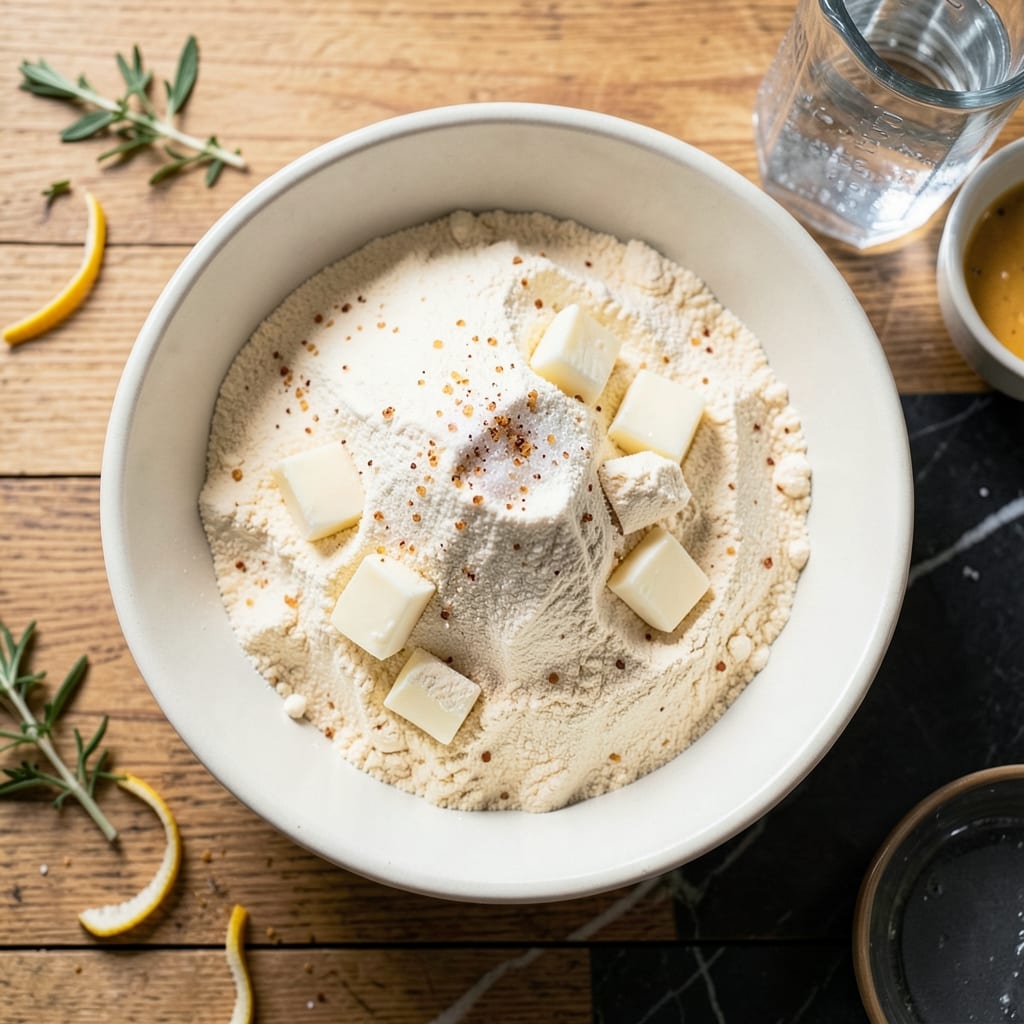
In a large mixing bowl, whisk together the 2.5 cups All-Purpose Flour, 1 tsp Salt, and 1 tbsp Granulated Sugar until evenly distributed. I always use fine grain salt for uniform seasoning throughout the dough.
The sugar is optional but adds a subtle sweetness that works beautifully for fruit pies. Make sure to spoon and level the flour—scooping directly from the container can pack it down and lead to a dense crust.
Step 2: Cut in the Cold Shortening and Butter
Add the 0.75 cup Vegetable Shortening and 0.25 cup Unsalted Butter (both cold and cubed) to the flour mixture. Using a pastry cutter or two forks, work the fats into the flour until the mixture resembles coarse crumbs with some pea-sized pieces remaining.
This is the secret to flakiness—visible fat pockets that will melt during baking, creating those coveted layers. The butter adds flavor, while the shortening ensures a tender, high-rise crust. Work quickly to keep the fats cold; if they soften, chill the bowl for 10 minutes before proceeding.
Step 3: Add Liquid and Form the Dough
In a small bowl, combine the 0.5 cup Ice Water and 1 tsp Apple Cider Vinegar. Sprinkle this mixture over the flour-fat combination, one tablespoon at a time, tossing gently with a fork after each addition.
Stop adding liquid once the dough just begins to come together—it should look shaggy but hold when pressed. The vinegar tenderizes the gluten, preventing a tough crust. If the dough feels too dry, add an additional 1 tbsp of ice water, but be careful not to overwork it.
Step 4: Chill and Rest the Dough
Turn the dough onto a lightly floured surface and gently shape it into a disk. Wrap it tightly in plastic wrap and refrigerate for at least 1 hour, or up to 2 days. This resting period allows the flour to fully hydrate and the gluten to relax.
Chilling also firms up the fats, making the dough easier to roll out without sticking. I like to divide the dough into two equal disks if making a double-crust pie, as it’s more manageable to work with smaller portions.
Step 5: Roll and Shape the Crust
On a lightly floured surface, roll out one disk of dough to a 12-inch circle, about ⅛-inch thick. Use a bench scraper to lift and turn the dough occasionally, ensuring it doesn’t stick. Transfer the rolled dough to a pie dish, pressing it gently into the bottom and up the sides.
Trim the edges, leaving a ½-inch overhang, then fold and crimp to create a decorative border. For a pre-baked shell, prick the bottom with a fork and freeze for 20 minutes before blind baking. This prevents shrinking and ensures a crisp, flaky foundation for your filling.
Pro Tips For Making Pie Crust Recipe Using Shortening
- Chill the Shortening: Pop your shortening in the freezer for 15-20 minutes before using—this keeps it from melting into the flour too fast, which is how you get that flaky texture instead of a tough crust.
- Use Ice-Cold Water: I learned this the hard way: even slightly warm water will start developing gluten in the flour, so keep your water icy cold, right from the fridge or with ice cubes in it.
- Don’t Overwork It: Mix just until the dough comes together—over-handling warms the shortening and makes the crust dense instead of light and crisp.
- Rest Before Rolling: Give the dough a solid 30 minutes in the fridge after mixing—it relaxes the gluten and makes rolling out way easier, with less shrinking during baking.
Make-Ahead Tips for This Recipe
Prep Ahead
I always make my dough 1-2 days before baking. The resting time allows the flour to fully hydrate and the gluten to relax, which makes rolling out much easier. Just wrap it tightly in plastic wrap and refrigerate. 💡
Freeze for Later
For longer storage, shape the dough into disks and freeze for up to 2 months. I use gallon freezer bags with all air squeezed out to prevent freezer burn. When ready to use, thaw overnight in the fridge.
Pre-Roll Dough
You can roll out the crust ahead of time and store it between parchment paper in the fridge for up to 24 hours. This is great for busy days when you want to save time. Just be sure to cover it well to prevent drying out.
Pre-Bake Shells
Pre-bake your crusts and store at room temperature in an airtight container for up to 1 week. This works perfectly for custard pies or cream fillings. I like using OxiClean containers for their tight seal.
Double Batch
I often make a double batch and freeze half. That way, I always have dough ready for spontaneous baking. Just
Revive Chilled Dough
If your dough is too cold to roll, let it sit at room temperature for 15-20 minutes. This makes it more pliable without warming the fat too much. Don’t microwave it—that would melt the shortening and ruin the flakiness.
Nutrition Facts
Frequently Asked Questions
Why use shortening instead of butter?
Shortening has a higher melting point than butter, creating more distinct flaky layers. It also contains no water, which prevents gluten formation for a more tender crust. Butter adds flavor but can make the crust slightly less flaky.
How thin should I roll the dough?
Roll to about ⅛-inch thickness for a standard 9-inch pie dish. Use a ruler for accuracy if needed. Too thin and it may tear; too thick and it won’t bake evenly.
Can I make this dough without chilling?
Chilling is essential for flakiness and prevents shrinking. If short on time, freeze the shaped dough for 20 minutes before rolling. Skipping this step risks a tough, misshapen crust.
What if my crust browns too quickly?
Cover the edges with aluminum foil or a pie shield if they brown before the filling is done. This protects the crust while allowing the filling to finish baking.

- Potato Candy Recipe 1933: Vintage Peanut Butter Roll Delight - October 30, 2026
- Potato Chip Cookie Recipe With Pecans: Buttery Crunch Meets Nutty Richness - October 30, 2026
- Potato Patty Recipe No Egg: Crispy Edges Without the Binder - October 30, 2026