
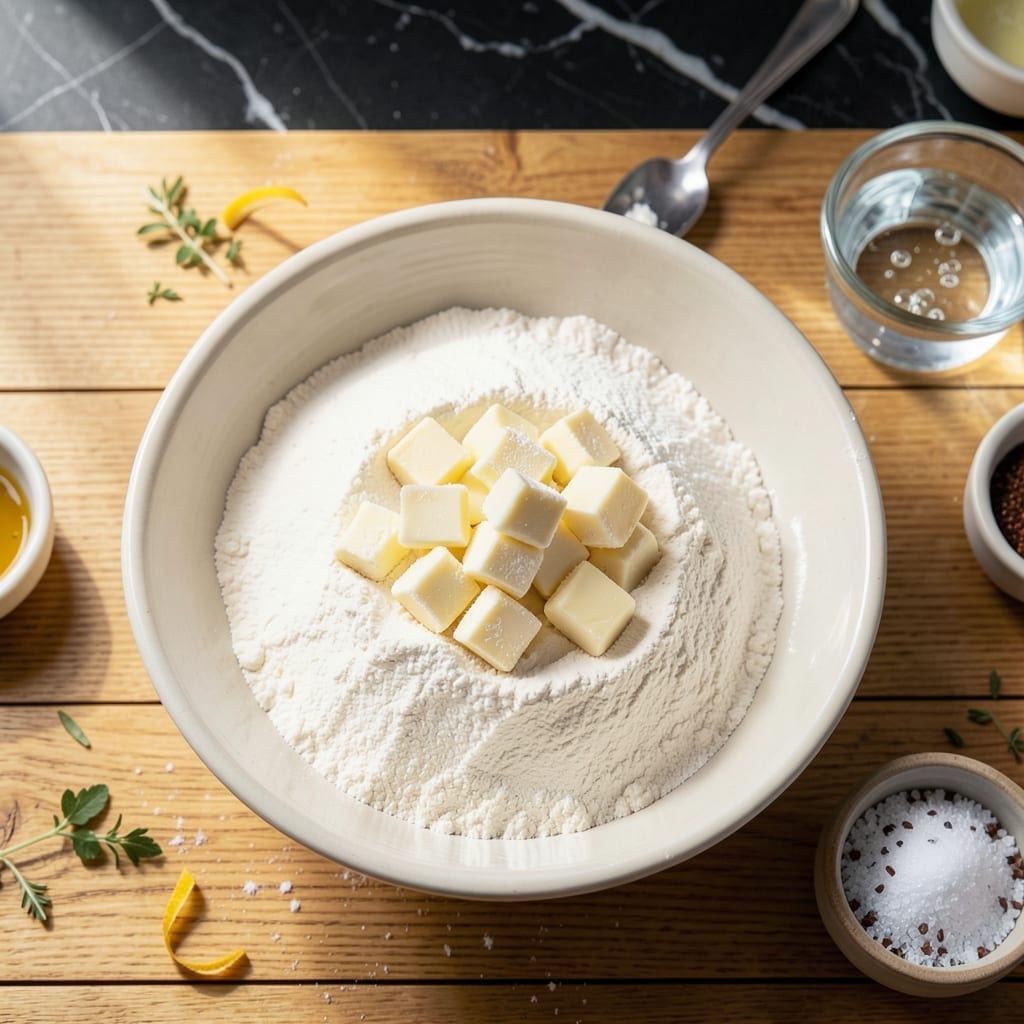
Achieving foolproof flaky pie crust at home is simpler than most bakers realize. The secret lies in cold butter and a touch of vinegar, which creates layers while preventing gluten overdevelopment.
This method uses basic pantry staples with one unexpected addition: white vinegar. It tenderizes the dough while adding subtle tang, balancing the richness of the butter. The technique is straightforward, with no special equipment required.
After chilling, the dough rolls out smoothly and bakes to golden perfection with distinct flaky layers. The vinegar’s acidity enhances both texture and flavor, making this crust stand apart from traditional versions.
Use it for fruit pies, quiches, or pot pies. The results will speak for themselves.
Ingredients for Pie Crust Recipe with Butter and Vinegar
Basic pantry staples plus one clever twist create this exceptional crust.
| Ingredient | Amount | Notes |
|---|---|---|
| All-Purpose Flour 🌾 | 2 ½ cups | Sifted for even texture |
| Unsalted Butter 🧈 | 1 cup | Cold, cut into small cubes |
| White Vinegar 💧 | 1 tbsp | Distilled or apple cider |
| Ice Water ❄️ | ¼ cup | Plus 1 tbsp as needed |
| Granulated Sugar 🍚 | 1 tsp | Optional, for sweet crusts |
| Salt 🧂 | ½ tsp | Fine sea salt preferred |
The butter is critical here. Use unsalted so you control the seasoning—European-style (higher fat content) yields even flakier layers. Keep it ice-cold until mixing; Land O’Lakes or Plugrá are reliable. The vinegar’s acidity tenderizes while adding subtle complexity, so avoid balsamic—its color and flavor are too assertive for this application.
No white vinegar? Apple cider vinegar works identically. For a richer flavor, substitute half the water with cold buttermilk. If you must use salted butter, reduce the added salt by half. The flour should be all-purpose; bread flour’s higher protein creates a tougher crust, while cake flour lacks structure.
The dough keeps 3 days refrigerated or 2 months frozen (wrap tightly in plastic, then foil). Bring to room temperature before rolling for best results. Baked crusts store 1 week at room temperature in airtight containers.
Why You’ll Love This Recipe
- One Bowl Wonder: I just dump, mix, and roll—no fancy tools, just my hands and a bowl.
- Buttery, Flaky Layers: The cold butter and vinegar create the most tender, golden crust I’ve ever baked.
- Holiday or Tuesday: Honestly, it’s just as good under a pumpkin pie as it is for a weeknight quiche.
- Penny-Pincher’s Dream: A pound of flour and a stick of butter yield two crusts for the price of one store-bought.
Step-by-Step Instructions for Pie Crust With Butter and Vinegar
This method ensures perfectly flaky layers with a subtle tang that elevates any pie filling.
Step 1: Prepare the Dry Ingredients
In a large mixing bowl, whisk together the 2.5 cups all-purpose flour, 0.5 tsp salt, and 1 tsp granulated sugar until fully combined. I sift my flour first for an even texture, which prevents tough spots in the finished crust.
The sugar is optional but recommended for sweet applications—it adds a subtle caramelization to the crust. Make sure your salt is fine sea salt to distribute evenly throughout the mixture.
Step 2: Cut in the Cold Butter
Add the 1 cup unsalted butter, cut into small cubes, to the flour mixture. Using a pastry cutter or your fingertips, work the butter into the flour until the mixture resembles coarse crumbs with pea-sized butter pieces visible. This step is critical for flakiness.
Keep the butter as cold as possible—if it starts to soften, chill the mixture for 10-15 minutes before proceeding. The visible butter pieces create the steam pockets that separate into flaky layers during baking.
Step 3: Add the Vinegar and Water
Create a well in the center of the mixture and add the 1 tbsp white vinegar and 0.25 cup ice water. The vinegar tenderizes the gluten and adds a subtle tang, while the ice-cold water prevents early gluten development.
Using a fork, gradually incorporate the liquid into the flour mixture until it just begins to come together. If needed, add up to 1 tbsp additional ice water, but don’t overwork the dough—stop as soon as it holds together when pressed.
Step 4: Chill and Rest the Dough
Turn the dough out onto a lightly floured surface and gently shape it into a disk. Wrap it tightly in plastic wrap and refrigerate for at least 1 hour, or up to 2 days. This resting period allows the gluten to relax and the butter to firm up.
Proper chilling ensures the dough rolls out smoothly without shrinking during baking. If you’re in a hurry, you can freeze the dough for 20-30 minutes, but don’t skip this step entirely.
Step 5: Roll and Shape for Baking
On a lightly floured surface, roll out the chilled dough to a 12-inch circle about ⅛-inch thick. Transfer it to your pie dish, pressing gently into the bottom and sides without stretching the dough.
Trim any excess dough, leaving a slight overhang, then crimp the edges decoratively. For a pre-baked crust, dock the bottom with a fork and blind-bake at 375°F for 15-20 minutes until light golden brown.
Pro Tips For Making Pie Crust Recipe With Butter And Vinegar
- Chill Your Butter: Cut the butter into small cubes and refrigerate for 20 minutes before mixing—I learned this the hard way after ending up with a tough, greasy crust instead of flaky layers.
- Use Ice-Cold Water: Fill a glass with ice and water, then measure from that so it stays frigid; warm water makes the dough sticky and hard to handle.
- Don’t Overwork It: Mix just until the dough comes together, even if it looks shaggy; overmixing develops gluten, and your crust will be chewy instead of tender.
- Add Vinegar Last: Stir in the white vinegar at the very end—it tenderizes the flour without toughening the dough, and a teaspoon is all you need for a standard crust.
Health Benefits of These Flavors
Gluten Management
The vinegar in this dough acts as a natural tenderizer, inhibiting gluten formation. This means your crust stays flaky rather than tough, even if you slightly overwork the dough. I notice my crusts come out lighter when I include this step.
Heart Health Benefits
Using unsalted butter allows you to control sodium intake while still enjoying rich flavor. The vinegar adds no fat or calories, making this a heart-smart choice for dessert lovers. It’s a small adjustment with big payoffs. 💪
Digestive Ease
The vinegar’s acidity helps break down gluten proteins, making the crust easier to digest. This is particularly helpful for those with mild gluten sensitivities. I find it reduces that heavy feeling after eating pie.
Nutrient Retention
Cold butter and minimal water preserve the flour’s natural nutrients. The vinegar’s acetic acid may also help stabilize blood sugar responses, making this crust a slightly better option for those monitoring their intake.
Lower Sugar Option
With only 1 tsp sugar (optional), this crust keeps added sugars minimal. The vinegar’s tang balances sweetness naturally, so you can reduce or omit sugar without sacrificing flavor. Perfect for less-sweet applications.
Pantry Staple Advantage
All ingredients are basic pantry items with long shelf lives. The vinegar acts as a natural preservative, extending the dough’s fridge life to 3 days. This means fewer trips to the store and less waste. ✨
Nutrition Facts
Frequently Asked Questions
Why does vinegar improve the texture?
Vinegar tenderizes the gluten, preventing a tough crust. Its acidity also adds subtle flavor complexity while keeping layers distinct.
Can I use a different type of fat?
Yes, but butter gives the best flavor and flakiness. Shortening works for extra flakiness, while lard creates a tender crust. Keep it cold regardless of choice.
How do I prevent shrinking during baking?
Chill the dough for at least 1 hour before rolling. Roll it just ⅛-inch thick and avoid stretching when fitting into the pan. Dock the bottom with a fork too.
What if my dough cracks while rolling?
Let it warm slightly at room temperature for 5-10 minutes. Patch cracks with extra dough, pressing gently. Cold, stiff dough is more prone to cracking.

- Potato Candy Recipe 1933: Vintage Peanut Butter Roll Delight - October 30, 2026
- Potato Chip Cookie Recipe With Pecans: Buttery Crunch Meets Nutty Richness - October 30, 2026
- Potato Patty Recipe No Egg: Crispy Edges Without the Binder - October 30, 2026