
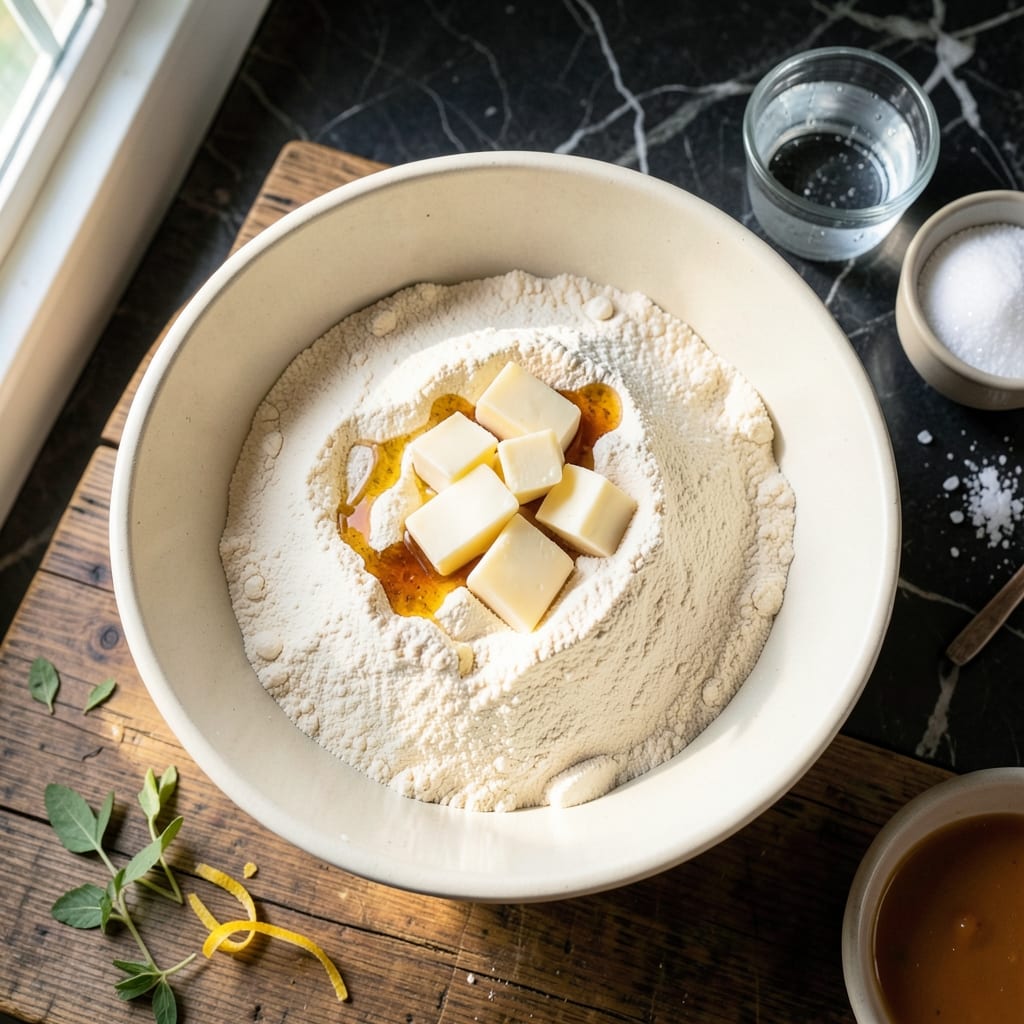
Achieving a flaky pie crust without butter is absolutely possible with this proven margarine-based recipe. The key lies in keeping ingredients cold and handling the dough minimally to prevent gluten development.
This method delivers consistent results with a tender, layered texture that rivals traditional butter crusts. The margarine creates distinct flakes while maintaining a neutral flavor that lets your filling shine.
With just a few simple ingredients and proper technique, you’ll create a crust that bakes to golden perfection. The dough comes together quickly and requires only 30 minutes of resting time before rolling.
Perfect for both sweet and savory pies, this version offers a reliable alternative when butter isn’t available. The technique ensures a crisp, flaky result every time.
Ingredients for Pie Crust Recipe with Margarine
Cold margarine and minimal handling create the flaky layers in this reliable crust.
| Ingredient | Amount | Notes |
|---|---|---|
| All-Purpose Flour 🌾 | 2 ½ cups | Sifted for lightness, plus extra for dusting |
| Margarine 🧈 | 1 cup | Chilled and cubed, unsalted preferred |
| Ice Water 💧 | ⅓ cup | Very cold, divided into additions |
| Granulated Sugar 🍚 | 1 tsp | Optional for sweet crusts |
| Salt 🧂 | ½ tsp | Fine sea salt preferred |
| Apple Cider Vinegar 🍏 | 1 tsp | Enhances flakiness, optional |
The margarine must stay cold—use a brand like Earth Balance or Blue Bonnet with at least 80% fat content for proper flaking. Avoid tub margarine, which has too much water. All-purpose flour is standard, but White Lily or Softasilk (lower protein) yields a more tender result. For best texture, chill your mixing bowl and pastry cutter alongside the margarine for 15 minutes before starting.
No margarine? Vegan butter (like Miyoko’s) works identically. Short on all-purpose flour? Half bread flour and half cake flour mimics the protein balance. Skip the sugar for savory pies, or add up to 1 tbsp for sweeter fillings. Apple cider vinegar can be swapped with white vinegar—it’s the acidity, not the flavor, that matters here.
The dough rests for 30 minutes but can chill overnight. Wrap tightly in plastic to prevent drying. Unbaked crust freezes beautifully for up to 3 months—thaw in the fridge before rolling. Baked shells keep at room temperature for 2 days in an airtight container.
Why You’ll Love This Recipe
- No-Fuss Mixing: I just cut the cold margarine into the flour with a fork—no pastry cutter, no stress.
- Buttery Flavor: Margarine gives it that rich, slightly sweet taste without the dairy price tag.
- Endless Uses: Sweet pies, savory quiches, even hand pies for lunchboxes. It does it all.
Step-by-Step Instructions for Pie Crust With Margarine
Achieve buttery flakiness without dairy using this precise method for perfect layers every time.
Step 1: Combine Dry Ingredients and Chill Equipment
In a large mixing bowl, whisk together the 2.5 cups All-Purpose Flour, 0.5 tsp Salt, and 1 tsp Granulated Sugar until fully incorporated. I prefer fine sea salt for its consistent distribution and subtle flavor enhancement.
Place both the bowl and your pastry cutter or fork in the freezer for 10 minutes to chill. This prevents the 1 cup Margarine from melting prematurely when you begin cutting it into the flour, which is essential for creating distinct flaky layers in your crust.
Step 2: Cut in Chilled Margarine Until Pea-Sized
Add the 1 cup Margarine (chilled and cubed) to the flour mixture. Using your chilled pastry cutter or fork, work the margarine into the flour with a cutting motion until the mixture resembles coarse crumbs with pea-sized pieces of margarine visible throughout.
This step is critical—visible fat pieces create the steam pockets that expand during baking, resulting in those coveted flaky layers. Work quickly but deliberately to maintain the cold temperature of both the margarine and flour. If the margarine begins to soften, pause and return the bowl to the freezer for 5 minutes before continuing.
Step 3: Add Liquid Ingredients Gradually
Create a well in the center of the flour-margarine mixture. Combine the 0.33 cup Ice Water with the 1 tsp Apple Cider Vinegar (this adds tenderness and inhibits gluten formation). Add this liquid mixture to the well, 1 tablespoon at a time, gently stirring with a fork after each addition.
Stop adding liquid as soon as the dough begins to clump together when pressed. The mixture should hold together when squeezed but still appear slightly crumbly. Overworking the dough at this stage will develop gluten, resulting in a tough crust rather than a flaky one.
Step 4: Form and Chill the Dough
Turn the dough out onto a lightly floured surface and gently press it into a cohesive ball, handling it as little as possible. Divide the dough in half and shape each portion into a disk about 1 inch thick. Wrap each disk tightly in plastic wrap.
Refrigerate the dough for at least 1 hour or up to 2 days. This chilling period allows the margarine to re-solidify, the gluten to relax, and the liquid to distribute evenly throughout the dough. Proper chilling is non-negotiable for achieving maximum flakiness.
Step 5: Roll and Fit the Crust
On a lightly floured surface, roll one disk of chilled dough into a circle about 2 inches larger than your pie plate. Use a gentle, even pressure and rotate the dough a quarter turn after each roll to maintain an even thickness and prevent sticking.
Transfer the rolled dough to your pie plate by loosely folding it in half and then in quarters. Unfold it carefully and press it gently into the plate without stretching. Trim the edges to leave a ½-inch overhang, then fold under and crimp as desired. For a pre-baked shell, dock the bottom with a fork and blind bake according to your recipe’s requirements.
Pro Tips For Making Pie Crust Recipe With Margarine
- Chill the Margarine: Cut the margarine into small cubes and refrigerate for 20 minutes before mixing—this mimics the flakiness of butter and prevents a greasy crust.
- Use Ice-Cold Water: Literally use water with ice cubes in it, then measure what you need. Warm water makes the dough tough, and I learned this the hard way.
- Don’t Overwork Dough: Mix just until the flour is moistened—over-handling develops gluten, and your crust will end up chewy instead of tender.
- Blind Bake First: For a crisp bottom, pre-bake the crust for 8-10 minutes at 375°F before adding filling—sounds like extra work, but it actually changes the outcome.
Dietary Considerations for This Recipe
Vegan-Friendly Option
This crust is naturally dairy-free when using plant-based margarine like Earth Balance. It’s perfect for vegan diets since it contains no animal products, yet still delivers that coveted flaky texture. I’ve served it to vegan friends who couldn’t believe it wasn’t butter.
Gluten-Free Adaptation
For a gluten-free version, replace the 2.5 cups All-Purpose Flour with a 1:1 gluten-free baking blend. I recommend King Arthur Measure for Measure for best results. Add 1 tsp xanthan gum to improve structure and elasticity in the dough.
Nut Allergy Note
Most margarines are nut-free, but always check labels carefully. Blue Bonnet and Land O’Lakes margarine are typically safe choices. If you’re baking for someone with severe allergies, verify the margarine’s production facility practices. 💡
Sugar-Free Version
Simply omit the 1 tsp Granulated Sugar for a completely sugar-free crust. This works perfectly for savory pies like quiche or pot pie. The texture remains identical, and the flavor stays neutral.
Lower Sodium Option
Use unsalted margarine and reduce the salt to ¼ tsp for a lower-sodium version. The apple cider vinegar still provides flavor enhancement without adding extra sodium. This modification is barely noticeable in the final product.
Keto-Friendly Swap
Replace 2.5 cups All-Purpose Flour with 2 cups almond flour and ½ cup coconut flour. Note that keto crusts have a different texture and may require adjusting liquid amounts. Chill the dough for 1 hour before rolling.
Nutrition Facts
Frequently Asked Questions
Can I use any type of margarine for this recipe?
Stick margarine with at least 80% fat content works best. Avoid tub margarine as it contains too much water. Brands like Earth Balance or Blue Bonnet are ideal for flaky results.
Why does the dough need to rest in the fridge?
Chilling for at least 1 hour re-solidifies the margarine and lets gluten relax. This prevents shrinking during baking and ensures distinct flaky layers. Don’t skip this step!
Can I make this crust ahead of time?
Yes! Wrap dough tightly and refrigerate for up to 2 days, or freeze for 3 months. Thaw overnight in the fridge before rolling for best results.
How do I prevent a tough crust?
Handle the dough minimally and avoid overworking it. Stop adding water as soon as it clumps, and use cold ingredients throughout. This keeps it tender and flaky.

- Potato Candy Recipe 1933: Vintage Peanut Butter Roll Delight - October 30, 2026
- Potato Chip Cookie Recipe With Pecans: Buttery Crunch Meets Nutty Richness - October 30, 2026
- Potato Patty Recipe No Egg: Crispy Edges Without the Binder - October 30, 2026