
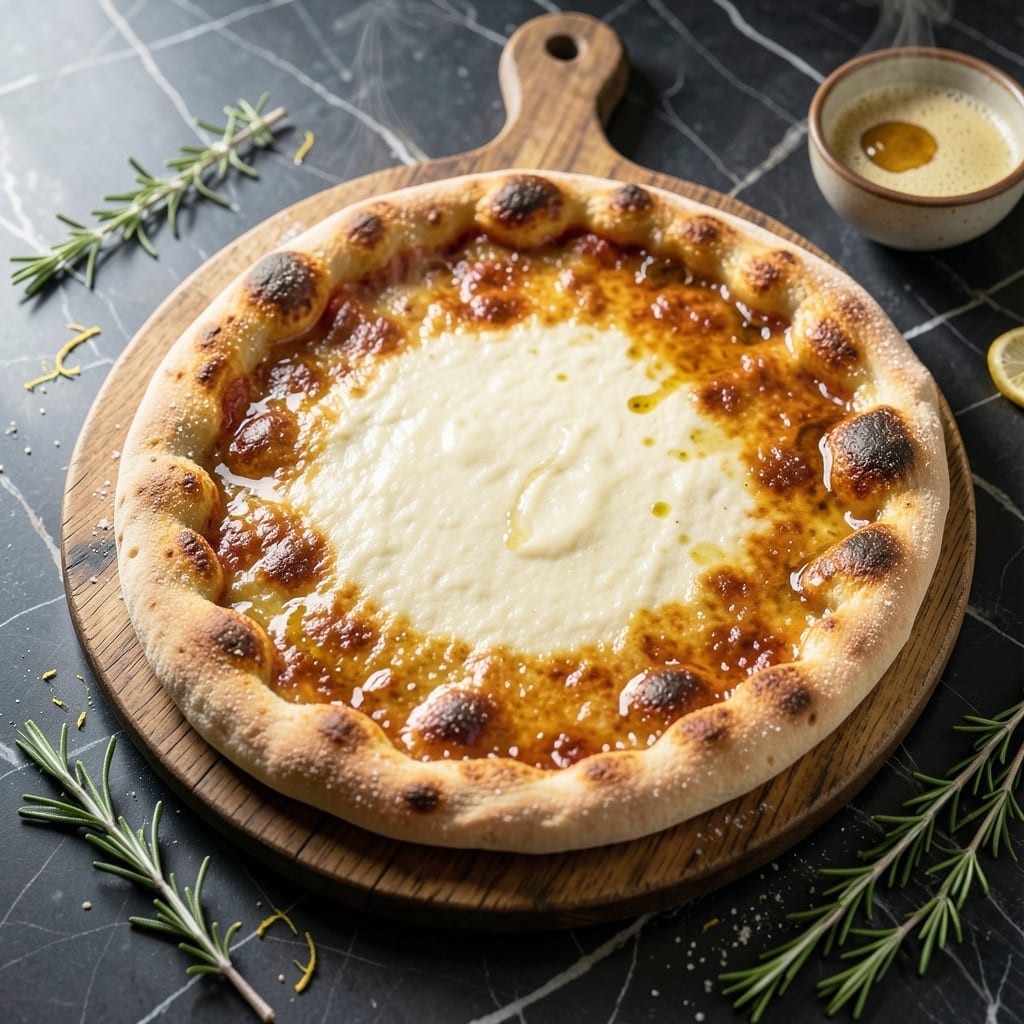
Homemade pizza night just got faster with this quick-rise yeast crust that delivers bakery-quality results in under an hour. The secret lies in using instant yeast and a warm environment to accelerate the proofing process without sacrificing texture.
This technique produces a crust that’s fluffy inside with just the right amount of chew, thanks to a short rest period that still allows the gluten to develop properly. The dough comes together in minutes with basic pantry staples.
You’ll achieve a golden crust with airy pockets, perfect for holding your favorite toppings. The quick method means you can satisfy pizza cravings on a weeknight without the long wait of traditional dough.
No special equipment required—just mix, rest, shape, and bake. This approach proves that great pizza crust doesn’t need hours to rise.
Ingredients for Pizza Crust Recipe Quick Rise Yeast
Basic pantry staples create this quick-rise crust with bakery-quality texture in record time.
| Ingredient | Amount | Notes |
|---|---|---|
| Instant Yeast 🍞 | 2 ¼ tsp | Or one 0.25 oz packet |
| Warm Water 💧 | 1 ¼ cups | 110-115°F for activation |
| Bread Flour 🌾 | 3 ½ cups | All-purpose works too |
| Olive Oil 🫒 | 2 tbsp | Extra-virgin preferred |
| Granulated Sugar 🧈 | 1 tbsp | Feeds the yeast |
| Kosher Salt 🧂 | 1 ½ tsp | Diamond Crystal preferred |
| Cornmeal 🌽 | ¼ cup | For dusting pizza peel |
| Semolina Flour 🌾 | 2 tbsp | Optional for extra crisp |
| Honey 🍯 | 1 tsp | Optional for extra browning |
| Garlic Powder 🧄 | 1 tsp | For seasoned crust |
| Dried Oregano 🌿 | 1 tsp | Optional crust seasoning |
The yeast is non-negotiable here—instant yeast (like SAF or Fleischmann’s) dissolves directly into the water, no proofing step needed. Bread flour gives that chewy bite you want in pizza crust, but all-purpose works in a pinch (texture will be slightly lighter). King Arthur brand is my go-to for both. Warm water temperature matters—too hot kills the yeast, too cold slows it down. A thermometer helps, but testing on your wrist works too (should feel warm, not hot).
No instant yeast? Active dry yeast works—just proof it in the warm water with sugar first (5-10 minutes until foamy). Swap honey for sugar if you prefer, or skip both for a more savory crust. The olive oil can be any neutral oil in a pinch. Want extra flavor? Infuse the oil with garlic or herbs before adding. Cornmeal is optional but gives that authentic pizzeria crunch—Bob’s Red Mill has great coarse-ground.
Dough rests at room temp for about 30 minutes—perfect for preheating your oven. Leftover dough? Wrap tightly and refrigerate for 24 hours or freeze for 1 month. Bring to room temp before shaping. Pre-baked crusts freeze well too—just par-bake, cool, then wrap.
Why You’ll Love This Recipe
- Ready in 20: I mix the instant yeast with warm water and sugar, and the dough rises while I prep toppings—no waiting around.
- Crispy Chewy Goodness: The bread flour and olive oil create that perfect pizza crust texture I crave—crisp on the outside, soft inside.
- Weeknight Hero: I use this for quick dinners, lunch with friends, or even when I need to feed a crowd last minute.
- Pantry Staples Only: Flour, yeast, olive oil—those are kitchen basics I always have, so pizza night never breaks the bank.
Step-by-Step Instructions for Pizza Crust Quick Rise Yeast
Here’s the method. Straightforward, tested, works every time.
Step 1: Activate the Yeast and Mix Wet Ingredients
In a large mixing bowl, whisk together the 1.25 cups Warm Water, 1 tbsp Granulated Sugar, 2 tbsp Olive Oil, 1 tsp Honey, and 2.25 tsp Instant Yeast. I like to use a fork for this—it helps dissolve the yeast evenly. You’ll notice the mixture start to foam slightly within 5 minutes; that’s how you know the yeast is active and ready to work.
This step is crucial because the sugar and honey feed the yeast, jumpstarting the fermentation process. If your water is too hot, it’ll kill the yeast, so make sure it’s between 110-115°F—warm to the touch but not scalding.
Step 2: Incorporate Dry Ingredients for the Dough
In a separate bowl, combine the 3.5 cups Bread Flour, 1.5 tsp Kosher Salt, 1 tsp Garlic Powder, and 1 tsp Dried Oregano. I always whisk these dry ingredients first to ensure even distribution of the salt and seasonings—this prevents any bitter pockets in the finished crust.
Gradually add the dry mixture to the yeast mixture, stirring with a wooden spoon until a shaggy dough forms. You’ll know it’s ready when the flour is fully hydrated and the dough starts to pull away from the sides of the bowl.
Step 3: Knead Until Smooth and Elastic
Turn the dough out onto a lightly floured surface and knead for 5-7 minutes until it’s smooth, elastic, and slightly tacky. I use the heel of my hand to push the dough forward, then fold it back over itself—this builds gluten, which gives the crust its chewy texture.
If the dough feels too sticky, resist the urge to add too much flour. Instead, lightly flour your hands and the work surface. A slightly tacky dough will yield a softer, more tender crust. You’ll feel the difference as you knead—it’ll go from rough and lumpy to silky and stretchy.
Step 4: Let the Dough Rise Quickly
Lightly oil a clean bowl, place the dough inside, and cover it with a damp kitchen towel. Let it rise in a warm, draft-free spot for 30-45 minutes. I like to turn my oven on to its lowest setting for 2 minutes, then turn it off and place the bowl inside—this creates the perfect proofing environment.
The dough should double in size. Press your finger gently into the risen dough—if the indentation stays, it’s ready. If it springs back, give it another 10 minutes. This quick rise is what makes this recipe so efficient.
Step 5: Shape, Season, and Prepare for Baking
Punch down the dough to release the air, then divide it into 4 equal portions for individual pizzas. Roll each portion on a surface dusted with 0.25 cup Cornmeal and 2 tbsp Semolina Flour to prevent sticking and add extra crunch.
Stretch the dough into your desired shape, pressing the edges slightly thicker for a rustic crust. The cornmeal and semolina not only add texture but also give the crust that classic pizzeria-style bottom. Now it’s ready for your favorite toppings and a quick bake.
Pro Tips For Making Pizza Crust Recipe Quick Rise Yeast
- Test Yeast First: I learned this the hard way—mix your instant yeast with warm water (about 110°F) and a pinch of sugar first. If it doesn’t bubble within 5 minutes, your yeast is dead and the crust won’t rise.
- Use Bread Flour: Skip all-purpose if you want that chewy, crisp crust. Bread flour’s higher protein content actually changes the outcome, giving you that pizzeria-style texture.
- Don’t Over-Knead: After burning three batches to tough, dense discs, I finally figured out that 3-4 minutes of kneading is plenty. Overworking the dough makes it tight and springy.
- Warm the Bowl: Sounds weird, but it works: rinse your mixing bowl with warm water before adding dough for the rise. That little bit of extra heat helps the yeast work faster for a true quick rise.
Common Mistakes When Making This Recipe
Water Too Hot
Using water hotter than 115°F will kill your yeast instantly. I always test my water on my wrist—it should feel warm, not scalding. A kitchen thermometer takes the guesswork out completely.
Skipping the Sugar
That 1 tbsp sugar isn’t optional—it feeds the yeast for a proper rise. Without it, your dough won’t puff up properly during the 30-minute rest. Honey works too, as noted in the ingredients.
Over-Flouring Dough
Adding too much flour while kneading makes a dense crust. The dough should be slightly tacky. If it sticks, flour your hands, not the dough. That tackiness creates those lovely air pockets. 💪
Cold Proofing Spot
Your dough won’t rise quickly in a cold kitchen. I preheat my oven to its lowest setting for 2 minutes, then turn it off before proofing. A warm, draft-free spot is essential for that fast rise.
Insufficient Kneading
Kneading for less than 5 minutes won’t develop enough gluten. You’ll notice the difference—the dough transforms from shaggy to smooth and elastic. Don’t rush this step.
Rushing the Rest
Even with quick-rise yeast, your dough needs the full 30-45 minutes to double. Poking it should leave an indentation. If it springs back, give it more time. Patience pays off with better texture.
Nutrition Facts
Frequently Asked Questions
Can I use all-purpose flour instead of bread flour?
Yes, but the texture will be slightly lighter. Bread flour’s higher protein creates that ideal chewy bite. For best results, stick with bread flour.
How do I know when the dough is done rising?
Press a finger gently into the dough. If the indentation stays, it’s ready. If it springs back, give it another 10 minutes.
What if my kitchen is too cold for proofing?
Preheat your oven to its lowest setting for 2 minutes, turn it off, then place the bowl inside. This creates a warm, draft-free environment.
Can I make this dough ahead of time?
Wrap the dough tightly and refrigerate for up to 24 hours. Bring it to room temperature before shaping and baking.

- Potato Candy Recipe 1933: Vintage Peanut Butter Roll Delight - October 30, 2026
- Potato Chip Cookie Recipe With Pecans: Buttery Crunch Meets Nutty Richness - October 30, 2026
- Potato Patty Recipe No Egg: Crispy Edges Without the Binder - October 30, 2026