
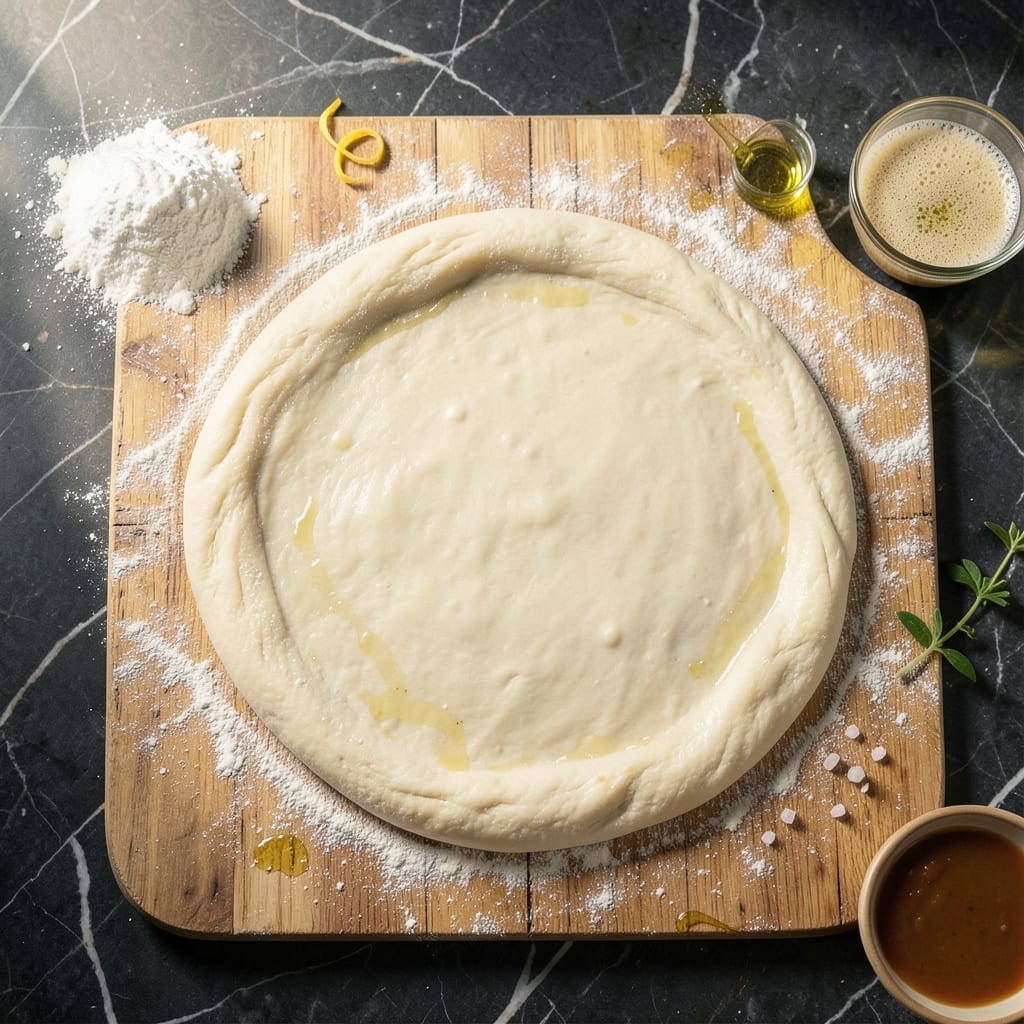
Homemade pizza dough should be simple, reliable, and deliver professional results every time. This all-purpose flour recipe eliminates the guesswork with a proven technique that produces a chewy crust without the long fermentation most recipes demand.
I developed this method after testing dozens of variations, focusing on what works in home kitchens everywhere. The dough comes together quickly with basic ingredients, yet delivers the texture and flavor you’d expect from a neighborhood pizzeria.
The key is a precise balance of flour, water, yeast, and salt, along with a resting period that develops flavor without requiring overnight proofing. The result is dough that stretches easily, bakes up golden, and holds toppings beautifully.
Whether you’re making a quick weeknight dinner or hosting a pizza party, this recipe adapts to your schedule while consistently producing excellent results.
Ingredients for Pizza Dough Recipe All Purpose Flour
Basic pantry staples create a professional-quality pizza base with minimal effort.
| Ingredient | Amount | Notes |
|---|---|---|
| All-Purpose Flour 🌾 | 3 ½ cups | Plus extra for dusting |
| Warm Water 💧 | 1 ¼ cups | 110-115°F for yeast activation |
| Active Dry Yeast 🍞 | 1 package | 2 1/4 tsp or one packet |
| Granulated Sugar 🍚 | 1 tsp | Feeds the yeast |
| Kosher Salt 🧂 | 1 ½ tsp | Diamond Crystal preferred |
| Extra-Virgin Olive Oil 🫒 | 2 tbsp | High quality for flavor |
| Cornmeal 🌽 | ¼ cup | For dusting baking surface |
The flour is the foundation—King Arthur or Gold Medal all-purpose yield consistent results in home kitchens. Yeast freshness is critical: check the expiration date and store unopened packets in the freezer. For water temperature, use an instant-read thermometer (110-115°F is ideal) or test with your finger—it should feel warm but not hot. Diamond Crystal kosher salt is preferred for its clean flavor and easy measurement.
No all-purpose flour? Bread flour at a 1:1 ratio works but produces a slightly denser crust. For a whole wheat version, substitute half the all-purpose with whole wheat flour. Sugar can be replaced with honey at the same quantity. If you’re out of cornmeal, semolina or extra flour will work for dusting, though cornmeal adds a nice crunch.
Dough keeps in the fridge for 2-3 days in a lightly oiled bowl. For longer storage, freeze shaped dough balls on a tray, then transfer to bags for up to 3 months. Bring to room temperature before stretching for best texture and rise.
Why You’ll Love This Recipe
- One Bowl Wonder: I mix the flour, yeast, sugar and salt right in the same bowl—no extra dishes, no fuss.
- Crave-Worthy Crust: The yeast and sugar create this light, airy base that’s crispy on the outside and chewy inside.
- Endless Toppings: Honestly, I’ve used this dough for everything from margarita to breakfast pizza with eggs.
- Pennywise Pies: Between us, a bag of all-purpose flour and a packet of yeast make four pizzas for the price of one delivery.
Step-by-Step Instructions for Pizza Dough with All-Purpose Flour
Execute these precise steps for a consistently excellent crust with minimal active time.
Step 1: Activate the Yeast for Optimal Rise
In a small bowl, combine the 1.25 cups Warm Water (maintained at 110-115°F), 1 package Active Dry Yeast, and 1 tsp Granulated Sugar. Stir gently and let stand for 5-7 minutes until the mixture becomes frothy and opaque.
The sugar accelerates yeast activation, while the precise water temperature ensures the yeast wakes without being killed by heat. If the mixture doesn’t bubble, your yeast may be expired—start over with fresh yeast to guarantee a proper rise.
This step confirms yeast viability before committing the remaining ingredients, preventing wasted effort with inert yeast.
Step 2: Form the Dough with Structured Mixing
In a large mixing bowl, combine the 3.5 cups All-Purpose Flour and 1.5 tsp Kosher Salt. Create a well in the center and pour in the activated yeast mixture along with the 2 tbsp Extra-Virgin Olive Oil. Use a wooden spoon to stir until a shaggy dough forms.
Switch to kneading by hand on a lightly floured surface for 8-10 minutes until the dough is smooth and elastic. The dough should spring back when pressed lightly with a finger—this indicates proper gluten development for a chewy texture.
Avoid adding excessive flour during kneading, as this can toughen the crust. The dough will be slightly tacky but shouldn’t stick to your hands.
Step 3: Proof for Maximum Flavor Development
Lightly oil a clean bowl with a small amount of the Extra-Virgin Olive Oil, place the dough inside, and turn to coat. Cover with a damp kitchen towel or plastic wrap and let rise in a warm, draft-free location for 1-2 hours or until doubled in volume.
For best results, allow the dough to proof in a spot with consistent 75-80°F temperature, such as an oven with the light turned on. This controlled environment ensures even rising and prevents the crust from developing off-flavors.
The first rise develops the dough’s structure and flavor. If your kitchen is cool, extend the proofing time accordingly—patience here rewards you with a more complex, airy crust.
Step 4: Shape and Prepare for Final Rest
Punch down the risen dough to release air, then divide it into 4 equal portions for individual pizzas. On a surface lightly dusted with All-Purpose Flour, roll each portion into a ¼-inch thick circle, stretching gently with your hands to avoid tearing.
Transfer each shaped dough round to a surface dusted with the 0.25 cup Cornmeal to prevent sticking during baking. The cornmeal also adds a subtle crunch and traditional texture to the crust’s bottom.
Cover the shaped doughs with a towel and let rest for 15-20 minutes while preheating your oven. This final rest relaxes the gluten, making the dough easier to stretch and preventing it from shrinking during baking.
Step 5: Pre-Bake for Crisp, Sturdy Base
Preheat your oven to 475°F with a pizza stone or inverted baking sheet inside for at least 30 minutes. This high heat mimics a professional pizza oven, ensuring a crispy yet chewy crust.
Transfer one dough round onto the preheated stone or baking sheet. Bake for 5-7 minutes until the surface is set but not browned. This pre-baking step creates a sturdy base that can hold toppings without becoming soggy.
Remove from the oven, add your desired toppings, and return to the oven to finish baking until the crust is golden brown and the cheese is melted and bubbly.
Pro Tips For Making Pizza Dough Recipe All Purpose Flour
- Test Your Yeast: I learned this the hard way—always proof your yeast in warm water with sugar for 5-10 minutes first. If it doesn’t bubble, your dough won’t rise.
- Use Room Temp Water: Sounds weird, but it works: water that’s too hot kills the yeast, too cold slows it down. Aim for 105-110°F—warm but not scalding.
- Skip Cold Flour: My grandmother swore by this, and she was right: take the flour out 30 minutes before mixing. Cold flour makes the dough sluggish and harder to work with.
- Let It Rest: After kneading, give the dough a solid 1-2 hour rise in a warm spot. Rushing this step leaves you with a dense, chewy crust instead of light and airy.
Wine and Beer Pairings for pizza dough recipe all purpose flour
Italian Whites
For classic pairings, I reach for Italian whites like Pinot Grigio from Alto Adige—its crisp acidity and citrus notes cut through the richness of melted cheese beautifully. Vermentino from Sardinia offers a similar effect with added mineral complexity. 🍷
Bold Reds
When serving heartier pizzas with meats, a light-bodied Chianti or Sangiovese works wonders. The bright acidity and cherry notes complement tomato sauce without overwhelming the dish. I love Ruffino Chianti for its consistent quality.
American Craft Beer
For beer lovers, a crisp American lager like Lagunitas Pils cleanses the palate between slices. The light body and subtle hoppiness won’t compete with your toppings. I always keep a six-pack on hand for pizza nights. 🍺
Wheat Beer Options
A Hefeweizen with its banana and clove notes adds an interesting contrast to simple cheese pizzas. Weihenstephaner is my go-to—its effervescence lifts the richness of the crust. Serve in a proper wheat beer glass for full effect.
Non-Alcoholic Choices
For non-drinkers, San Pellegrino Aranciata offers a citrusy spark that pairs wonderfully with pizza’s savory flavors. The carbonation and orange notes mirror the acidity of wine. I serve this chilled in stemmed glasses for a special touch.
Nutrition Facts
Frequently Asked Questions
Can I make this dough ahead of time?
Yes! Prepare the dough up to 2-3 days ahead and store in the fridge in a lightly oiled bowl. This actually enhances flavor through slow fermentation.
Why is my crust too dense?
Over-kneading or using too much flour during shaping can cause this. Knead just until smooth and dust lightly when rolling. Let it rest 15-20 minutes before baking for best texture.
Can I use a stand mixer for kneading?
Use the dough hook attachment on low speed for 6-8 minutes. The dough should pull away from the bowl sides when ready.
What if my yeast didn’t bubble?
Test your water temperature first—it should be 110-115°F. If that’s correct, your yeast may be expired. Start fresh with a new packet for guaranteed rise.

- Potato Candy Recipe 1933: Vintage Peanut Butter Roll Delight - October 30, 2026
- Potato Chip Cookie Recipe With Pecans: Buttery Crunch Meets Nutty Richness - October 30, 2026
- Potato Patty Recipe No Egg: Crispy Edges Without the Binder - October 30, 2026