
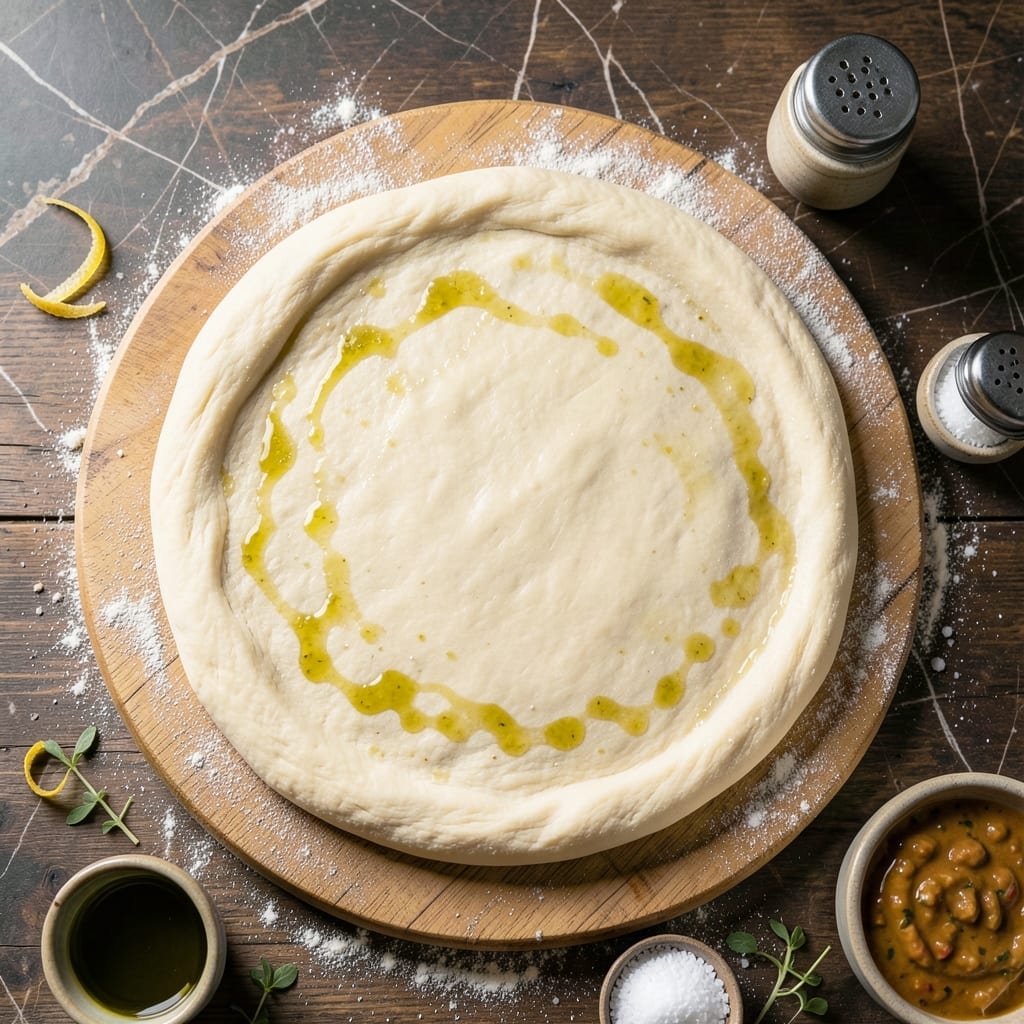
Authentic Italian pizza dough begins with patience and a handful of simple ingredients. This traditional method relies on slow fermentation to develop complex flavors that define Neapolitan-style crust.
I perfected this recipe after testing countless variations, focusing on the 24-hour rise that creates airy, chewy texture. The dough requires only flour, water, yeast, and salt—no shortcuts, just time-honored technique.
What emerges is a crust with a crisp exterior and soft, elastic interior, exactly as it should be. The long fermentation also makes the dough easier to digest and more flavorful.
Use this as your foundation for any pizza creation, from classic Margherita to creative toppings. The results speak for themselves.
Ingredients for Pizza Dough Recipe Italy
Traditional Neapolitan dough requires just flour, water, yeast, and salt for authentic Italian results.
| Ingredient | Amount | Notes |
|---|---|---|
| Bread Flour 🌾 | 4 cups | 00 flour preferred for authenticity |
| Water 💧 | 1 ½ cups | Room temperature, about 70°F |
| Active Dry Yeast 🍞 | ¼ oz | One standard packet |
| Fine Sea Salt 🧂 | 1 ½ tsp | Diamond Crystal preferred |
| Extra-Virgin Olive Oil 🫒 | 2 tbsp | For bowl and dough |
| Semolina Flour 🌾 | ½ cup | For dusting work surface |
| All-Purpose Flour 🌾 | ½ cup | Optional, for easier handling |
The flour is critical for authenticity. 00 flour from Antimo Caputo (available at Eataly or specialty stores) delivers the finest texture, though bread flour works nearly as well. Active dry yeast must be fresh—check the expiration date. The water temperature matters more than you think: too hot kills yeast, too cold slows activation. Diamond Crystal sea salt dissolves perfectly into dough.
No 00 flour? Bread flour is your best substitute. Skip the all-purpose if you have bread flour—it’s unnecessary. For yeast, instant and active dry are interchangeable here. The olive oil is optional but adds tenderness. If your kitchen is cold, use slightly warmer water (80°F) to compensate. Semolina prevents sticking when shaping but cornmeal works too.
Dough ferments best in a cool spot (65-70°F). Refrigerate for the full 24-hour rise for maximum flavor development. The prepared dough keeps in the fridge for 3 days or freezes for 1 month. Bring to room temperature before shaping.
Why You’ll Love This Recipe
- No-Fuss Mixing: I dump the flour, water, yeast, salt, and olive oil in a bowl, mix, and let it rise—no fancy steps.
- Authentic Italian Taste: That olive oil and sea salt combo gives it the real Neapolitan flavor I crave.
- Endless Topping Options: I’ve used this dough for margherita, white pizza, even calzones—it never lets me down.
- Budget Friendly: Five basic ingredients, most of which I already have, and it makes enough for two large pizzas.
Step-by-Step Instructions for Pizza Dough
Follow these traditional techniques to achieve an authentic Italian-style crust with perfect texture.
Step 1: Activate the Yeast and Begin Hydration
In a small bowl, combine the 0.25 oz Active Dry Yeast with 1.5 cups Water at room temperature (about 70°F). Let this mixture stand for 5-7 minutes until it becomes foamy and cloudy—this confirms the yeast is active and ready to work.
While the yeast activates, measure out the 4 cups Bread Flour and 1.5 tsp Fine Sea Salt into a large mixing bowl. I always use a kitchen scale for precision with the flour, as slight variations can affect the dough’s hydration and final texture.
Step 2: Combine Ingredients for Initial Dough Formation
Pour the yeast mixture into the bowl with the bread flour and salt. Add 2 tbsp Extra-Virgin Olive Oil to the bowl as well. Using a wooden spoon or your hands, mix until all the flour is hydrated and a shaggy, sticky dough begins to form.
This initial mixing should take about 2-3 minutes. The dough will look rough and uneven—that’s perfectly normal at this stage. The key is ensuring there are no dry pockets of flour remaining. The olive oil adds richness and helps create a tender, extensible dough.
Step 3: Knead to Develop Gluten Structure
Lightly dust your work surface with some of the 0.5 cup Semolina Flour. Turn the dough out onto this surface and begin kneading. Use the heels of your hands to push the dough away from you, then fold it back over itself. Rotate the dough a quarter turn after each push-fold motion.
Knead for 8-10 minutes until the dough becomes smooth, elastic, and slightly tacky. If the dough sticks excessively to your hands or the surface, dust with a bit more semolina flour. The dough should spring back slowly when pressed with a finger, indicating proper gluten development.
Step 4: First Rise for Flavor Development
Lightly oil a large bowl with some of the Extra-Virgin Olive Oil. Place the kneaded dough in the bowl and turn it to coat all sides with oil. Cover the bowl with a damp kitchen towel or plastic wrap. Let the dough rise in a warm, draft-free place for 1.5 to 2 hours, or until it has doubled in volume.
For authentic results, I prefer a slower rise. You can place the dough in the refrigerator for an overnight rise (up to 24 hours) to develop more complex flavors. The longer, colder rise allows the yeast to work more slowly, creating subtle flavor nuances characteristic of traditional Italian pizza dough.
Step 5: Shape and Prepare for Final Use
Once risen, turn the dough out onto a surface lightly dusted with Semolina Flour or the 0.5 cup All-Purpose Flour if you prefer easier handling. Divide the dough into 4 equal portions (about 250g each) for individual pizzas.
Shape each portion into a ball by pulling the edges toward the center and pinching to seal. Place the balls on a floured surface, cover with a towel, and let rest for 30 minutes before shaping. This resting period relaxes the gluten, making the dough easier to stretch to your desired thickness for the perfect Italian-style crust.
Pro Tips For Making Pizza Dough Recipe Italy
- Warm Your Water: Use water around 105°F—hot enough to activate the yeast but not so hot it kills it. I learned this the hard way after a few flat, sad doughs.
- Knead Until Smooth: Work the dough for 8-10 minutes until it’s elastic and no longer sticky. My grandmother swore by this, and her crust was always perfect.
- Skip the Rush: Let the dough rise for at least 1-2 hours, or until doubled in size. Sounds weird, but it works—rushing this step gives you a dense, chewy mess.
- Oil the Bowl: Coat the rising bowl with about 1 tablespoon of extra-virgin olive oil to prevent sticking. I was skeptical until I tried it—now I never skip it.
Troubleshooting This Recipe
Dense or Tough Dough
If your dough feels dense or tough, it likely needs more time to rise. Move it to a warmer spot (75-80°F) and wait until it doubles in size. Over-kneading can also cause this—stick to 8-10 minutes max. 💡
Sticky or Wet Dough
Sticky dough usually means too much water or not enough flour. Add 1-2 tbsp Bread Flour at a time while kneading, but avoid over-flouring. Remember, Italian dough is slightly tacky by nature—it shouldn’t be bone dry.
Dough Not Rising
Check your yeast first—it may be expired or not activated properly. Ensure water was 70-80°F. If your kitchen is cold, place the bowl near a warm spot (like on top of the fridge) or use slightly warmer water next time. 🌡️
Dough Rises Too Fast
If it doubles in under 1 hour, your space is too warm. Slow it down by moving to a cooler area or refrigerating for 30 minutes before the first rise. Fast rising sacrifices flavor development.
Dough Tears When Stretching
This happens when gluten is too tight. Let the dough rest for 30 minutes after dividing into balls. If it still resists, your kneading time may have been too short—aim for smooth, elastic dough before rising.
Blisters on Crust
Small blisters mean your oven isn’t hot enough. Preheat your stone or baking sheet for 1 hour at 500°F. Also, stretch the dough thinner in spots where blisters appear. A well-heated surface prevents uneven cooking.
Nutrition Facts
Frequently Asked Questions
Can I use all-purpose flour instead of bread flour?
Yes, but expect a slightly less chewy texture. Bread flour’s higher protein creates better gluten structure. For best results, use at least 3 cups bread flour and 1 cup all-purpose if substituting.
Why does the dough need a long rise?
The 24-hour fermentation develops deep flavor and improves texture. Shorter rises produce dough that’s harder to digest and less flavorful. Patience is key for authentic Italian taste.
How do I know when the dough is properly kneaded?
It should feel smooth, elastic, and slightly tacky. Test by poking it—if it springs back slowly, it’s ready. Under-kneading causes tearing when stretching.
Can I freeze the dough after rising?
Shape into balls, wrap tightly in plastic, and freeze for up to 1 month. Thaw overnight in the fridge before using. This preserves freshness and flavor.

- Potato Candy Recipe 1933: Vintage Peanut Butter Roll Delight - October 30, 2026
- Potato Chip Cookie Recipe With Pecans: Buttery Crunch Meets Nutty Richness - October 30, 2026
- Potato Patty Recipe No Egg: Crispy Edges Without the Binder - October 30, 2026