
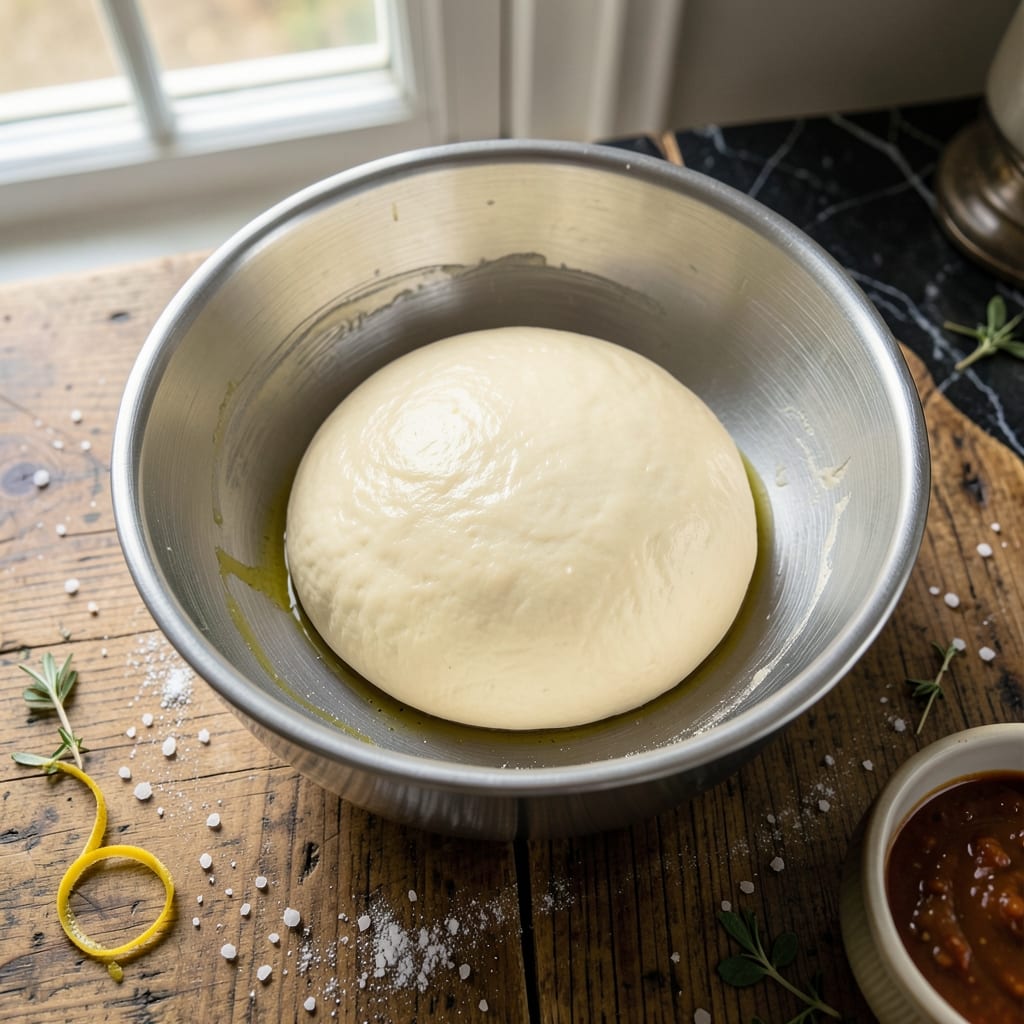
Homemade pizza dough doesn’t have to take all day. This rapid rise yeast version delivers a chewy, flavorful crust in under an hour without sacrificing quality.
I developed this method after years of testing, combining traditional techniques with modern convenience. The secret is using rapid rise yeast and a warm environment to speed up the proofing process.
The result is a perfectly textured dough that bakes into a golden crust with just the right amount of chew. It’s the foundation for any great pizza, ready when you are.
No special equipment needed—just basic ingredients and a little patience. Here’s how to make it.
Ingredients for Pizza Dough Recipe Rapid Rise Yeast
Basic pantry staples transform into a chewy, golden crust with rapid rise yeast.
| Ingredient | Amount | Notes |
|---|---|---|
| Bread Flour 🌾 | 3 ½ cups | High protein content preferred |
| Rapid Rise Yeast 🍞 | 1 package | 2 1/4 tsp per package |
| Lukewarm Water 💧 | 1 ¼ cups | 110°F to 115°F for activation |
| Extra-Virgin Olive Oil 🫒 | 2 tbsp | For dough elasticity and flavor |
| Fine Sea Salt 🧂 | 1 ½ tsp | Enhances yeast activity and flavor |
| Granulated Sugar 🍚 | 1 tsp | Feeds the yeast for rapid rise |
| All-Purpose Flour 🌾 | ½ cup | For dusting work surface |
| Cornmeal 🌽 | 2 tbsp | For pizza peel dusting |
The flour is critical here. Bread flour with its higher protein content (12-14%) develops the gluten structure needed for that signature chew. King Arthur is my go-to, but any quality brand works. The rapid rise yeast must be fresh—check the expiration date. Fleet or Red Star are reliable. Water temperature is non-negotiable: too hot kills the yeast, too cold slows the rise.
No bread flour? All-purpose in a pinch, but add 1 extra tbsp per cup to boost protein. Out of rapid rise yeast? Active dry yeast at 25% more quantity works, but requires an extra 10-15 minutes proofing. The olive oil can be any neutral oil, though extra-virgin adds depth. Skip the sugar if using self-rising flour (it’s already in there).
Dough rests best in a warm, draft-free spot (inside the oven with light on works). Store unused dough in the fridge for 24-48 hours or freeze for 1 month. Bring to room temp before shaping cold dough.
Why You’ll Love This Recipe
- Ready in 60: I can mix, knead, and have dough rising while the oven preheats—rapid rise yeast is my weeknight hero.
- Crisp Chewy Magic: The bread flour and olive oil give that bakery-style bite with a golden crust, every single time.
- Endless Topping Canvas: Honestly, it’s my blank slate for margherita, BBQ chicken, or even dessert pizza with Nutella and strawberries.
- Pennywise Pies: Five simple ingredients, most already in my pantry, and it makes two large pizzas for less than delivery.
Step-by-Step Instructions for Pizza Dough with Rapid Rise Yeast
This method delivers a perfectly chewy crust with minimal rise time using standard techniques.
Step 1: Activate the Yeast Mixture
In a large mixing bowl, combine the 1.25 cups lukewarm water, 1 package rapid rise yeast, 1 tsp granulated sugar, and 2 tbsp extra-virgin olive oil. Stir gently and let sit for 5-7 minutes until the surface becomes frothy and slightly domed.
This visual confirmation indicates the yeast is active and ready to work. The water temperature is critical—too hot will kill the yeast, too cold will slow activation. You should see small bubbles forming around the edges before the full froth develops.
The sugar feeds the yeast, accelerating the activation process, while the olive oil adds elasticity to the final dough. This step establishes the foundation for proper rising.
Step 2: Incorporate Dry Ingredients and Form the Dough
Add the 3.5 cups bread flour and 1.5 tsp fine sea salt to the yeast mixture. Use a wooden spoon to combine until a shaggy dough forms, then switch to your hands to bring it together completely.
The dough will be slightly sticky but should pull away from the bowl cleanly. Bread flour’s higher protein content develops the gluten structure needed for that ideal chewy texture. The salt regulates yeast activity while enhancing flavor depth.
Knead briefly in the bowl for 1-2 minutes just until smooth. Overworking at this stage can make the crust tough rather than tender. The dough should spring back slightly when pressed with your finger.
Step 3: First Rise in a Warm Environment
Lightly oil the bowl, place the dough back in, and cover with a damp towel. Position in a warm, draft-free location (I use an oven with the light on) and let rise for 20-25 minutes or until nearly doubled in volume.
Rapid rise yeast works quickly, so don’t walk away for too long. The dough should look puffy and jiggle slightly when the bowl is gently shaken. This first rise develops flavor and structure before shaping.
If your kitchen is cool, extend the rise time by 5-10 minutes. The ideal temperature for rapid rise yeast is between 80-85°F.
Step 4: Shape and Final Preparation
Turn the dough onto a surface dusted with 0.5 cup all-purpose flour. Divide into 4 equal portions for individual pizzas or keep whole for a large pie. Shape each piece into a smooth ball by tucking the edges under.
Let the shaped dough rest for 10 minutes while you prepare your workspace. This relaxation period makes stretching easier and prevents the dough from springing back. The all-purpose flour for dusting prevents sticking without altering the dough’s texture.
If making multiple pizzas, cover the unused portions with a damp towel to prevent drying. The dough balls should feel slightly tacky but not sticky to the touch.
Step 5: Dust with Cornmeal and Prepare for Baking
Lightly dust your pizza peel or baking surface with 2 tbsp cornmeal. This creates a non-stick barrier while adding a subtle crunch to the crust’s underside. The cornmeal also absorbs excess moisture, preventing sogginess.
Transfer your shaped dough to the prepared surface. The cornmeal should adhere lightly to the bottom. This final step ensures your creation will slide easily onto the baking stone or pan while maintaining its structure.
At this point, your dough is ready for toppings and baking. The cornmeal layer should be visible but not thick—just enough to prevent sticking during the transfer to the oven.
Pro Tips For Making Pizza Dough Recipe Rapid Rise Yeast
- Test Your Water: Lukewarm means 105-110°F—any hotter kills rapid rise yeast, any cooler slows activation. I learned this the hard way after wasting three packets of yeast on water that was too hot.
- Weigh Your Flour: Bread flour compacts easily, so 1 cup scooped can vary by 20-30 grams. Use a scale for consistency—250g per cup is what I swear by now.
- Skip the Over-Knead: Rapid rise yeast does the work fast, so knead just until smooth, about 4-5 minutes. Overworking the dough makes it tough and dense—my first pizzas were like hockey pucks.
- Oil the Bowl Well: Coat the rising bowl with about 1 tablespoon of olive oil to prevent sticking. Sounds simple, but I used to skip this and spent more time scraping dough off the sides than actually baking.
Regional Styles of This Recipe
New York Style
This thin, foldable crust relies on high-gluten flour and a longer fermentation. I stretch the dough very thin, about ⅛ inch thick, and bake at 550°F for 8-10 minutes. The rapid rise yeast still works, but I let it cold-ferment overnight in the fridge for deeper flavor. 🗺️
Sicilian Thick Crust
My grandmother’s version uses the same dough but pressed into a well-oiled 9×13 pan. Let it rise until puffy, about 30 minutes, then dimple with your fingers before adding sauce. Bake at 425°F for 20-25 minutes for a focaccia-like base.
Neapolitan Tradition
For authentic Neapolitan, I reduce the yeast to ½ tsp and let it rise slowly at room temp for 8-12 hours. The dough should be soft and elastic. Bake at the highest temp possible—900°F in a wood-fired oven— for just 60-90 seconds. 💛
Chicago Deep Dish
Press the dough into a deep dish pan and up the sides, creating a thick edge. I use 1 tbsp cornmeal in the dough itself for extra crunch. Bake at 400°F for 30-35 minutes with toppings layered in reverse order—cheese first, then sauce on top.
Detroit Style
Use a steel industrial pan and press the dough to the edges without stretching. The rapid rise yeast helps achieve the airy, crispy texture. Bake at 550°F for 12-15 minutes, then add sauce on top after baking for that signature “red top” look.
Nutrition Facts
Frequently Asked Questions
How warm should the water be for activation?
Use water between 110-115°F. Too hot kills yeast, too cold slows activation. A kitchen thermometer ensures precision. The mixture should feel warm but comfortable to touch.
Can I make this dough ahead of time?
Yes! Refrigerate shaped dough balls for 24-48 hours or freeze for 1 month. Thaw in the fridge overnight before using. Cold fermentation enhances flavor development.
Why did my dough not rise properly?
Check yeast freshness first. Also ensure water was warm enough and the rising spot was draft-free. Rapid rise yeast needs consistent warmth between 80-85°F to double in 20-25 minutes.
What’s the best way to shape the dough?
Let dough rest 10 minutes after dividing. Use your knuckles to press from the center outward, leaving a thicker rim. Avoid rolling pins—they compress the air bubbles.

- Potato Candy Recipe 1933: Vintage Peanut Butter Roll Delight - October 30, 2026
- Potato Chip Cookie Recipe With Pecans: Buttery Crunch Meets Nutty Richness - October 30, 2026
- Potato Patty Recipe No Egg: Crispy Edges Without the Binder - October 30, 2026