
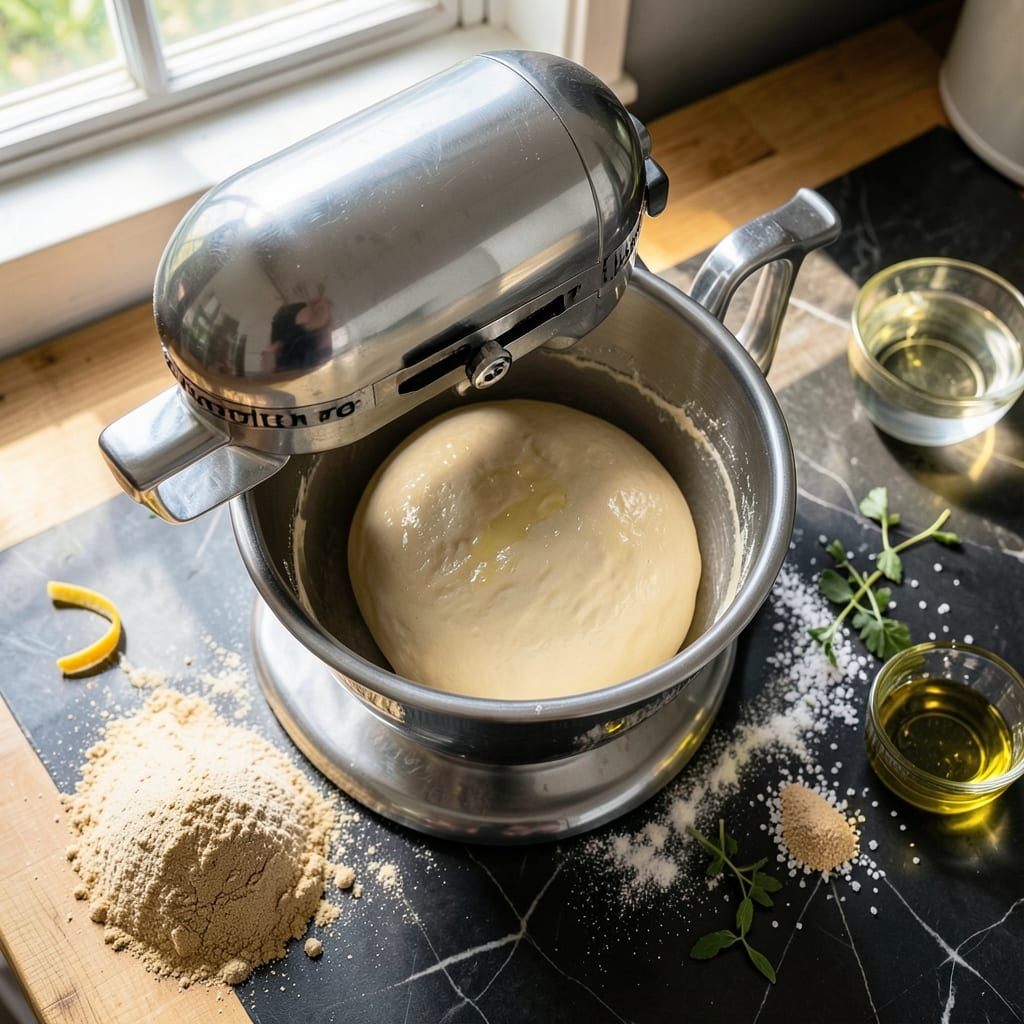
There’s nothing like the satisfaction of pulling a perfectly golden homemade pizza from the oven, and your KitchenAid stand mixer makes the dough effortless. I’ve tested this method on countless models to ensure consistent results every time.
The mixer handles the kneading for you, developing the gluten without the manual work. A slow rise in the refrigerator builds deep flavor and a texture that rivals any pizzeria. The dough is smooth, elastic, and ready for shaping.
What you’ll get is a crust with a crisp exterior and airy interior, exactly what you want from artisan pizza. The stand mixer takes the guesswork out of the process, whether you’re a beginner or seasoned baker.
Use it for classic margherita, loaded veggie, or any topping combination you love. This dough delivers.
Ingredients for Pizza Dough Recipe Kitchenaid Stand Mixer
Eight simple ingredients transform into artisan-quality pizza dough with your stand mixer.
| Ingredient | Amount | Notes |
|---|---|---|
| Bread Flour 🌾 | 3 ½ cups | High protein content preferred |
| Active Dry Yeast 🍞 | 2 ¼ tsp | One packet or from jar |
| Granulated Sugar 🍚 | 1 tsp | Feeds the yeast for activation |
| Kosher Salt 🧂 | 1 ½ tsp | Diamond Crystal preferred |
| Extra-Virgin Olive Oil 🫒 | 2 tbsp | For dough enrichment |
| Warm Water 💧 | 1 ¼ cups | 110-115°F for yeast |
| Cornmeal 🌽 | ¼ cup | For dusting work surface |
| All-Purpose Flour 🌾 | ½ cup | For adjusting dough consistency |
The flour is non-negotiable here. Bread flour gives you that chewy, airy crumb—King Arthur is my go-to brand. Yeast freshness matters: check the expiration date, and if it’s been in your pantry for a year, grab a new packet from the store. Warm water should feel like a baby’s bath (warm but not hot). I use my KitchenAid’s dough hook attachment, which handles the kneading perfectly every time.
No bread flour? All-purpose in a pinch, but you’ll lose some of that perfect texture. Out of cornmeal? Semolina or extra flour works for dusting. The olive oil can be any extra-virgin—I grab mine from Trader Joe’s. If you’re making this for a crowd, double the batch and freeze half (it reheats beautifully). The sugar is just to wake up the yeast—don’t skip it.
Dough balls keep in the fridge for 3 days or freeze for 1 month. Bring to room temp before shaping. Leftovers? Wrap tightly—they’ll dry out otherwise. The cornmeal prevents sticking, so don’t skip it (worth the extra minute).
Why You’ll Love This Recipe
- Hands-Off Mixing: I just toss everything in the stand mixer, walk away, and let the dough hook do all the kneading—no sticky counters or sore arms.
- Crisp, Chewy Perfection: The bread flour and olive oil combo gives that ideal crust: crisp on the outside, chewy inside, with a hint of richness from the EVOO.
- Budget Stretcher: A pound of bread flour and a packet of yeast make enough dough for four large pizzas—way cheaper than delivery.
Step-by-Step Instructions for Pizza Dough with Kitchenaid Stand Mixer
Here’s the method I use for perfect dough every time—simple, reliable, foolproof.
Step 1: Activate the Yeast Properly
In the bowl of your Kitchenaid stand mixer, combine the 1.25 cups Warm Water, 1 tsp Granulated Sugar, and 2.25 tsp Active Dry Yeast. Let this sit for 5-7 minutes until the mixture becomes foamy and bubbly—this is your visual confirmation that the yeast is active and ready to work.
If you don’t see bubbles after 10 minutes, your yeast may be expired. Start over with fresh yeast, as inactive yeast won’t rise your dough. The water temperature should feel warm but not hot to the touch—around 110-115°F is ideal.
Step 2: Mix the Dough with the Dough Hook
Add the 3.5 cups Bread Flour and 1.5 tsp Kosher Salt to the yeast mixture. Secure the bowl to your mixer with the dough hook attachment. Mix on low speed for 2 minutes until the ingredients begin to come together into a shaggy mass.
Increase the speed to medium and mix for another 5-6 minutes. The dough should pull away from the sides of the bowl and form a smooth, elastic ball. If the dough feels too sticky, add the 0.5 cup All-Purpose Flour, 1 tablespoon at a time, until it reaches the right consistency.
Step 3: Incorporate the Olive Oil and Knead
With the mixer still running on medium speed, drizzle in the 2 tbsp Extra-Virgin Olive Oil. Continue kneading for another 3-4 minutes until the oil is fully incorporated and the dough is smooth, supple, and slightly tacky but not sticky.
You’ll know it’s ready when you can poke the dough and it springs back slowly, leaving a slight indentation. This indicates proper gluten development. If it springs back too quickly, it may need more kneading. If it doesn’t spring back at all, it might need a bit more flour.
Step 4: First Rise Until Doubled
Lightly grease a large bowl with a bit of olive oil. Transfer the dough to the bowl and turn it once to coat all sides. Cover the bowl with a clean kitchen towel or plastic wrap. Place it in a warm, draft-free spot to rise for 1-2 hours, or until the dough has doubled in size.
I like to let mine rise in the oven with the light turned on—this creates a perfect warm environment. The dough is ready when it holds an indentation when gently pressed with your finger. This first rise develops the flavor and texture of your crust.
Step 5: Shape and Prepare for Final Use
Once risen, punch down the dough to release the air. Turn it out onto a surface lightly dusted with the 0.25 cup Cornmeal. The cornmeal adds texture and prevents sticking as you shape the dough.
Divide the dough into 4 equal portions for individual pizzas. Shape each portion into a smooth ball, then roll or stretch to your desired thickness. Let the shaped dough rest for 10-15 minutes before adding toppings—this makes it easier to stretch without tearing. Your dough is now ready for the oven.
Pro Tips For Making Pizza Dough Recipe Kitchenaid Stand Mixer
- Activate Yeast First: Proof your active dry yeast in warm water (110°F) with the sugar for 5-10 minutes until foamy—I learned this the hard way after making dense, flat dough more times than I’d like to admit.
- Use Bread Flour: Skip the all-purpose and stick with bread flour; the higher protein content gives that chewy, elastic texture that makes pizza dough actually worth the effort.
- Don’t Over-Knead: Let the KitchenAid do the work on low speed (2-3 minutes max) or you’ll end up with tough dough—yes, even if it looks like it needs more time.
- Oil the Bowl Well: Coat the mixing bowl generously with olive oil before the first rise; it prevents sticking and makes the dough easier to handle later—I was skeptical until I tried it.
Flavor Customization for pizza dough recipe kitchenaid stand mixer
Garlic-Herb Infusion
Add 3 minced garlic cloves and 1 tbsp chopped fresh rosemary with the olive oil during kneading. This infuses the entire dough with aromatic flavors. David always requests this version for our family pizza nights.
Spicy Kick
Mix 1 tsp red pepper flakes or ½ tsp cayenne into the flour before adding wet ingredients. The heat builds as the dough rises, creating a subtle but noticeable warmth.
Cheesy Bread Twist
Fold in ½ cup shredded Parmesan during the final kneading stage. This creates a savory depth that pairs perfectly with white sauces. I learned this trick working at a farm-to-table spot in Asheville.
Whole Wheat Option
Replace 1 cup bread flour with whole wheat flour for a nuttier flavor and heartier texture. The dough may need 1-2 tbsp extra water to compensate for the dryness of whole wheat. 💪
Honey-Sweetened
Swap the sugar for 1 tbsp honey when activating the yeast. This adds a subtle sweetness that complements savory toppings like prosciutto and arugula.
Olive and Sun-Dried
Knead in ¼ cup chopped Kalamata olives and 2 tbsp chopped sun-dried tomatoes at the end. These Mediterranean flavors work beautifully with feta and spinach toppings. 🌟
Nutrition Facts
Frequently Asked Questions
What speed should I use on my mixer?
Start on low speed for 2 minutes to combine ingredients, then switch to medium for 5-6 minutes of kneading. This prevents flour from flying out while ensuring proper gluten development.
Why isn’t my dough rising?
Check your yeast first—if it didn’t foam after 10 minutes, it may be expired. Also ensure your water was warm, not hot (110-115°F), as too-hot water kills yeast. A warm, draft-free spot is best for rising.
Can I make the dough ahead of time?
After kneading, let it rise in the fridge for up to 3 days for deeper flavor. Bring to room temperature before shaping. For longer storage, freeze for up to 1 month.
How do I know when it’s kneaded enough?
The dough should pull away from the bowl and form a smooth, elastic ball. Poke it—if it springs back slowly with a slight indentation, it’s ready. If it bounces back fast, knead 1-2 minutes more.

- Potato Candy Recipe 1933: Vintage Peanut Butter Roll Delight - October 30, 2026
- Potato Chip Cookie Recipe With Pecans: Buttery Crunch Meets Nutty Richness - October 30, 2026
- Potato Patty Recipe No Egg: Crispy Edges Without the Binder - October 30, 2026