
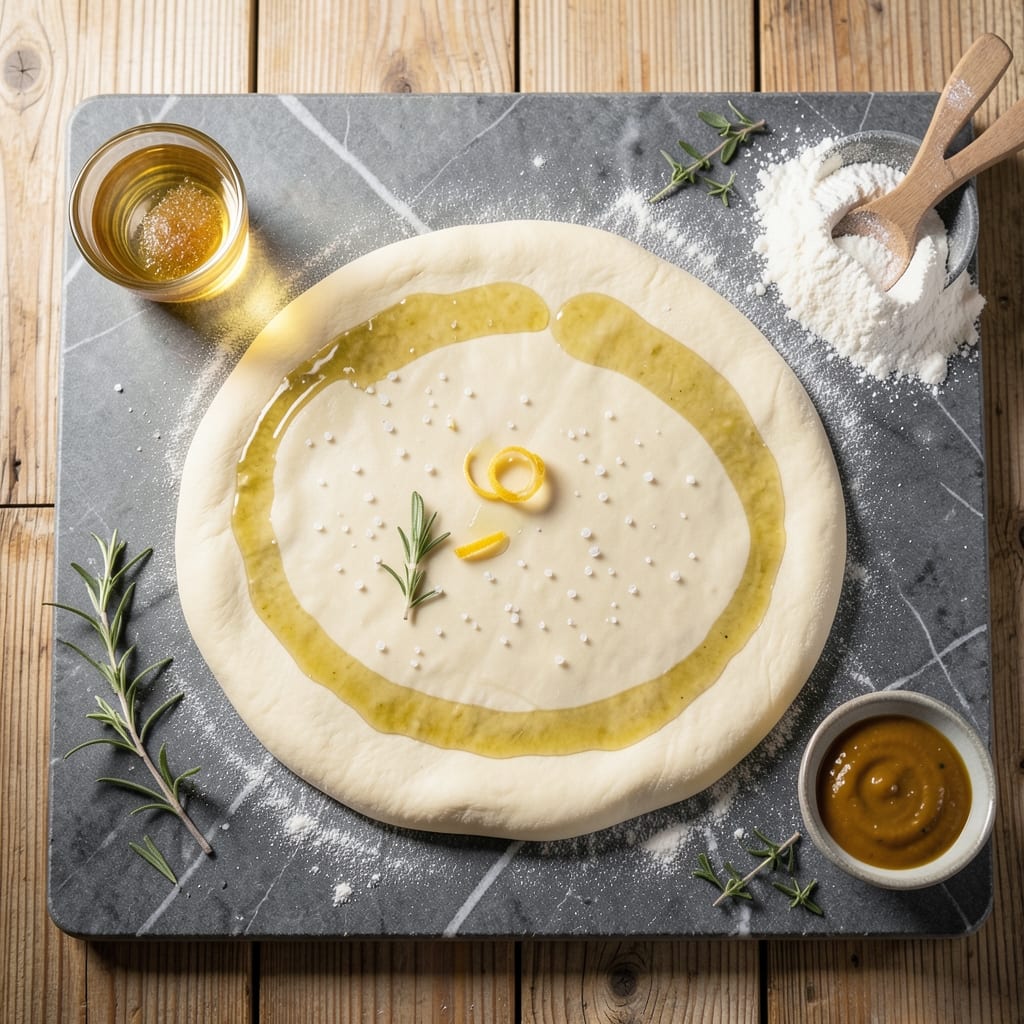
Standing on a step stool in my grandmother’s kitchen in Sicily, I learned that great pizza dough requires patience more than effort. This overnight refrigerator rise develops flavor and texture that same-day methods can’t match.
The slow fermentation in cold temperatures allows the dough to develop complexity while creating those desirable air pockets. You’ll achieve a perfect balance of crisp exterior and chewy interior without the need for constant attention.
By morning, the dough will be ready to shape and bake, delivering authentic results with minimal active prep time. The extended rise transforms basic ingredients into something extraordinary.
This method proves that the best pizzas often start with the simplest techniques, perfected over generations.
Ingredients for Pizza Dough Recipe Refrigerator
Simple ingredients, Sicilian tradition, and time create this extraordinary pizza base.
| Ingredient | Amount | Notes |
|---|---|---|
| Bread Flour 🌾 | 3 ½ cups | High protein for chewy texture |
| Active Dry Yeast 🍞 | 1 tsp | Instant yeast works too |
| Fine Sea Salt 🧂 | 1 ½ tsp | Diamond Crystal preferred |
| Granulated Sugar 🍚 | 1 tsp | Feeds the yeast activation |
| Extra-Virgin Olive Oil 🫒 | 2 tbsp | Plus extra for bowl greasing |
| Warm Water 💧 | 1 ½ cups | 105-110°F for yeast |
| Semolina Flour 🌾 | ¼ cup | For dusting work surface |
| All-Purpose Flour 🌾 | ½ cup | For adjusting dough consistency |
| Cornmeal 🌽 | 2 tbsp | For pizza peel dusting |
| Honey 🍯 | ½ tsp | Optional for sweetness |
The flour is everything here. King Arthur Bread Flour has the protein content you need for that perfect chewy bite—12-13% is ideal. Yeast from SAF or Red Star is reliable, but check the expiration date (old yeast is a recipe killer). I always keep my salt in a small dish right by the flour so I don’t forget it. The olive oil? California Olive Ranch or whatever good stuff you’ve got open.
No bread flour? All-purpose in a pinch—just add an extra tablespoon of vital wheat gluten per cup. Out of yeast? You’re out of luck for this overnight method. Sugar can be swapped for honey or agave, but stick to the same amount. The warm water temp is non-negotiable—too hot kills yeast, too cold won’t activate it. I use a thermometer, but if you don’t have one, it should feel like warm bath water.
Dough balls can rest in the fridge for 1-3 days—the flavor gets better with time. Portion into 4 equal balls for individual pizzas, or keep as one big ball. Freeze extras for up to 3 months (thaw in fridge overnight). Always bring to room temp before shaping—cold dough fights back.
Why You’ll Love This Recipe
- Set It and Forget It: I mix this dough in the morning, let it rise in the fridge all day, and it’s ready when I am—no last-minute stress.
- Rich, Buttery Depth: The olive oil in the dough gives it this subtle richness that makes every bite feel indulgent.
- Meal Prep Hero: I make a double batch on Sunday and use it for pizza night, calzones, or even garlic knots through the week.
- Pocketbook Friendly: Five simple pantry staples and I’ve got restaurant-quality dough for a fraction of the cost.
Step-by-Step Instructions for Pizza Dough Refrigerator
Follow this method precisely and you’ll achieve the ideal texture for your homemade creation.
Step 1: Activate the Yeast for Maximum Rise
In a small bowl, combine the 1.5 cups warm water, 1 tsp granulated sugar, and 0.5 tsp honey. Stir until dissolved, then sprinkle the 1 tsp active dry yeast over the surface. Let it sit undisturbed for 5-7 minutes until the mixture becomes foamy and bubbly.
This activation step proves your yeast is alive and ready to work. If you don’t see foam, your water might have been too hot or the yeast too old. I always check the temperature of my water with a thermometer to ensure it’s between 105-110°F.
Step 2: Mix and Knead the Dough to Ideal Consistency
In a large mixing bowl, combine the 3.5 cups bread flour and 1.5 tsp fine sea salt. Make a well in the center and pour in the activated yeast mixture and 2 tbsp extra-virgin olive oil. Use a wooden spoon to mix until a shaggy dough forms.
Turn the dough out onto a surface dusted with 0.25 cup semolina flour and knead for 8-10 minutes until smooth and elastic. If the dough feels too sticky, gradually incorporate up to the 0.5 cup all-purpose flour reserved for adjustment. The dough should spring back slowly when pressed with your finger.
Step 3: First Rise at Room Temperature
Lightly oil a clean bowl with extra-virgin olive oil, place the dough inside, and turn to coat all sides. Cover with a damp towel and let rise at room temperature for 1-2 hours or until doubled in size.
This initial rise develops the gluten structure and flavor. I like to place my bowl in a turned-off oven with the light on to create a warm, draft-free environment. The dough is ready when it no longer springs back quickly when gently pressed.
Step 4: Cold Ferment in the Refrigerator
After the first rise, punch down the dough to release air. Divide it into portions if making multiple pizzas. Place each portion in an oiled bowl, cover tightly with plastic wrap, and refrigerate for 24-48 hours.
This extended cold fermentation is the secret to developing complex flavor and perfect texture. The slower rise at refrigerator temperatures allows the yeast to work gradually, creating a more nuanced taste. The dough will continue to rise slowly but won’t double in size.
Step 5: Shape and Prepare for Baking
Remove the dough from the refrigerator and let it come to room temperature for 1-2 hours. Dust your work surface with 0.25 cup semolina flour and shape the dough by hand or with a rolling pin to your desired thickness.
For easy transfer to the oven, dust a pizza peel with 2 tbsp cornmeal before placing the shaped dough on it. This prevents sticking and adds a delightful crunch to the crust. The dough is now ready for your favorite toppings and baking.
Pro Tips For Making Pizza Dough Recipe Refrigerator
- Cold Ferment Longer: Let the dough rise in the fridge for at least 24 hours—48 if you can wait. I learned this the hard way: shorter ferments give you flat flavor and a dense crust.
- Use Ice-Cold Water: Swap warm water for ice-cold when mixing to slow the yeast down for a controlled, lazy rise in the fridge. Sounds weird, but it works: you’ll get better texture and a more complex taste.
- Skip the Oil Pool: Coat the bowl with just 1 teaspoon of olive oil—enough to prevent sticking but not so much that it makes the dough greasy. After burning through half a bottle ruining batches, I finally figured out less is more here.
- Salt Last: Add the fine sea salt after the yeast has activated in the water and sugar mix. My grandmother swore by this, and she was right: direct contact with salt can stunt the yeast before it even gets started.
Health Benefits of This Recipe
Nutrient-Rich Base
This dough provides a solid foundation of complex carbohydrates from the bread flour, offering sustained energy. A 100g serving contains about 280 calories, making it a balanced base for your meal. The slow fermentation process actually improves nutrient absorption. 💪
Heart-Healthy Fats
The extra-virgin olive oil in this recipe contributes monounsaturated fats, which support heart health. These healthy fats also help your body absorb fat-soluble vitamins from your toppings. I always use California Olive Ranch for the best quality.
Protein Boost
Bread flour’s higher protein content—about 12-13%—provides more plant-based protein than all-purpose flour. Each serving delivers approximately 9g of protein, essential for muscle repair and growth. This makes the dough more filling and nutritious.
Minimal Sugar
With only 1 tsp granulated sugar and 0.5 tsp honey in the entire recipe, this dough keeps added sugars to a minimum. The sugar serves primarily to activate the yeast rather than sweeten the final product. The natural fermentation process consumes most of these sugars.
Dietary Fiber
The whole wheat version of this dough would provide more fiber, but even with white flour, you’ll get about 2g of fiber per serving. For extra fiber, try substituting 1 cup of whole wheat flour for an equal amount of bread flour.
Low Sodium Option
You can reduce the fine sea salt to 1 tsp without affecting the dough’s structure. This brings the sodium content down to about 300mg per serving. I often use Diamond Crystal salt for its clean flavor and consistent measurement. ✨
Nutrition Facts
Frequently Asked Questions
How long can I keep the dough in the fridge?
You can refrigerate the dough for up to 3 days. The flavor improves with time, but beyond 48 hours, the yeast activity may weaken, affecting the rise.
Can I use all-purpose flour instead of bread flour?
Yes, but add 1 tbsp vital wheat gluten per cup to compensate for the lower protein content. The texture will be slightly less chewy than with bread flour.
Why does the dough need to come to room temperature before shaping?
Cold dough is stiff and hard to stretch. Letting it rest for 1-2 hours relaxes the gluten, making it more pliable and easier to shape without tearing.
Can I freeze the dough after refrigeration?
Wrap portions tightly in plastic wrap, then place in a freezer bag for up to 3 months. Thaw overnight in the fridge before using.

- Potato Candy Recipe 1933: Vintage Peanut Butter Roll Delight - October 30, 2026
- Potato Chip Cookie Recipe With Pecans: Buttery Crunch Meets Nutty Richness - October 30, 2026
- Potato Patty Recipe No Egg: Crispy Edges Without the Binder - October 30, 2026