
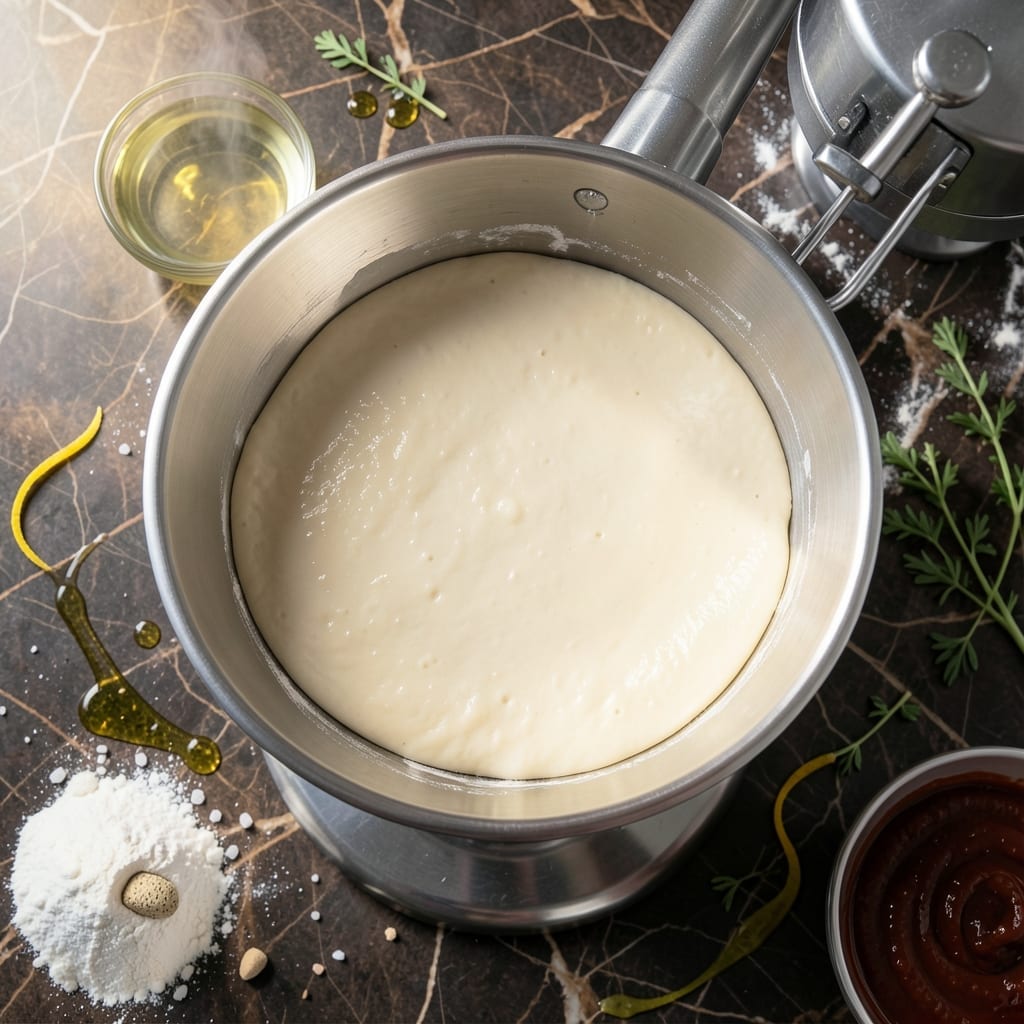
Making foolproof pizza dough at home doesn’t require years of practice or special skills. My grandmother taught me that the right technique matters more than experience.
This stand mixer method simplifies the process while delivering elastic, restaurant-quality dough every time. The machine handles the kneading, so you can focus on precision and consistency.
With just a few basic ingredients and 10 minutes of active prep, you’ll create a smooth, stretchy base ready for your favorite toppings. The dough rises beautifully, forming those signature air pockets.
Whether you prefer thin crust or thick, this method adapts easily. The result is a canvas for your best pizza creations.
Ingredients for Pizza Dough Recipe Stand Mixer
Nine simple ingredients create that perfect elastic base for your next pizza night.
| Ingredient | Amount | Notes |
|---|---|---|
| Bread Flour 🌾 | 3 ½ cups | High-protein for elasticity |
| Active Dry Yeast 🍞 | 2 ¼ tsp | Or one 0.25 oz packet |
| Granulated Sugar 🧂 | 1 tsp | Feeds the yeast |
| Kosher Salt 🧂 | 1 ½ tsp | Diamond Crystal preferred |
| Extra-Virgin Olive Oil 🫒 | 2 tbsp | For dough softness |
| Lukewarm Water 💧 | 1 ¼ cups | 110-115°F temperature |
| Semolina Flour 🌾 | ¼ cup | For dusting work surface |
| Cornmeal 🌽 | 2 tbsp | For pizza peel dusting |
| All-Purpose Flour 🌾 | ½ cup | For adjusting consistency |
The flour makes all the difference here. King Arthur Bread Flour is my go-to for that perfect chew—high protein content means better gluten development. Yeast freshness matters too; check the expiration date and store it in the freezer if you won’t use it quickly. I grab mine from Whole Foods bulk section since they turn over stock faster than most places.
No bread flour? All-purpose works in a pinch (add an extra tablespoon or two to compensate). Out of yeast? Instant yeast at a 1:1 ratio saves the day. The olive oil can be any good quality—California Olive Ranch is a solid grocery store find. Lukewarm water is key; too hot kills the yeast, too cold slows activation (use a thermometer if you’re unsure).
Dough balls keep wrapped in plastic for 2 days in the fridge or freeze for 1 month. Bring to room temp before shaping. Leftovers? Par-bake and freeze as crusts for lazy nights (worth the extra minute to label them).
Why You’ll Love This Recipe
- Hands-Off Mixing: I just toss everything in the stand mixer and let the dough hook do the work—no sticky counters or sore arms.
- Rich, Buttery Flavor: The olive oil and bread flour team up for a crust that’s crispy outside, chewy inside. Honestly, it tastes like my favorite pizzeria.
- Freezer Friendly: I make a double batch, freeze the extra, and pull it out for last-minute dinners.
- Budget Stretcher: Five basic pantry staples, and I get restaurant-quality dough for pennies per pie.
Step-by-Step Instructions for Pizza Dough in a Stand Mixer
This method delivers a perfectly elastic base with minimal effort and maximum consistency.
Step 1: Activate the Yeast and Begin the Dough
In the bowl of your stand mixer, combine the 1.25 cups lukewarm water with the 1 tsp granulated sugar and 2.25 tsp active dry yeast. Let this mixture sit for 5-7 minutes until it becomes frothy and cloudy—this confirms your yeast is alive and active.
Once activated, add the 2 tbsp extra-virgin olive oil and 1.5 tsp kosher salt to the yeast mixture. I always use Diamond Crystal kosher salt for its clean flavor and consistent texture. Stir briefly to combine these wet ingredients before moving to the next step.
Step 2: Incorporate the Flour with the Dough Hook
Attach the dough hook to your stand mixer. Add all 3.5 cups bread flour to the bowl. I recommend using high-protein bread flour for its superior elasticity, which gives pizza dough that perfect chewy texture.
Mix on low speed for 1-2 minutes until the flour is fully incorporated and a shaggy dough forms. At this point, you might notice the dough is slightly sticky—that’s normal. If it appears too wet, add 0.5 cup all-purpose flour gradually, 1 tablespoon at a time, until it pulls away from the sides of the bowl.
Step 3: Knead to Develop Gluten Structure
Increase the mixer speed to medium and knead for 6-8 minutes. You’ll see the dough transform from rough and shaggy to smooth and elastic. The gluten development is crucial here—it’s what gives your pizza that perfect stretch and chew.
Watch for the dough to pull completely away from the bowl and form a tight ball around the dough hook. If it still seems too sticky after 8 minutes, add the remaining all-purpose flour as needed, but be patient—over-flouring can make your crust tough.
Step 4: First Rise for Optimal Flavor Development
Lightly grease a large bowl with a bit of the extra-virgin olive oil. Transfer the kneaded dough to this bowl and turn it to coat all sides. Cover the bowl with a clean kitchen towel or plastic wrap.
Let the dough rise in a warm, draft-free spot for 1-2 hours, or until it has doubled in size. I like to place mine near a slightly warm oven (turned off) for consistent results. The dough is ready when it’s puffy and a finger pressed into it leaves a slight indentation.
Step 5: Shape and Prepare for Final Use
Turn the risen dough out onto a surface dusted with 0.25 cup semolina flour. This coarse flour prevents sticking while adding a pleasant texture to your crust. Divide the dough into 4 equal portions for individual pizzas.
Shape each portion into a ball, then use your hands or a rolling pin to form your desired crust thickness. For easy transfer to the oven, dust your pizza peel with 2 tbsp cornmeal before placing the shaped dough on it. This creates a barrier that prevents sticking while adding a subtle crunch.
Pro Tips For Making Pizza Dough Recipe Stand Mixer
- Proof the Yeast: Always dissolve the active dry yeast in warm water (about 110°F) with a pinch of sugar first—if it doesn’t bubble within 5 minutes, your dough won’t rise.
- Use Bread Flour: Skip the all-purpose; bread flour’s higher protein content gives the dough that chewy, elastic texture you want in a good crust.
- Don’t Over-Knead: Let the stand mixer do the work for 4-5 minutes max—over-kneading makes the dough tough, and I learned this the hard way with my first few pizzas.
- Oil the Bowl: Coat the mixing bowl with about 1 tablespoon of extra-virgin olive oil before the first rise to keep the dough from sticking and add a subtle richness.
Creative Variations of This Recipe
Whole Wheat Health Boost
Replace 1 cup bread flour with whole wheat flour for a nuttier flavor and extra fiber. I learned this trick from my grandmother in Sicily, who always said whole grains add heartiness to pizza. The dough may need an extra 1-2 tbsp water since whole wheat absorbs more liquid. 💪
Garlic-Herb Infusion
Add 3 minced garlic cloves and 1 tbsp dried Italian herbs to your wet ingredients for a fragrant twist. This works beautifully with the extra-virgin olive oil already in the recipe. I find it pairs especially well with white pizzas.
Cheesy Stuffed Crust
Press ¼ cup shredded mozzarella into the edges of your shaped dough before adding toppings. This East Coast favorite creates a gooey surprise in every bite. Use low-moisture mozzarella to prevent a soggy crust.
Sourdough Starter Swap
Replace ½ cup water with ½ cup active sourdough starter for a tangy depth. Reduce yeast to 1 tsp since the starter adds leavening power. This method requires a longer rise—about 3-4 hours at room temperature.
Gluten-Free Option
Use a 1:1 gluten-free flour blend with 1 tsp xanthan gum added. The texture will differ from traditional dough but still delivers great flavor. Let it rest for 20 minutes before shaping to improve workability.
Sweet Dessert Dough
Add 2 tbsp honey and 1 tsp cinnamon to create a sweet base perfect for dessert pizzas. Top with ricotta and fresh fruit for a Sicilian-inspired treat. My family loves this for Sunday brunch. ✨
Nutrition Facts
Frequently Asked Questions
Can I use all-purpose flour instead of bread flour?
Yes, but add an extra 1-2 tablespoons to compensate for the lower protein content. The texture will be slightly less chewy than with bread flour.
How do I know when the dough is kneaded enough?
It’s ready when it pulls away from the bowl and forms a smooth, elastic ball around the hook. This typically takes 6-8 minutes on medium speed.
What if my dough doesn’t rise?
Check your yeast freshness and water temperature first. If both are good, place the bowl in a warmer spot (like near a preheated oven). It may just need more time.
Can I make the dough ahead of time?
Refrigerate the dough in an oiled, sealed container for up to 2 days. Let it come to room temperature before shaping.

- Potato Candy Recipe 1933: Vintage Peanut Butter Roll Delight - October 30, 2026
- Potato Chip Cookie Recipe With Pecans: Buttery Crunch Meets Nutty Richness - October 30, 2026
- Potato Patty Recipe No Egg: Crispy Edges Without the Binder - October 30, 2026