
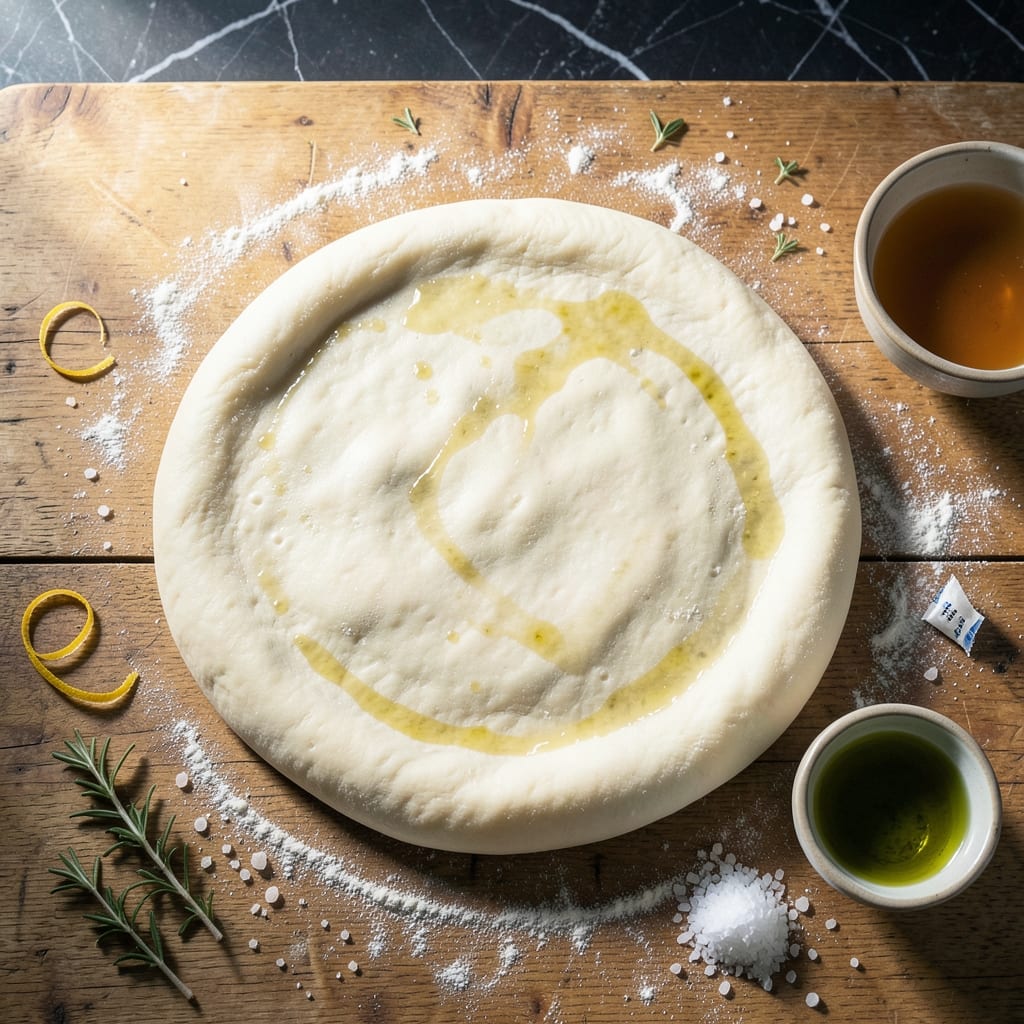
I learned early in my grandmother’s Sicilian kitchen that great pizza dough doesn’t need hours to rise. This method delivers fluffy, restaurant-quality crust in under an hour using quick rise yeast.
The secret lies in the yeast activation and a warm environment that speeds up the rising process. With just a handful of pantry staples and precise timing, you’ll have dough ready for stretching and topping in record time.
What emerges is a golden crust with the perfect balance of chewiness and crispness—exactly what you’d expect from an Italian pizzeria. The quick rise method produces consistent results every time without sacrificing texture or flavor.
This approach makes homemade pizza achievable even on busy weeknights. The dough comes together quickly and bakes into a perfect base for your favorite toppings.
Ingredients for Pizza Dough Recipe Using Quick Rise Yeast
Just a few pantry staples and you’re halfway to a perfect crust.
| Ingredient | Amount | Notes |
|---|---|---|
| Bread Flour 🌾 | 3 ½ cups | High protein for chewy texture |
| Quick Rise Yeast 🍞 | 1 package | 2 1/4 tsp equivalent |
| Warm Water 💧 | 1 ¼ cups | 110°F to 115°F |
| Olive Oil 🫒 | 2 tbsp | Extra-virgin preferred |
| Granulated Sugar 🍚 | 1 tsp | Feeds the yeast |
| Salt 🧂 | 1 ½ tsp | Fine sea salt |
| Cornmeal 🌽 | ¼ cup | For dusting pan |
| All-Purpose Flour 🌾 | ½ cup | For dusting surface |
The yeast is doing all the heavy lifting here, so check the expiration date—old yeast won’t rise fast enough. I grab Fleischmann’s RapidRise from the baking aisle, but any quick-rise brand works. Bread flour gives that chewy texture you expect from a pizzeria, but all-purpose in a pinch (just add 1 extra tbsp per cup). King Arthur is my go-to brand for reliability.
No bread flour? All-purpose plus 1 tbsp vital wheat gluten per cup mimics the protein boost. Out of quick-rise yeast? Active dry yeast works too—just let it bloom in warm water first. Sugar can be swapped for honey (1:1 ratio), but the yeast loves the quick energy from granulated. Olive oil is flexible—vegetable or canola oil in a 1:1 swap if that’s what’s open.
Dough can rest in the fridge overnight if you want to make ahead (flavor deepens). Keeps wrapped tight for 2 days refrigerated, or freeze the shaped rounds for 1 month. Thaw in the fridge before stretching—cold dough tears easily.
Why You’ll Love This Recipe
- Ready in Minutes: I love that the quick rise yeast cuts the waiting time in half—this dough is ready to shape while I prep the toppings.
- Crispy Chewy Magic: The bread flour gives it that perfect chew, and the olive oil adds just the right richness to every bite.
- Weeknight Hero: Honestly, it’s my go-to for last-minute dinners, movie nights, or even when the kids bring friends over.
- Pocket-Friendly Feast: A few pantry staples stretch into multiple pizzas, and leftovers (if there are any) reheat beautifully.
Step-by-Step Instructions for Pizza Dough Using Quick Rise Yeast
Here’s the method. Straightforward, tested, works every time.
Step 1: Activate the Yeast
In a large mixing bowl, combine the 1.25 cups Warm Water, 1 tsp Granulated Sugar, and 1 package Quick Rise Yeast. The sugar feeds the yeast while the warm water wakes it up.
Let it sit for 5 minutes until the mixture becomes frothy and cloudy. This is your visual confirmation that the yeast is active and ready to work. If it doesn’t bubble, your water might have been too hot or the yeast might be expired—start over with fresh ingredients.
Step 2: Mix and Knead the Dough
Add the 3.5 cups Bread Flour, 1.5 tsp Salt, and 2 tbsp Olive Oil to the yeast mixture. Stir with a wooden spoon until a shaggy dough forms and most of the flour is incorporated.
Turn the dough out onto a surface dusted with 0.5 cup All-Purpose Flour and knead by hand for 8-10 minutes until smooth and elastic. The dough should spring back when poked and feel slightly tacky but not sticky. I like to use the heel of my hand to push the dough away, then fold it back over itself.
Step 3: First Rise for Volume
Form the dough into a ball and place it in a lightly oiled bowl. Cover with a damp kitchen towel and let it rise in a warm, draft-free place for 20-25 minutes. With quick rise yeast, you’ll see noticeable expansion in this time.
Look for the dough to have nearly doubled in size. Press your finger gently into the dough—if the indent remains, it’s ready for the next step. This first rise develops flavor and starts building that airy texture we want in the final crust.
Step 4: Shape and Second Rise
Punch down the dough to release the air, then divide it into 4 equal portions for individual pizzas. Roll each portion on a surface dusted with 0.25 cup Cornmeal to prevent sticking. The cornmeal also adds a nice crunch to the finished crust.
Shape each portion into a ball, then use your hands or a rolling pin to stretch it into a ¼-inch thick round. Place on a baking sheet, cover, and let rise for another 15-20 minutes while you preheat your oven to 475°F.
You’ll notice the dough becomes more pliable and easier to stretch after this second rise. This is when I like to dimple the surface with my fingertips to create little pockets for sauce to collect.
Pro Tips For Making Pizza Dough Recipe Using Quick Rise Yeast
- Check Water Temp: Use a thermometer to hit 110-115°F for the warm water—any hotter and you’ll kill the quick rise yeast, any cooler and it won’t activate properly. I learned this the hard way after a few dense, sad pizzas.
- Measure Flour Right: Scoop the bread flour into your measuring cup, then level it off—don’t pack it down or you’ll end up with a tough, dry dough. Sounds fussy, but it actually changes the outcome.
- Skip the Over-Kneading: With quick rise yeast, 4-5 minutes of kneading is plenty—overwork it and the dough gets tight, making it harder to stretch later. My first few attempts were rubbery because I treated it like a workout.
- Add Sugar Last: Mix the granulated sugar into the warm water after it’s cooled slightly to avoid caramelizing the sugar or shocking the yeast. Small step, but it makes a real difference in getting a consistent rise.
Pro Cooking Tips for Perfect Results
Yeast Activation Tips
Always use water between 110-115°F for quick rise yeast. I test it on my wrist like Nonna taught me—it should feel like warm bathwater. Too hot kills the yeast, too cool slows activation. A kitchen thermometer takes the guesswork out.
Kneading Perfection
The dough should be slightly tacky but not sticky after 8-10 minutes of kneading. If it sticks to your hands, add 1 tbsp all-purpose flour at a time. I use the heel of my hand to push the dough away, then fold it back over itself.
Rising Environment
Quick rise yeast needs warmth. I preheat my oven to 200°F, turn it off, then place the covered bowl inside. The residual heat creates the perfect environment. Avoid drafts—they can cause uneven rising. 🌡️
Dough Handling
When shaping, avoid overworking the dough. Press from the center outward, leaving a slightly thicker edge for the crust. If it resists stretching, let it rest for 5 minutes then try again. This prevents tearing.
Cornmeal Secret
Dust your pan with ¼ cup cornmeal before placing the dough. It prevents sticking and adds a delightful crunch to the crust. I buy mine from the bulk section at my local Italian deli for the freshest flavor.
Oven Prep
Preheat your oven with a pizza stone or inverted baking sheet for at least 30 minutes at 475°F. This mimics a professional pizza oven. The hot surface ensures a crispy bottom crust. 🔥
Nutrition Facts
Frequently Asked Questions
Can I use active dry yeast instead?
Yes, but let it bloom in warm water for 5-10 minutes first. Quick rise yeast skips this step, but active dry needs time to activate. The texture will be nearly identical with proper blooming.
Why is my dough not rising?
Check your water temperature—it should be 110-115°F. Too hot kills yeast; too cold slows it. Also verify yeast isn’t expired and your rising spot is warm and draft-free.
How long can I store unused dough?
Wrap tightly and refrigerate for up to 2 days or freeze for 1 month. Thaw overnight in the fridge before using. Cold dough is easier to handle but may need extra time to stretch.
What if my dough is too sticky?
Add 1 tbsp all-purpose flour at a time while kneading. The dough should be tacky but not stick to your hands. Over-flouring makes crust dense, so add sparingly.

- Potato Candy Recipe 1933: Vintage Peanut Butter Roll Delight - October 30, 2026
- Potato Chip Cookie Recipe With Pecans: Buttery Crunch Meets Nutty Richness - October 30, 2026
- Potato Patty Recipe No Egg: Crispy Edges Without the Binder - October 30, 2026