
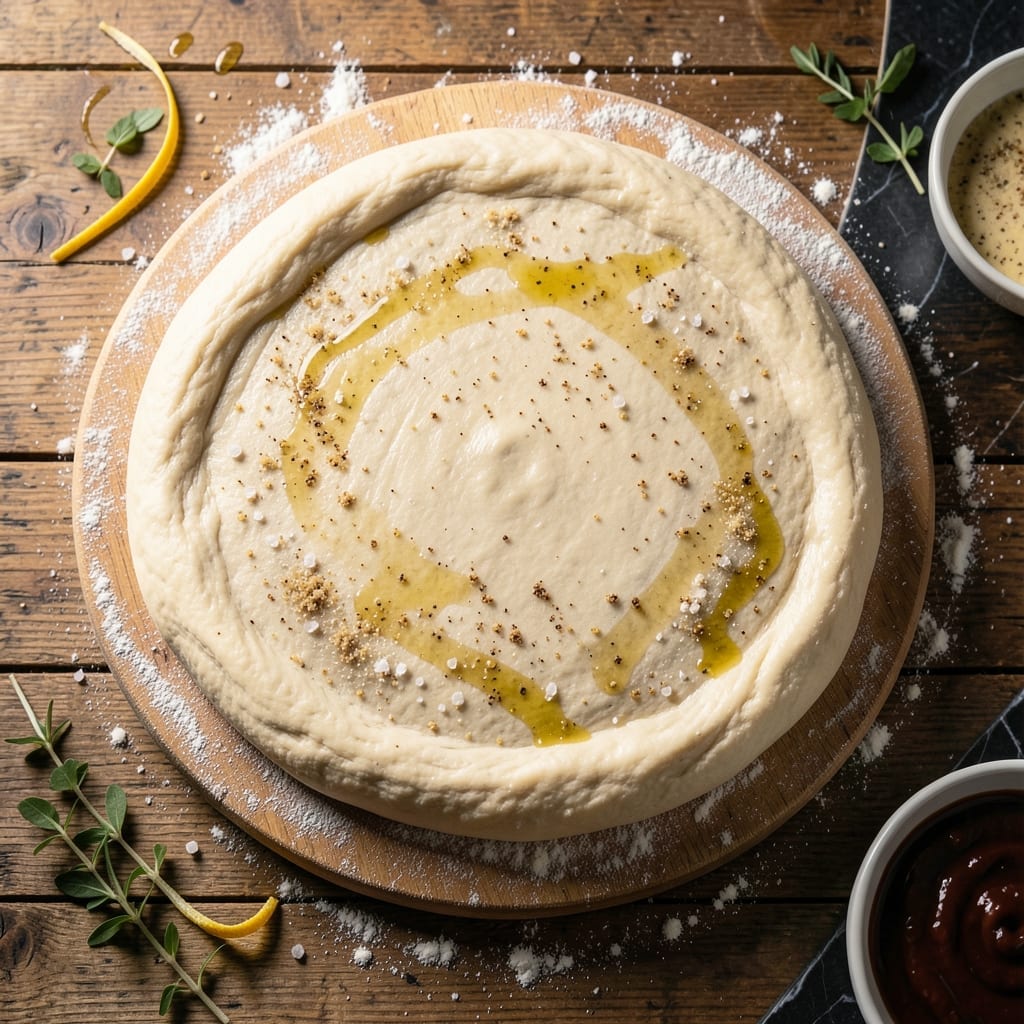
There’s nothing like the taste of pizza made from scratch, especially when it starts with a living sourdough starter. Standing on a step stool in my grandmother’s kitchen in Sicily, I learned that patience is the secret to a chewy, flavorful base.
This method uses your active starter to create a dough that develops deep, complex flavors during its overnight fermentation. The result is a crust with the perfect balance of crispness and chew, reminiscent of wood-fired pizzerias.
With just a few simple ingredients and time, you’ll craft a dough that transforms your homemade pizza from good to extraordinary. The sourdough tang adds depth that commercial yeasts simply can’t match.
Let the fermentation work its magic while you prepare your toppings for the perfect pie.
Ingredients for Pizza Dough Recipe Using Starter
Seven simple ingredients. One active starter. Endless flavor potential for your base.
| Ingredient | Amount | Notes |
|---|---|---|
| Active Sourdough Starter 🥣 | ½ cup | Fed and bubbly, recently refreshed |
| Bread Flour 🌾 | 3 ½ cups | High-protein preferred for chew |
| Fine Sea Salt 🧂 | 2 tsp | Diamond Crystal for consistency |
| Filtered Water 💧 | 1 ¼ cups | Room temperature, chlorine-free |
| Extra-Virgin Olive Oil 🫒 | 2 tbsp | For bowl coating and dough softness |
| Semolina Flour 🌾 | ¼ cup | For dusting, prevents sticking |
| Honey 🍯 | 1 tsp | Optional, aids browning |
The starter should be at peak activity—fed 4-12 hours prior with visible bubbles and a slightly domed surface. King Arthur bread flour (12.7% protein) is my go-to for that authentic chew, but any high-protein flour works. Sea salt matters here; Diamond Crystal gives the most consistent results since it’s less dense than table salt. Filtered water removes chlorine, which can inhibit fermentation and affect flavor development.
No bread flour? All-purpose works in a pinch (texture will be slightly less chewy). Out of semolina? Fine cornmeal is a decent substitute for dusting. The honey is optional but helps with browning—skip it for a purely vegan dough. If your starter isn’t very active, add a pinch of instant yeast (1/4 tsp) to give it a boost without overpowering the sourdough flavor.
Dough can ferment in the fridge for up to 3 days—the longer it goes, the more complex the flavor. Portion and freeze extras for 1 month (thaw overnight in the fridge). Always bring ingredients to room temperature before mixing for best results.
Why You’ll Love This Recipe
- Five Ingredients Only: I just dump my active starter, bread flour, salt, water, and olive oil—no fancy add-ins or extra steps.
- Tangy Depth: That sourdough starter gives the crust a subtle tang that plain dough just can’t match.
- Freezer Friendly: I always double the batch and stash the extra dough in the freezer for impromptu pizza nights.
- Budget Stretch: A little starter goes a long way, and bread flour is cheaper than takeout every time.
Step-by-Step Instructions for Pizza Dough Using Starter
This method transforms your starter into a chewy, flavorful base with minimal effort.
Step 1: Mix and Autolyse the Dough
In a large mixing bowl, combine the 0.5 cup Active Sourdough Starter, 1.25 cups Filtered Water, and 1 tsp Honey. Stir until the starter is mostly dissolved. I find using room temperature water helps activate the starter more efficiently.
Add all 3.5 cups Bread Flour at once and mix with a wooden spoon or your hands until no dry bits remain. The dough will be shaggy—that’s perfect at this stage. Cover the bowl with a damp towel and let it rest for 30 minutes to begin the autolyse process.
This resting period allows the flour to fully hydrate, which kickstarts gluten development without kneading and makes the dough easier to work with later.
Step 2: Add Salt and Olive Oil
After autolyse, sprinkle the 2 tsp Fine Sea Salt evenly over the dough. I prefer Diamond Crystal for its consistent texture. Drizzle in the 2 tbsp Extra-Virgin Olive Oil and begin to incorporate both into the dough using your hands or a dough whisk.
The dough will feel slightly sticky and rough at first. Work it just until the salt and olive oil are fully distributed—about 2-3 minutes. You’ll notice the dough becomes smoother and more elastic as you work. Don’t over-mix; the goal is even distribution, not a perfectly smooth dough.
Step 3: Bulk Ferment for Flavor Development
Cover the bowl again and let the dough ferment at room temperature for 4-6 hours. During this time, the dough should rise by about 50-75% and develop visible bubbles on the surface and at the edges. This is where the sourdough magic happens—flavor and texture build with each passing hour.
I like to perform a series of stretch-and-folds during the first 2 hours of fermentation, about every 30 minutes. Wet your hands, grab one side of the dough, stretch it up, and fold it over itself. Rotate the bowl and repeat for a total of four folds. This strengthens the gluten network without deflating the dough.
Step 4: Shape and Cold Proof
After bulk fermentation, turn the dough out onto a lightly floured surface. Divide it into 4 equal portions (about 250g each) for individual pizzas. Gently shape each portion into a tight ball by tucking the edges underneath and rolling it on the counter.
Lightly coat each ball with a bit of the Extra-Virgin Olive Oil to prevent drying. Place the balls on a tray dusted with 0.25 cup Semolina Flour, which prevents sticking and adds a subtle texture to the crust. Cover with plastic wrap or a damp towel and refrigerate for at least 12 hours, or up to 48 hours.
The cold proof develops deeper flavor and makes the dough easier to stretch. When ready to use, remove the dough from the fridge and let it sit at room temperature for 1-2 hours before shaping.
Pro Tips For Making Pizza Dough Recipe Using Starter
- Feed the Starter: Use your sourdough starter at its peak—about 4-8 hours after feeding when it’s bubbly and doubles in size. I learned this the hard way after using a sluggish starter and ending up with dense dough.
- Autolyse First: Mix the flour and water first and let it rest for 30 minutes before adding starter and salt. Sounds weird, but it works—this step makes the gluten development effortless.
- Skip the Rush: Resist the urge to punch down the dough during bulk fermentation—sourdough needs time, often 8-12 hours at room temp, to develop flavor.
- Oil the Bowl: Coat your rising bowl with about 1 tablespoon of extra-virgin olive oil to prevent sticking. My grandmother swore by this, and she was right: it makes handling the dough so much easier.
Health Benefits of pizza dough recipe using starter
Gut Health Boost
The natural fermentation process creates probiotics that support digestive health, similar to what I learned making traditional sourdough in Sicily. These beneficial bacteria help maintain a healthy gut microbiome, improving digestion and nutrient absorption. 💪
Lower Glycemic Impact
The long fermentation breaks down starches, resulting in a lower glycemic index than commercial pizza dough. This means a slower, steadier rise in blood sugar, which is gentler on your body. I’ve noticed I feel more satisfied and energized after eating this version.
Rich in B Vitamins
Sourdough fermentation increases the availability of B vitamins, particularly folate and B6, which are essential for energy metabolism and brain function. The wild yeast and bacteria in your starter enhance these nutrients naturally.
Improved Mineral Absorption
The lactic acid produced during fermentation helps your body absorb minerals like iron, zinc, and magnesium more effectively from the flour. This makes your pizza not just tastier, but more nutritious.
Natural and Additive-Free
By using just flour, water, and your starter, you avoid the preservatives and additives often found in store-bought dough. I love knowing exactly what’s in my food, just like Nonna taught me. ✨
Better Blood Sugar Control
The acetic acid in sourdough slows down the digestion of carbohydrates, helping to regulate blood sugar levels. This is particularly beneficial for those watching their glucose intake, as the body processes the carbs more gradually.
Nutrition Facts
Frequently Asked Questions
Can I use all-purpose flour instead of bread flour?
Yes, but the texture will be slightly less chewy. Bread flour’s higher protein content creates more gluten, giving that perfect elastic bite. For best results, stick with bread flour if possible.
How do I know my starter is ready to use?
Your starter should be at peak activity, with visible bubbles and a slightly domed surface. It’s best 4-12 hours after feeding, when it’s most active and will give your dough the best rise.
What if my dough doesn’t rise during bulk fermentation?
Check your starter’s activity and room temperature. If it’s chilly, place the dough in a slightly warmer spot. If your starter is sluggish, try adding a pinch of instant yeast for a boost.
Can I skip the cold proof?
You can, but the flavor and texture won’t be as developed. Cold proofing for 12-48 hours enhances the sourdough tang and makes the dough easier to handle. It’s worth the wait!

- Potato Candy Recipe 1933: Vintage Peanut Butter Roll Delight - October 30, 2026
- Potato Chip Cookie Recipe With Pecans: Buttery Crunch Meets Nutty Richness - October 30, 2026
- Potato Patty Recipe No Egg: Crispy Edges Without the Binder - October 30, 2026