
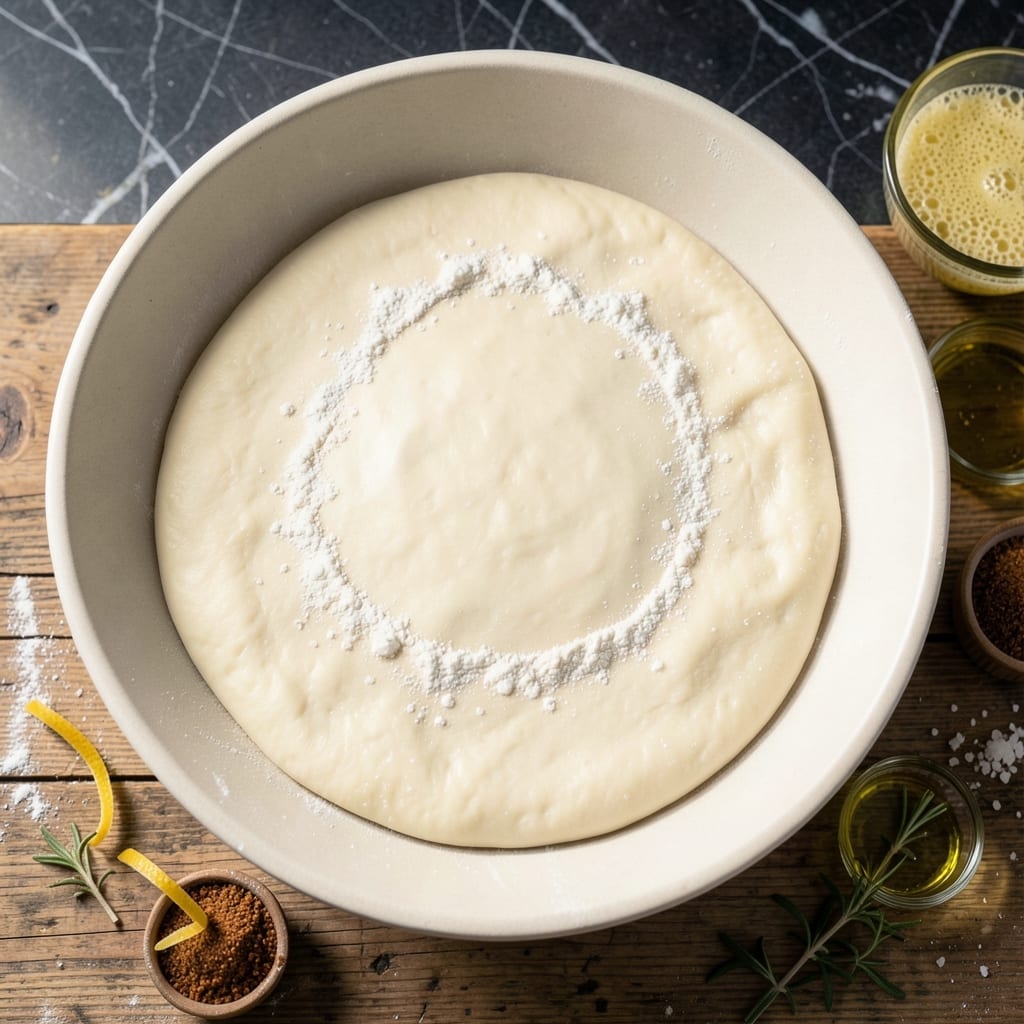
Homemade pizza dough transforms any night into a restaurant-quality meal. The secret lies in using pizza dough yeast and allowing proper proofing time for that signature chewy texture.
This recipe delivers a crust with an airy bite and golden finish, perfect for your favorite toppings. The process is straightforward yet yields professional results every time.
With just a few simple ingredients and patience for the rise, you’ll achieve a base that’s crisp on the outside and tender within. No special equipment required—just time and technique.
Bake it plain as a base or load it with your preferred toppings. The foundation for perfect pizza starts here.
Ingredients for Pizza Dough Recipe with Pizza Dough Yeast
Eight ingredients, one perfect crust. Ready for your favorite toppings.
| Ingredient | Amount | Notes |
|---|---|---|
| Pizza Dough Yeast 🍕 | 2 ¼ tsp | Active dry, one packet |
| Bread Flour 🌾 | 3 ½ cups | Plus extra for dusting |
| Warm Water 💧 | 1 ¼ cup | 110-115°F precisely |
| Extra-Virgin Olive Oil 🫒 | 2 tbsp | Divided for dough and bowl |
| Fine Sea Salt 🧂 | 2 tsp | Diamond Crystal preferred |
| Granulated Sugar 🍚 | 1 tsp | Feeds the yeast activation |
| Cornmeal 🌽 | ¼ cup | For dusting peel or pan |
| All-Purpose Flour 🌾 | ½ cup | Optional for softer dough |
The yeast is everything here. Pizza dough yeast (often labeled as instant or rapid-rise) gives that reliable lift without the long wait—Fleischmann’s or Red Star are solid brands. Bread flour is non-negotiable for that chewy bite (King Arthur if you’re splurging). The water temp matters more than you think—too hot kills the yeast, too cold slows it down. A kitchen thermometer eliminates the guesswork.
No bread flour? All-purpose in a pinch, but add an extra tablespoon of cornmeal for structure. Out of cornmeal? Semolina or extra flour works for dusting. The sugar isn’t for sweetness—it’s yeast food, so don’t skip it. Olive oil can be swapped for any neutral oil, but extra-virgin adds flavor depth. Salt is salt, though I prefer Diamond Crystal for its clean taste.
Dough rises best in a warm, draft-free spot (turning your oven light on creates the perfect environment). Keeps in the fridge for 2-3 days or freezes for 1 month. Let it come to room temp before shaping—cold dough fights back.
Why You’ll Love This Recipe
- One Bowl Wonder: I just dump the pizza dough yeast, bread flour, warm water, olive oil, and salt in one bowl—no fancy steps, no mess.
- That Yeast Magic: The pizza dough yeast gives it a light, airy texture with that perfect chewy bite I crave.
- Endless Topping Fun: I use this dough for everything—classic margherita, loaded veggie, or even garlic knots for game night.
- Budget Stretch: Honestly, this costs pennies compared to takeout, and I get four pizzas from one batch.
Step-by-Step Instructions for Pizza Dough With Pizza Dough Yeast
Here’s the method for achieving that perfect chewy crust with an airy bite every time.
Step 1: Activate the Yeast and Proof Properly
In a small bowl, combine the 1.25 cup warm water (precisely 110-115°F), 1 tsp granulated sugar, and 2.25 tsp pizza dough yeast. Stir gently and let it sit for 5-10 minutes until the mixture becomes foamy with a thick layer of bubbles on top.
This proofing step is non-negotiable—if the yeast doesn’t activate, your dough won’t rise. The sugar feeds the yeast, and the precise temperature ensures it wakes up without dying. If after 10 minutes you don’t see foam, your water may have been too hot or the yeast too old; start over with fresh ingredients.
Step 2: Mix and Knead the Dough to the Right Consistency
In a large mixing bowl, combine 3.5 cups bread flour, 0.5 cup all-purpose flour, and 2 tsp fine sea salt. Make a well in the center and add the proofed yeast mixture and 1 tbsp extra-virgin olive oil. Stir with a wooden spoon until a shaggy dough forms.
Turn the dough out onto a lightly floured surface and knead for 8-10 minutes until smooth and elastic. The dough should spring back slowly when pressed with a finger. If it’s too sticky, add a little more bread flour, but don’t overdo it—you want a slightly tacky dough for that chewy texture.
Step 3: First Rise Until Doubled in Size
Lightly grease a large bowl with the remaining 1 tbsp extra-virgin olive oil. Place the dough in the bowl, turning to coat all sides. Cover with a damp kitchen towel or plastic wrap and let it rise in a warm, draft-free place for 1-2 hours or until doubled in volume.
I like to preheat my oven to 100°F for 5 minutes, then turn it off and place the dough inside for a consistent rise. The dough is ready when it holds an indent when gently pressed with a finger. This first rise develops the gluten structure for that airy bite.
Step 4: Shape and Second Rise for Optimal Texture
Punch down the dough to release the air, then divide it into 4 equal portions for individual pizzas. On a surface dusted with 0.25 cup cornmeal, roll out each portion to your desired thickness. The cornmeal adds a subtle crunch and prevents sticking.
Transfer the shaped dough to a pizza peel or baking sheet dusted with more cornmeal. Cover loosely and let it rise for another 30-45 minutes until slightly puffy. This second rise ensures a light, airy crust with good structure.
Step 5: Preheat and Prepare for Baking
While the dough does its second rise, preheat your oven with a pizza stone or inverted baking sheet inside to 475°F for at least 30 minutes. The stone needs to be screaming hot to mimic a pizza oven’s environment.
This high heat is crucial for achieving a crisp exterior while keeping the inside airy. The dough is now ready to be topped with your favorite sauce, cheese, and toppings, then baked to golden perfection.
Pro Tips For Making Pizza Dough Recipe With Pizza Dough Yeast
- Test the Water: Use a thermometer to check your warm water is between 105-110°F—I learned this the hard way after killing yeast with water that was too hot.
- Weigh the Flour: Bread flour compacts easily, so use a scale for 16 oz per cup to avoid dense dough that refuses to rise.
- Skip the Rush: Let the dough rise until doubled, even if it takes 2 hours—punching it down early gives you a tough, chewy crust.
- Oil the Bowl: Coat your rising bowl with about 1 tablespoon of olive oil to prevent sticking and make punching down easier—I was skeptical until I tried it.
Make-Ahead Tips for Leftovers
Overnight Cold Rise
For make-ahead convenience, I mix and knead the dough as usual, then place it in a greased bowl with 1 tbsp olive oil. Cover tightly with plastic wrap and refrigerate for up to 48 hours. The cold, slow rise develops incredible flavor complexity. 💡
Room Temperature Prep
When ready to use, remove the dough from the fridge and let it sit at room temperature for 2-3 hours before shaping. This allows the gluten to relax, making it much easier to stretch without tearing. I often prep this in the morning for evening pizza night.
Freezer Storage
Divide unproofed dough into portions and wrap each tightly in plastic wrap, then place in a freezer bag. Freeze for up to 3 months. To use, thaw overnight in the fridge, then bring to room temperature before shaping.
Pre-Shaped Dough Balls
After the first rise, I often shape the dough into balls, place them on a cornmeal-dusted tray, and refrigerate. These keep for 2 days and can be stretched directly from the fridge. Just let them warm slightly at room temperature for 30 minutes first.
Quick Proofing Hack
Need dough fast? After shaping, place on a cornmeal-dusted surface and let rise in a 100°F oven (light on only) for 30-45 minutes. This works for both fresh and thawed dough. The warmth speeds up the final proof.
Equipment Tip
I use glass containers with lids for fridge storage—they’re perfect for watching the dough rise. For freezing, I prefer quart-size freezer bags as they lay flat, saving valuable freezer space. ❄️
Nutrition Facts
Frequently Asked Questions
Why use bread flour instead of all-purpose?
Bread flour has more protein, which builds stronger gluten for that signature chewy texture. All-purpose works in a pinch, but your crust won’t have the same elasticity and bite.
How do I know when the yeast is properly activated?
Look for a thick, foamy layer on top after 5-10 minutes. If you don’t see bubbles, your water may have been too hot or the yeast expired. Always start fresh if there’s no foam.
Can I skip the second rise?
Skipping the second rise results in a denser crust. That final 30-45 minutes lets the dough relax and develop air pockets for a light, airy texture. It’s worth the wait!
What’s the best temperature for proofing?
Ideal proofing happens at 75-85°F. I use my oven with the light on to maintain consistent warmth. Too cold slows rising; too hot can kill the yeast.

- Potato Candy Recipe 1933: Vintage Peanut Butter Roll Delight - October 30, 2026
- Potato Chip Cookie Recipe With Pecans: Buttery Crunch Meets Nutty Richness - October 30, 2026
- Potato Patty Recipe No Egg: Crispy Edges Without the Binder - October 30, 2026