
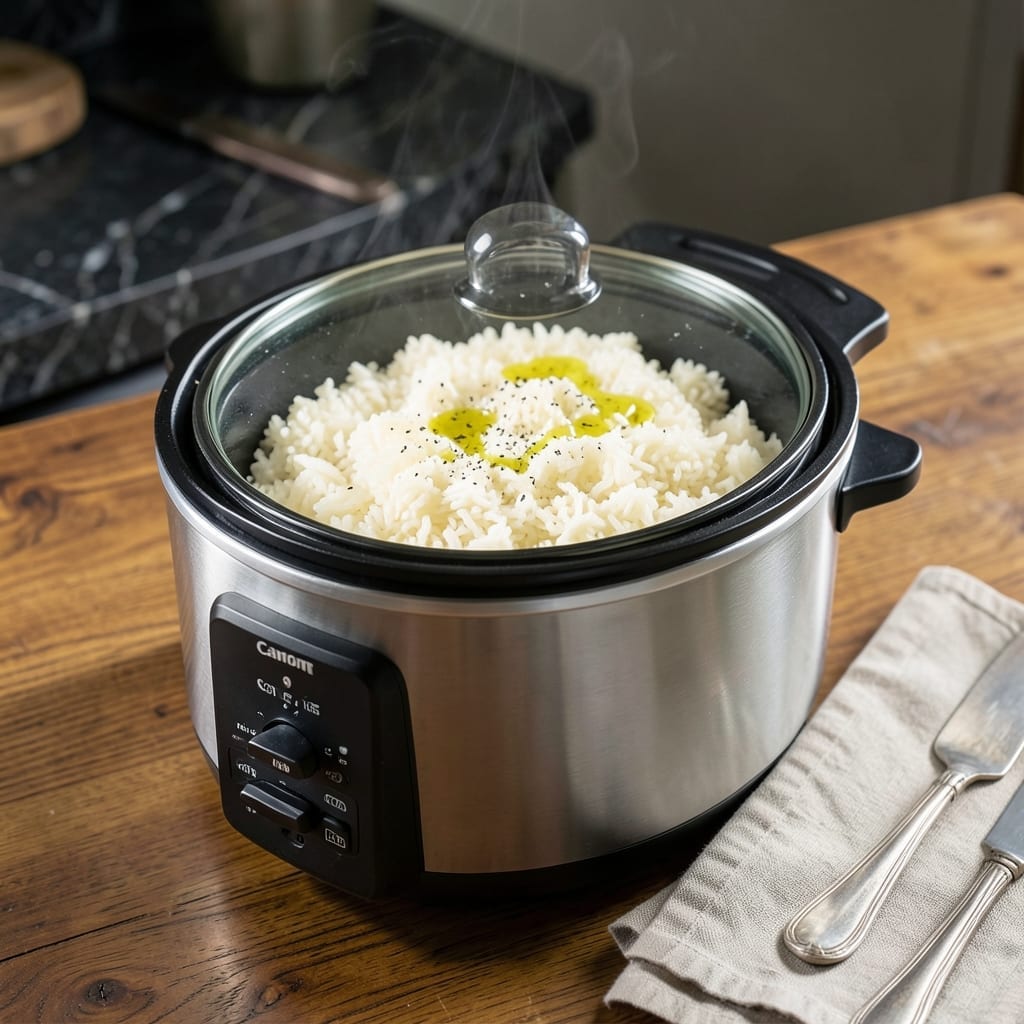
There’s a reason rice cookers are a kitchen staple—they deliver perfectly fluffy grains every time with minimal effort. This method takes the guesswork out of cooking, ensuring consistent results whether you’re serving two or ten.
The beauty lies in its simplicity: just rice, water, and the press of a button. No stirring, no watching, no risk of burning. The cooker handles everything, from absorption to timing, while you focus on the rest of your meal.
What you get is light, separate grains that pair effortlessly with any dish—from stir-fries to stews. It’s the foundation of countless meals, ready in 20 minutes or less.
Once you master this, you’ll never go back to stovetop rice. Here’s how to make it foolproof.
Ingredients for Plain Rice Recipe in Cooker
Five ingredients or fewer. Light, fluffy grains ready in twenty minutes flat.
| Ingredient | Amount | Notes |
|---|---|---|
| Long-Grain White Rice 🌾 | 2 cups | Rinsed until water runs clear |
| Water 💧 | 4 cups | Filtered or tap, room temperature |
| Sea Salt 🧂 | ½ tsp | Fine grain, optional for seasoning |
| Neutral Oil 🫒 | 1 tsp | Optional for rinsing bowl |
| Lemon Juice 🍋 | ½ tsp | Fresh, optional for brightness |
The rice quality matters most here. Jasmine or basmati give the fluffiest results, but any long-grain works. I grab mine from Trader Joe’s or the bulk bins at Whole Foods—just check the date, as older rice can turn out dry. Rinse it thoroughly (until the water runs clear) to remove excess starch, which can make the grains gummy.
No rice cooker? Use a heavy pot with a tight lid. Swap basmati for jasmine if that’s what you have (both are aromatic). Need to cut the sodium? Skip the salt entirely—the rice will still taste great. Want a little extra flavor? A splash of vegetable broth instead of water adds depth without overpowering.
Uncooked rice keeps indefinitely in a cool, dry place. Once cooked, it stays fresh for 4-5 days in the fridge or 6 months frozen. Reheat with a splash of water to restore moisture.
Why You’ll Love This Recipe
- Set and Forget: I toss everything in the cooker, press a button, and walk away—no stirring, no watching.
- Subtle Zing: That hint of lemon juice and sea salt makes the rice taste anything but plain.
- Meal Prep MVP: It pairs with curries, stir-fries, or just a fried egg on top. Honestly, it’s my weekly lifesaver.
Step-by-Step Instructions for Plain Rice in Cooker
This method guarantees perfectly fluffy results with minimal effort and maximum consistency.
Step 1: Rinse the Rice Thoroughly
Place the 2 cups Long-Grain White Rice in a fine-mesh strainer and rinse under cold running water. I agitate the grains gently with my fingers, watching the water run from cloudy to completely clear. This removes excess starch, which is the secret to preventing gummy, sticky rice.
Don’t skip this step—it takes 30-60 seconds and makes all the difference in texture. Once the water runs clear, give the strainer a firm shake to remove all excess water. I’ve found that well-rinsed rice cooks up lighter and separates more easily when done.
Step 2: Prepare the Cooker and Add Ingredients
Add the rinsed rice to your rice cooker pot. Then pour in the 4 cups Water. The water-to-rice ratio here is non-negotiable for perfect results. I use my finger to stir the grains briefly, ensuring they’re evenly distributed in the water.
For best results, add the 0.5 tsp Sea Salt, 1 tsp Neutral Oil, and 0.5 tsp Lemon Juice now. The oil prevents sticking, the salt enhances flavor, and the lemon juice adds a subtle brightness. These are optional but highly recommended for the best tasting rice.
Step 3: Cook and Let Steam Undisturbed
Secure the lid on your rice cooker and select the standard white rice setting. Most cookers will take 15-20 minutes to complete the cooking cycle. I never open the lid during cooking—this releases precious steam that’s essential for even cooking.
You’ll know the rice is done when the cooker switches to its “keep warm” setting automatically. At this point, let the rice sit undisturbed for an additional 10 minutes. This steaming period allows the grains to absorb any remaining moisture and firm up properly.
Step 4: Fluff and Serve Immediately
After the resting period, open the lid and use a rice paddle or fork to gently fluff the rice. I start at the edges and work my way inward, lifting the grains rather than stirring them. This preserves the individual grain structure and prevents compacting.
The rice should be tender with a slight bite, and the grains should separate easily. If it seems too wet at the bottom, let it steam uncovered for another 2-3 minutes. Serve immediately while hot—the texture is best fresh from the cooker, though it will hold well on warm setting for up to 1 hour.
Pro Tips For Making Plain Rice Recipe In Cooker
- Rinse the Rice: Wash the long-grain rice in a fine-mesh strainer until the water runs clear—I learned this the hard way, otherwise the rice turns out gummy.
- Use the Right Ratio: Stick to 1 part rice to 1.5 parts water in the cooker, no exceptions. After burning three batches, I finally figured out this is the non-negotiable baseline.
- Skip the Peeking: Resist the urge to lift the lid while cooking, even if you’re impatient like me. The steam escape ruins the texture every time.
- Finish with Lemon: Stir in a teaspoon of lemon juice right after cooking. Sounds weird, but it works—brightens the flavor without overpowering the rice.
Troubleshooting Perfect Results
Undercooked Rice
If your grains are still hard or crunchy, add ¼ cup hot water and let the cooker run another cycle. This often happens with older rice that needs more hydration. I always check the package date at the store for best results. 💡
Overcooked or Mushy
This usually means too much water or not rinsing properly. For next time, reduce water by ¼ cup and rinse until water runs completely clear. Also, avoid stirring during cooking—it breaks the grains.
Rice Sticks to Bottom
Add 1 tsp Neutral Oil before cooking next time. Also, let the rice sit for 5 minutes after cooking before fluffing. If it’s already stuck, soak the pot in warm water—never scrape with metal utensils.
Uneven Cooking
Make sure your cooker is on a level surface and the pot is centered. Also, always use the measuring cup that came with your cooker—1 rice cooker cup often equals ¾ US cup. This ratio difference causes many issues.
Rice Cooker Won’t Start
Check that the inner pot is properly seated and the lid is closed completely. Some models won’t start if the water level is too low. I once forgot to add water entirely—don’t make my mistake! 🔥
Burnt Smell
This happens when rice is left on warm too long. Transfer to a serving dish within 1 hour after cooking. If it happens, unplug immediately and let the cooker cool before cleaning. Always use the correct water-to-rice ratio to prevent this.
Nutrition Facts
Frequently Asked Questions
Why is rinsing the rice so important?
Rinsing removes excess starch that can make grains gummy. It takes 30-60 seconds and ensures light, separate rice every time. Skip this step, and you risk sticky clumps.
Can I use a different rice variety?
Yes, but adjust the water ratio. For jasmine or basmati, use 1.5 cups water per 1 cup rice. Brown rice needs more water and 40-50 minutes of cooking time.
How do I prevent rice from sticking?
Add 1 tsp oil to the water before cooking. Also, let the rice rest for 10 minutes after cooking to release naturally from the pot.
What if my cooker doesn’t have a rice setting?
Use the standard cooking setting. Most cookers default to this for white rice. Expect 15-20 minutes total time, then let it steam undisturbed.

- Potato Candy Recipe 1933: Vintage Peanut Butter Roll Delight - October 30, 2026
- Potato Chip Cookie Recipe With Pecans: Buttery Crunch Meets Nutty Richness - October 30, 2026
- Potato Patty Recipe No Egg: Crispy Edges Without the Binder - October 30, 2026