
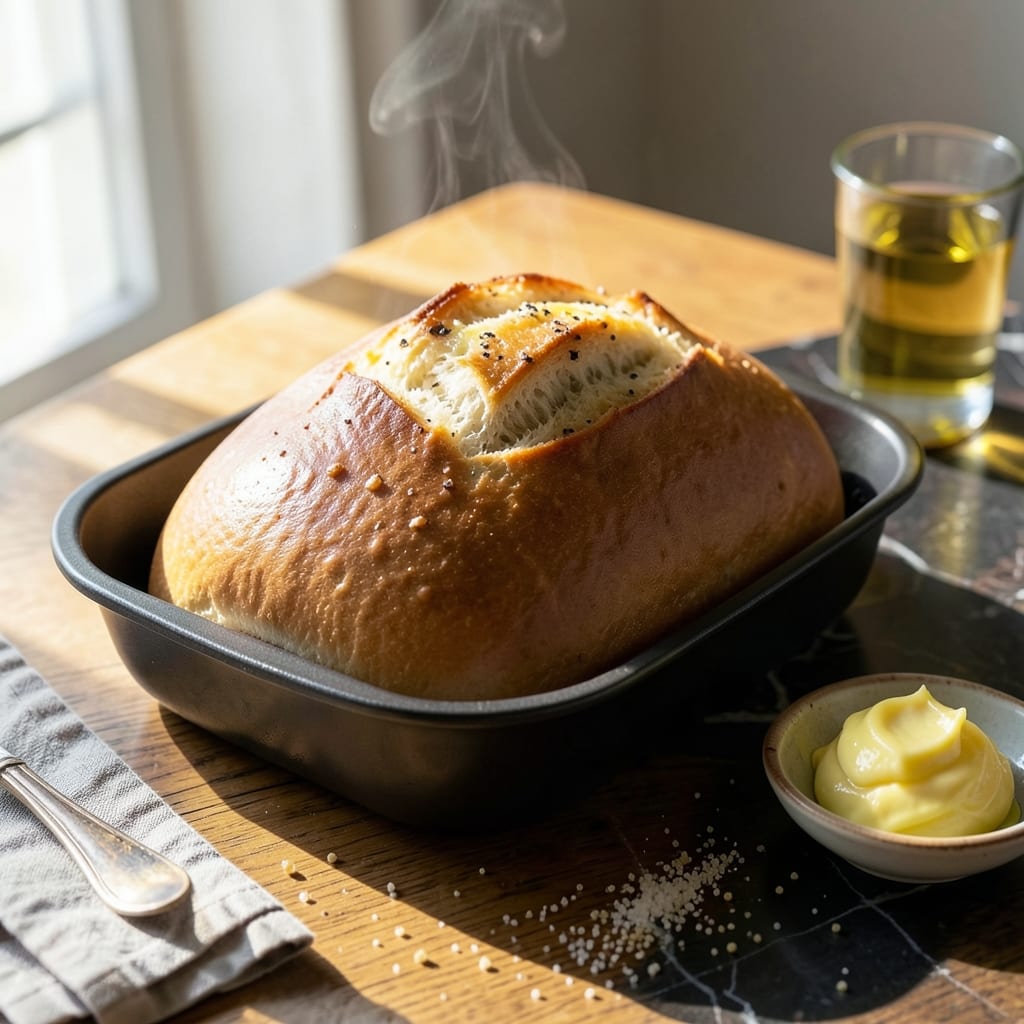
There’s something deeply satisfying about pulling a perfect loaf of bread from your breadmaker—warm, fragrant, and ready to eat. This recipe delivers a soft, tender crumb with a golden crust, using just a few pantry staples.
The beauty of this method lies in its simplicity. With precise measurements and the right order of ingredients, your machine does all the work. No kneading, no rising—just add, press start, and wait for the magic to happen.
What you’ll get is a hands-free artisan loaf that rivals bakery bread. The crust stays crisp while the inside remains light and airy, perfect for sandwiches or simply slathered with butter.
Best of all, it’s endlessly adaptable. Swap in whole wheat flour or add seeds for variation without sacrificing texture.
Ingredients for Plain White Bread Recipe for Breadmaker
Just nine pantry staples transform into a bakery-worthy loaf. Warm, golden, and effortless.
| Ingredient | Amount | Notes |
|---|---|---|
| Bread Flour 🌾 | 3 ½ cups | All-purpose works in a pinch |
| Warm Water 💧 | 1 ¼ cups | 110°F, not hotter |
| Granulated Sugar 🍚 | 2 tbsp | Feeds the yeast activation |
| Active Dry Yeast 🍞 | 2 ¼ tsp | One packet, fresh and active |
| Salt 🧂 | 1 ½ tsp | Fine sea salt preferred |
| Unsalted Butter 🧈 | 2 tbsp | Softened, or substitute oil |
| Nonfat Dry Milk 🥛 | ¼ cup | Enhances texture and rise |
| Honey 🍯 | 1 tbsp | Optional for subtle sweetness |
| Olive Oil 🫒 | 1 tbsp | For greasing the pan |
The flour is the foundation here. King Arthur Bread Flour is my go-to for its consistent protein content (12-13%), which gives that perfect soft but sturdy crumb. Most grocery stores carry it near the baking aisle. If you’re using all-purpose, add an extra tablespoon of vital wheat gluten per cup to mimic bread flour’s structure (trust me, it’s worth the extra minute).
No bread flour? All-purpose works fine, though the texture won’t be quite as chewy. Swap honey for maple syrup if you’re vegan. The dry milk can be omitted in a pinch, but it adds tenderness—Carnation brand is reliable. For the butter, any neutral oil works at a 1:1 ratio. Pro tip: if your yeast isn’t foamy after 5 minutes in warm water with sugar, it’s dead. Start over with fresh.
Store flour in an airtight container in a cool, dark place—it’ll last 6-12 months. Yeast keeps in the freezer for years (yes, really). This loaf stays fresh for 3-4 days at room temperature, or freeze slices for up to 3 months (toast before serving).
Why You’ll Love This Recipe
- Set It and Forget: Just dump the flour, water, sugar, yeast, and salt into the breadmaker, press start, and walk away.
- Warm Slice Heaven: The yeast does its magic, giving that soft, slightly sweet flavor that makes warm toast irresistible.
- Sandwich Ready: This loaf is sturdy enough for PB&J, soft enough for French toast, and neutral enough for garlic bread.
- Pennies Per Loaf: Bread flour and yeast cost almost nothing, and one batch makes more than store-bought for a fraction of the price.
Step-by-Step Instructions for Plain White Bread for Breadmaker
Here’s the method. Straightforward, tested, works every time.
Step 1: Layer Liquid Ingredients in the Pan
Begin by adding the 1.25 cups Warm Water to your breadmaker pan. I use a digital thermometer to ensure my water is exactly 110°F—too hot and you’ll kill the yeast, too cold and it won’t activate properly.
Next, pour in the 1 tbsp Honey and 2 tbsp Granulated Sugar. The sugar feeds the yeast, while the honey adds a subtle sweetness that balances the final flavor. Stir these together lightly with a spatula to help them dissolve in the warm water.
Now add the 2 tbsp Unsalted Butter, softened and cut into small pieces so it distributes evenly. The butter should be soft enough to mix in without clumping, but not melted.
Step 2: Add Dry Ingredients and Create a Yeast Well
Measure the 3.5 cups Bread Flour into the pan, spreading it evenly over the liquid ingredients. Sprinkle the 0.25 cup Nonfat Dry Milk evenly over the flour—this enhances texture and gives your loaf a tender crumb.
Now add the 1.5 tsp Salt to one side of the pan. Salt controls yeast activity, so we keep it separate from the yeast initially. In the center of the flour, make a small well and add the 2.25 tsp Active Dry Yeast. This keeps the yeast dry until the breadmaker’s mixing cycle begins.
I always double-check that the yeast doesn’t come into contact with the liquid until the machine starts—premature activation can lead to a collapsed loaf.
Step 3: Secure the Pan and Select Your Cycle
Insert the bread pan into your breadmaker and secure it properly. Most machines have a specific slot or locking mechanism—make sure it’s fully seated before closing the lid.
Select the “Basic” or “White Bread” cycle on your machine. If your breadmaker has crust settings, I recommend choosing “Medium” for a perfectly balanced loaf. The cycle typically takes 3-4 hours, depending on your machine’s settings.
Press start and resist the urge to open the lid during the kneading and rising phases. The machine maintains the perfect environment for consistent results, and opening it can disrupt the process.
Step 4: Monitor and Remove When Complete
About 10 minutes into the cycle, peek through the window to ensure the dough is forming a smooth ball. If it looks too wet or too dry, you can add a teaspoon of flour or water, but I’ve found this recipe works perfectly as written in most breadmakers.
As the cycle nears completion, you’ll start to smell that incredible fresh-baked bread aroma. The machine will beep when finished, but I like to let it cool in the pan for 5-10 minutes before removing it. This helps the loaf set and makes it easier to handle.
Using oven mitts, carefully remove the pan from the breadmaker. Gently shake the pan to release the loaf onto a wire rack. Brush the top with the 1 tbsp Olive Oil for a soft, golden crust, then let it cool completely before slicing—this prevents a gummy texture.
Pro Tips For Making Plain White Bread Recipe For Breadmaker
- Check Water Temp: Use a thermometer to hit 110°F warm water—any hotter kills the yeast, and colder slows the rise. I learned this the hard way after a few dense, sad loaves.
- Layer Ingredients Right: Put liquids first, then flour, then salt in one corner and yeast in another. My grandmother swore by this, and it prevents the salt from killing the yeast before baking even starts.
- Skip the Overfill: Resist the urge to max out the pan—fill it only 2/3 full or the bread will dome over and bake unevenly. After ruining two loaves, I finally started measuring.
- Use Bread Flour: Sounds obvious, but all-purpose just doesn’t cut it here. Bread flour’s extra gluten makes a real difference in texture, and I was skeptical until I tried it.
Health Benefits of This plain white bread recipe for breadmaker
Carbohydrate Energy Source
This loaf provides complex carbohydrates that fuel your body with steady energy. One slice offers about 15g of carbs, perfect for sustained energy throughout your day. I love starting my mornings with a slice toasted and drizzled with honey. 💪
Low in Fat
With only 2 tbsp of butter in the entire recipe, this bread is naturally low in saturated fat. Each serving contains less than 1g of fat, making it a heart-healthy choice for your daily diet.
Protein Content
The bread flour and dry milk provide a modest protein boost. You’ll get about 4g of protein per slice, which helps with muscle repair and keeps you feeling full longer.
Fortified Nutrients
Most bread flours are enriched with essential vitamins and minerals. One serving delivers a good portion of your daily iron, thiamine, and riboflavin needs. I always check the label to confirm the enrichment.
Fiber Considerations
While white bread isn’t a high-fiber food, it still provides about 1g of fiber per slice. For more fiber, I sometimes substitute 1 cup of whole wheat flour for an equal amount of bread flour. 🌾
No Artificial Additives
This homemade version contains no preservatives or artificial ingredients. You control exactly what goes into your bread, from the active dry yeast to the fine sea salt. That’s a win for clean eating in my book.
Nutrition Facts
Frequently Asked Questions
Can I use all-purpose flour instead of bread flour?
Yes, but add 1 tbsp vital wheat gluten per cup to mimic bread flour’s protein content. This helps achieve a better rise and chewier texture.
Why did my bread collapse in the middle?
This usually happens if the yeast is old or the dough was too wet. Check that your yeast is fresh and foamy, and measure liquids precisely.
How do I make the crust softer or crisper?
For softer crust, brush with melted butter after baking. For crisper crust, let it cool completely on a wire rack before slicing.
Can I add mix-ins like seeds or herbs?
Add up to 1/4 cup seeds or 1 tbsp dried herbs with the dry ingredients. Avoid exceeding these amounts to prevent texture issues.

- Potato Candy Recipe 1933: Vintage Peanut Butter Roll Delight - October 30, 2026
- Potato Chip Cookie Recipe With Pecans: Buttery Crunch Meets Nutty Richness - October 30, 2026
- Potato Patty Recipe No Egg: Crispy Edges Without the Binder - October 30, 2026