
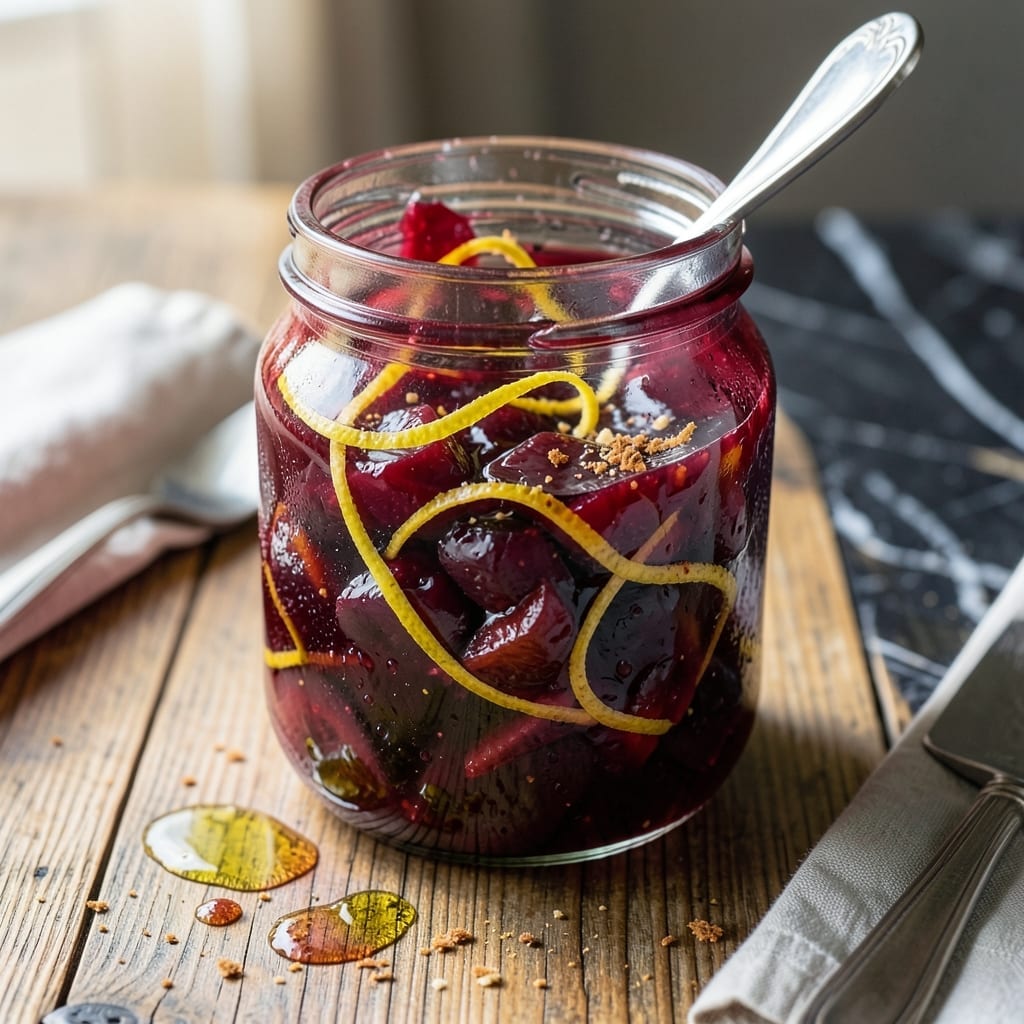
This low-sugar plum jam preserves the fruit’s natural sweetness without added pectin. A simple method ensures bold flavor and perfect consistency.
I developed this recipe to highlight ripe plums at their peak, using minimal sugar to let their taste shine. The process is straightforward, with no special equipment required.
You’ll get a vibrant, spreadable jam that works on toast, yogurt, or cheese boards. It keeps well in the fridge for weeks or can be processed for longer storage.
Ideal for those watching sugar intake but unwilling to sacrifice quality. This is jam the way it should be—pure and uncomplicated.
Ingredients for Plum Jam Recipe Low Sugar
Pure fruit flavor shines with minimal added sugar and no pectin required.
| Ingredient | Amount | Notes |
|---|---|---|
| Ripe Plums 🍑 | 2 lb | Pitted and chopped |
| Granulated Sugar 🍚 | ½ cup | Or use coconut sugar |
| Lemon Juice 🍋 | 2 tbsp | Freshly squeezed preferred |
| Lemon Zest 🍋 | 1 tsp | Finely grated |
| Vanilla Extract 🌿 | ½ tsp | Pure extract recommended |
| Ground Cinnamon 🌶️ | ¼ tsp | Optional for warmth |
| Water 💧 | ¼ cup | For initial cooking |
The plums are everything here. Seek out ripe, slightly soft fruit—underripe plums won’t release enough natural pectin. Farmers markets in late summer have the best selection, but grocery store varieties work too. For consistent texture, use a mix of red and black plums if available. Avoid overripe fruit that’s fermenting or mushy.
No granulated sugar? Coconut sugar or maple syrup can substitute, though the texture may differ slightly. Short on lemons? Lime juice at a 1:1 ratio works, but the flavor profile shifts. The cinnamon is optional but adds depth—skip it if you prefer pure plum flavor. For extra natural sweetness, include a few pitted dates in the cooking process.
This keeps for 3 weeks in the fridge in a sealed jar. For longer storage, process in a water bath for 10 minutes—this extends shelf life to 1 year. The flavor deepens after a day or two, so resist digging in immediately.
Why You’ll Love This Recipe
- One Pot Wonder: I just toss everything in a single pot and let it work its magic—no fancy equipment, no fuss.
- Bright & Zesty: The lemon zest and vanilla extract give this jam a complex, vibrant flavor that’s anything but one-note.
- Spread It Everywhere: Honestly, it’s just as good on toast as it is swirled into yogurt or paired with sharp cheddar on a charcuterie board.
- Frugal Fruit Fix: I use whatever plums are on sale and stretch them into jars of jam that last for months—no waste, all reward.
Step-by-Step Instructions for Plum Jam
This method preserves the fruit’s natural sweetness while achieving the perfect thick, spreadable consistency.
Step 1: Prepare the Plums for Cooking
Begin by pitting and chopping the 2 lb Ripe Plums into ½-inch pieces. I prefer smaller chunks for even cooking and a smoother final texture. Don’t worry about peeling—the skins contribute pectin, which helps thicken the jam naturally without added pectin.
Place the chopped plums in a wide, heavy-bottomed pot. Add the 0.25 cup Water to prevent scorching during the initial cooking phase. The water creates steam that softens the fruit before it releases its own juices.
Step 2: Simmer Until Fruit Breaks Down
Set the pot over medium-high heat and bring the mixture to a boil. Stir frequently with a wooden spoon, scraping the bottom to prevent sticking. After 5-7 minutes, the plums will soften and begin to release their juices.
Reduce heat to medium and continue simmering for 8-10 minutes, stirring occasionally, until the fruit breaks down into a thick, chunky purée. You’ll notice the liquid reduce significantly—that’s the natural pectin starting to activate.
Step 3: Add Sugar and Aromatics
Stir in the 0.5 cup Granulated Sugar, 2 tbsp Lemon Juice, 1 tsp Lemon Zest, 0.5 tsp Vanilla Extract, and 0.25 tsp Ground Cinnamon. The lemon juice adds brightness and helps balance the sweetness, while the zest and cinnamon deepen the flavor profile.
Return the mixture to a gentle boil, then reduce heat to medium-low. The sugar will dissolve quickly, and the jam will begin to thicken. Stir frequently to prevent scorching as the mixture reduces.
Step 4: Thicken and Test for Doneness
Cook for an additional 15-20 minutes, stirring often, until the jam reaches your desired consistency. To test, place a small spoonful on a chilled plate and let it sit for 1 minute. If it wrinkles when pushed with a finger, it’s ready.
The jam should coat the back of a spoon and have a glossy, slightly syrupy appearance. If it’s too thin, continue cooking for 2-3 more minutes and retest. Remember, it will thicken slightly as it cools.
Step 5: Jar and Cool Before Storing
Remove the pot from heat and let the jam cool for 5 minutes. Skim off any foam that rises to the surface for a cleaner finish. Transfer the jam to clean, sterilized jars while still warm.
Seal the jars and let them cool completely at room temperature. As it cools, the jam will thicken further. Store in the refrigerator for up to 3 weeks, or process for canning if you prefer long-term storage. The flavors will deepen over time, making it even more delicious.
Pro Tips For Making Plum Jam Recipe Low Sugar
- Simmer Low and Slow: Keep the heat at a gentle simmer—too high and the plums will burn before the jam thickens, especially with less sugar to protect them. I learned this the hard way after scorching a batch to the bottom of my pot.
- Pit and Chop Evenly: Cut plums into uniform, small pieces so they break down at the same rate. Sounds tedious, but it prevents half your jam from turning to mush while the other half stays stubbornly firm.
- Test for Set: Around the 20-minute mark, do the plate test: spoon a little jam onto a chilled plate, wait 30 seconds, then tilt—if it wrinkles, it’s ready. Skip this and you might end up with syrup instead of jam.
- Boost with Vanilla: Add the vanilla extract at the very end of cooking to preserve its flavor. I was skeptical until I tried it—now I swear by it for rounding out the tartness in low-sugar batches.
Make-Ahead Tips for This Recipe
Prep Ahead Advantages
I love making this jam on Sunday mornings when plums are at their peak. You can prep all ingredients the night before—pit and chop the 2 lb Ripe Plums, measure the 0.5 cup Granulated Sugar, and zest your lemons. This saves 15-20 minutes on cooking day. 💡
Double Batch Strategy
This recipe scales perfectly. Double the ingredients and use a wider pot to maintain even cooking. The cook time stays nearly the same, but you’ll get twice the jam with minimal extra effort. I store extras in 8-ounce jars for easy gifting.
Fridge Storage Tips
Let your jam cool completely before sealing jars. Store in the fridge for up to 3 weeks. I always use sterilized glass jars—I find Ball canning jars work best. The flavor improves after 24-48 hours as the spices meld. ❄️
Freezer Method
For longer storage, freeze in ½-cup portions in airtight containers. It keeps for 6 months without texture loss. Thaw overnight in the fridge before using. I use freezer-safe silicone molds for perfect portions.
Canning for Shelf Stability
Process in a water bath for 10 minutes to extend shelf life to 1 year. This is how my Nonna preserved her jams. Use new lids each time for a proper seal. The color stays vibrant, and the flavor remains fresh.
Quick Gift Idea
Add a ribbon and custom label to jars for thoughtful homemade gifts. Include a note suggesting serving ideas—it’s a personal touch that’s always appreciated. I often pair with artisanal bread for a complete present. 💛
Nutrition Facts
Frequently Asked Questions
Can I use unripe plums for this jam?
No, unripe plums lack natural pectin and sweetness. Always use ripe, slightly soft fruit for best results. Underripe fruit may require added pectin to thicken properly
Why add lemon juice if it’s low sugar?
Lemon juice adds acidity that balances sweetness and helps activate natural pectin. The 2 tbsp won’t make it taste sour—it enhances the plum flavor
How can I tell when the jam is done?
Test by placing a spoonful on a chilled plate. If it wrinkles when pushed after 1 minute, it’s ready. The jam should coat the back of a spoon thickly
Is it safe to reduce sugar further?
You can reduce to 1/4 cup, but texture may be thinner. The sugar helps with preservation and thickness, so going below this risks spoilage

- Potato Candy Recipe 1933: Vintage Peanut Butter Roll Delight - October 30, 2026
- Potato Chip Cookie Recipe With Pecans: Buttery Crunch Meets Nutty Richness - October 30, 2026
- Potato Patty Recipe No Egg: Crispy Edges Without the Binder - October 30, 2026