
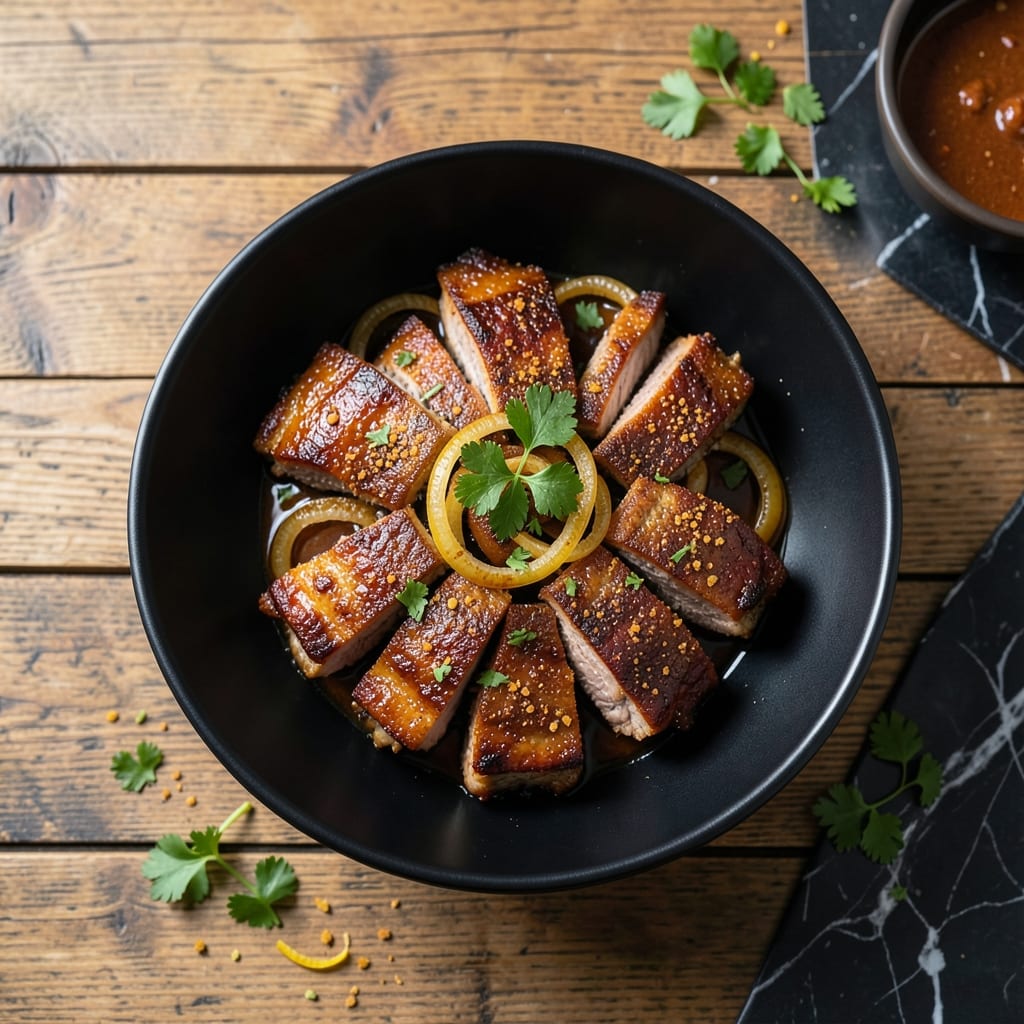
I developed this oven method after moving into a Boston apartment with no outdoor space for grilling. It delivers fall-off-the-bone pork ribs without the smoker or grill.
The secret is slow roasting at low heat, allowing the connective tissues to break down into gelatin. A dry rub with brown sugar creates a caramelized crust while keeping the meat moist.
You’ll end up with ribs that pull apart with minimal effort, coated in a sticky, flavorful glaze. The oven does all the work while you focus on the sides.
Serve with classic corn on the cob and creamy coleslaw for a complete meal. Here’s how to make these ribs perfectly every time.
Ingredients for Pork Rib Pieces Recipe Oven
Pantry spices and a few hours in the oven. Big flavor, zero grill required.
| Ingredient | Amount | Notes |
|---|---|---|
| Pork Ribs 🥩 | 3 lb | Baby back or St. Louis style |
| Brown Sugar 🧈 | ½ cup | Light or dark variety |
| Kosher Salt 🧂 | 1 tbsp | Diamond Crystal preferred |
| Black Pepper 🌶️ | 1 tsp | Freshly ground for best flavor |
| Paprika 🌶️ | 1 tbsp | Sweet or smoked variety |
| Garlic Powder 🧄 | 1 tsp | Not garlic salt |
| Onion Powder 🧅 | 1 tsp | Adds depth of flavor |
| Chili Powder 🌶️ | 1 tsp | Adjust for heat preference |
| Apple Cider Vinegar 🍏 | ¼ cup | Balances sweetness in rub |
| Olive Oil 🫒 | 2 tbsp | For brushing ribs |
| Barbecue Sauce 🍅 | 1 cup | For glazing, homemade or store-bought |
| Yellow Mustard 🟡 | 1 tbsp | Helps rub adhere to ribs |
The ribs are the star here. Baby back ribs are leaner and cook faster, while St. Louis style have more meat and fat for moisture. I grab mine from Costco for bulk savings, but any grocery store with a butcher counter will work. Look for ribs with good marbling and avoid anything that looks gray or smells off. The brown sugar in the rub caramelizes, so don’t skip it (or swap for white sugar).
No paprika? Cayenne or cumin can work in a pinch—just adjust the heat. Out of apple cider vinegar? White vinegar or lemon juice at the same amount keeps the acidity. If you’re using store-bought barbecue sauce, go for Stubb’s or Sweet Baby Ray’s. The mustard in the rub is just for adhesion, so Dijon or spicy brown works too. Fresh garlic powder? Even better.
Rubbed ribs keep in the fridge for 24 hours before cooking. Leftovers taste even better the next day—store them wrapped in foil for up to 4 days. The sauce is freezer-friendly for 3 months if you want to make extra.
Why You’ll Love This Recipe
- One Pan Wonder: I just toss the ribs with brown sugar, salt, and spices, pop them in the oven, and let the heat do the work.
- Sweet and Smoky: That combo of brown sugar and paprika gives these ribs a caramelized crust with a hint of warmth that’s just irresistible.
- Crowd Pleaser: Honestly, these disappear at potlucks and family dinners faster than I can make them.
- Budget Stretch: A rack of ribs feeds my family for two meals, and the leftovers taste even better the next day.
Step-by-Step Instructions for Oven-Baked Pork Rib Pieces
Here’s how to achieve melt-in-your-mouth ribs using just your oven and a few simple steps.
Step 1: Prepare the Dry Rub for Maximum Flavor
In a small bowl, combine the 0.5 cup brown sugar, 1 tbsp kosher salt, 1 tsp black pepper, 1 tbsp paprika, 1 tsp garlic powder, 1 tsp onion powder, and 1 tsp chili powder. Stir until the mixture is uniform and the spices are fully incorporated.
Pat the 3 lb pork ribs dry with paper towels to remove excess moisture—this helps the rub stick better. Brush the ribs lightly with the 1 tbsp yellow mustard (this acts as a binder). Then, generously coat all sides of the ribs with the dry rub, pressing it in gently so it adheres. Let them sit at room temperature for 15-20 minutes while you preheat the oven.
Step 2: Slow-Roast the Ribs for Tenderness
Preheat your oven to 275°F. Place the seasoned ribs on a rimmed baking sheet lined with foil, meat-side up. Pour the 0.25 cup apple cider vinegar into the bottom of the pan—this adds moisture and helps tenderize the meat as it cooks.
Cover the baking sheet tightly with foil, creating a sealed environment. This traps steam and ensures the ribs cook low and slow. Roast for 2.5 to 3 hours, checking occasionally to ensure the liquid hasn’t fully evaporated. The ribs are ready for the next step when the meat starts to pull away from the bones slightly.
Step 3: Add the Barbecue Glaze and Finish
Carefully remove the foil from the baking sheet and increase the oven temperature to 375°F. Brush the ribs generously with half of the 1 cup barbecue sauce, coating every surface. Return them to the oven, uncovered, for 15-20 minutes to let the sauce caramelize.
After the first glaze has set, brush the ribs with the remaining barbecue sauce and the 2 tbsp olive oil for extra shine and richness. Roast for another 10 minutes until the sauce is sticky and the ribs are deeply browned at the edges. Watch closely to prevent burning.
Step 4: Rest and Serve
Remove the ribs from the oven and let them rest for 10 minutes before slicing. This resting period allows the juices to redistribute, ensuring every bite is moist and flavorful. The ribs should be so tender that they nearly fall off the bone with minimal effort.
Slice between the bones and serve immediately with extra sauce on the side if desired. The combination of the spicy-sweet rub and the tangy barbecue glaze creates a perfect balance of flavors that’s sure to impress.
Pro Tips For Making Pork Rib Pieces Recipe Oven
- Preheat the Oven: I learned this the hard way—always preheat to 325°F before putting in the ribs. Cold starts lead to uneven cooking and dry edges.
- Pat Ribs Dry: Sounds weird, but it works: blot the ribs with paper towels before seasoning. Excess moisture prevents the brown sugar and spices from sticking properly.
- Skip the Overcrowding: After burning three batches, I finally figured out that ribs need space on the tray. Crowding steams instead of caramelizing the sugar.
- Rest Before Serving: Give the ribs 10 minutes under foil after baking. I skip this when I’m lazy, but the juices redistribute better when I don’t.
Perfect Pairings for This Recipe
Classic Sides
I always pair these ribs with creamy coleslaw—the cool crunch cuts through the richness. Use 14 oz bagged coleslaw mix and ½ cup mayonnaise with 1 tbsp apple cider vinegar for tang. It’s my Nonna’s trick from those kitchen days in Boston. 🥗
Corn on the Cob
Buttery corn on the cob is a must. Boil for 8-10 minutes then brush with 2 tbsp melted butter and a pinch of kosher salt. For extra flavor, sprinkle with smoked paprika from your rib rub stash.
Potato Options
For heartier meals, try garlic mashed potatoes—2 lbs Yukon Golds boiled and mashed with 4 garlic cloves and ½ cup whole milk. Or go for crispy roasted potatoes tossed in olive oil and rosemary.
Beverage Pairings
An ice-cold lager beer like Sam Adams (Boston pride!) complements the smoky-sweet flavors. For non-alcoholic, sweet tea with lemon balances the spices perfectly. I keep both on hand for gatherings. 🍺
Fresh Finishes
Pickled vegetables add brightness—I love bread and butter pickles or quick-pickled red onions. Just thinly slice 1 onion and soak in ½ cup apple cider vinegar with 1 tsp sugar for 30 minutes.
Nutrition Facts
Frequently Asked Questions
Can I use a different type of ribs for this method?
Yes! While baby back or St. Louis style work best, spare ribs can also be used. They may need 30-45 minutes extra cooking time due to their larger size. Keep an eye on tenderness rather than time.
What if my ribs aren’t tender after the initial cooking time?
If the meat isn’t pulling away from the bone after 2.5-3 hours at 275°F, reseal with foil and continue cooking. Check every 30 minutes until they reach the desired tenderness.
Can I make this recipe ahead of time?
Cook the ribs through Step 2, then refrigerate in their juices for up to 2 days. Finish with the glaze and final roast just before serving. This actually enhances the flavor!

- Potato Chip Cookie Recipe With Pecans: Buttery Crunch Meets Nutty Richness - October 30, 2026
- Potato Patty Recipe No Egg: Crispy Edges Without the Binder - October 30, 2026
- Paula Deen’s Potato Chip Cookies Recipe: Salty-Sweet Crunch in Every Bite - October 30, 2026