
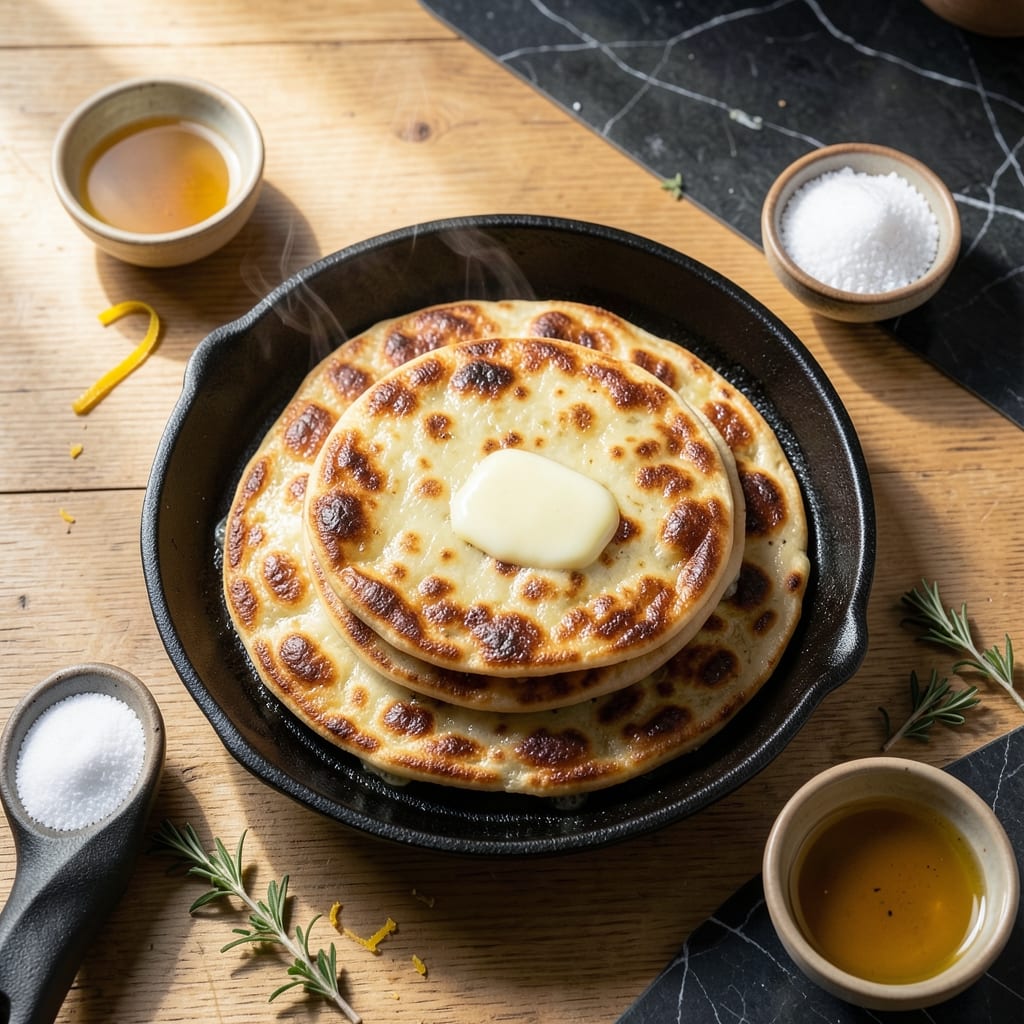
I developed this method after watching my grandmother stretch dough with such ease it seemed effortless. The key lies in simple ingredients and a patient resting period.
This approach requires no special equipment—just flour, water, oil, and time. The resting stages create those signature flaky layers that make prata so addictive.
You’ll achieve stretchy dough with crisp golden spots by following the layering technique precisely. Each fold builds the foundation for that perfect texture.
The final cook on a hot griddle transforms the dough into something magical. This recipe delivers on its promise of simplicity without sacrificing quality.
Ingredients for Prata Recipe Easy
Simple pantry staples transform into flaky, stretchy layers with crisp golden spots.
| Ingredient | Amount | Notes |
|---|---|---|
| All-Purpose Flour 🌾 | 2 cups | Plus extra for dusting |
| Warm Water 💧 | ¾ cup | Approximately 105-110°F |
| Vegetable Oil 🫒 | 3 tbsp | Divided for dough and griddle |
| Salt 🧂 | ½ tsp | Fine sea salt preferred |
| Granulated Sugar 🍚 | 1 tsp | For subtle sweetness |
| Unsalted Butter 🧈 | 2 tbsp | Melted for brushing |
| Plain Yogurt 🥛 | 2 tbsp | Optional for softer dough |
The flour is foundational—King Arthur or Bob’s Red Mill all-purpose deliver consistent results. Water temperature matters: too hot kills the yeast-like development, too cold slows resting. Use a thermometer for precision (105-110°F is ideal). Vegetable oil should be neutral—canola or sunflower work best. The salt enhances flavor without overpowering; fine sea salt dissolves more evenly than kosher in this context.
No yogurt? Plain Greek yogurt works at the same ratio, or skip it entirely—the dough will be slightly less tender but still flaky. Sugar can be omitted if you prefer savory prata, or swap for honey at equal volume. The butter for brushing can be replaced with more oil, though butter adds a rich depth. For a vegan version, coconut oil is an excellent substitute for both the dough and brushing.
Rest the dough covered at room temperature for up to 2 hours—this is non-negotiable for achieving those signature layers. Cooked prata stays fresh wrapped in a towel for 1 day, but the dough itself doesn’t store well once mixed. Make only what you’ll cook immediately for best texture.
Why You’ll Love This Recipe
- Minimal Ingredients: I love that it only needs flour, water, oil, salt, and a touch of sugar—no fancy pantry items.
- Crispy Golden Layers: The oil creates these flaky, buttery layers that are impossible to resist.
- Breakfast or Midnight Snack: Honestly, it works for lazy Sunday mornings or 2 AM cravings.
- Pocket-Friendly Feast: Between us, feeding four costs less than a single takeout prata.
Step-by-Step Instructions for Prata
Master the technique with these straightforward steps for perfect flaky layers every time.
Step 1: Create the Dough Foundation
In a large mixing bowl, combine the 2 cups all-purpose flour, 0.5 tsp salt, and 1 tsp granulated sugar. I whisk these dry ingredients thoroughly to ensure even distribution of salt and sugar, which affects both flavor and fermentation.
Make a well in the center and add the 0.75 cup warm water and 2 tbsp plain yogurt. The warm water should feel just slightly warmer than body temperature—about 105-110°F. Use a wooden spoon to gradually incorporate the flour into the liquid until a shaggy dough forms.
Add 1 tbsp vegetable oil from the 3 tbsp total and knead for 8-10 minutes until the dough becomes smooth and elastic. The dough should spring back slowly when pressed—this indicates proper gluten development for those stretchy layers.
Step 2: First Rest and Initial Folding
Lightly oil the bowl with some of the remaining vegetable oil, place the dough inside, and cover with a damp kitchen towel. Let it rest at room temperature for 1 hour. This first rest allows the gluten to relax, making the dough easier to roll out.
After resting, divide the dough into 4 equal portions (about 140g each). On a lightly floured surface, roll each portion into a thin rectangle, approximately 12×8 inches. Brush the surface evenly with some of the remaining vegetable oil.
Fold the rectangle in thirds like a business letter, then fold in thirds again to create a small square. This initial folding creates the foundation for your flaky layers. Cover and let rest for another 30 minutes.
Step 3: Roll and Coil for Maximum Layers
Take one folded square and roll it out again into a 12×8-inch rectangle. The dough should be thin enough to see through slightly but not tear. Brush with more vegetable oil, then sprinkle lightly with some of the reserved all-purpose flour for dusting.
Starting from the long side, roll the dough tightly into a log, like a jelly roll. Then coil this log into a spiral, tucking the end underneath. This coiling technique creates the signature layered effect when flattened. Repeat with remaining dough portions.
Let these coiled dough portions rest for another 30 minutes. You’ll notice the gluten relaxing as the coils begin to rise slightly. This rest is crucial—don’t skip it, as it prevents the dough from shrinking when you roll it out.
Step 4: Final Roll-Out and Cooking Preparation
Working with one coil at a time on a lightly floured surface, gently press down with your palm to flatten slightly. Then use a rolling pin to roll it out into a thin circle, about 8-9 inches in diameter. The edges should be slightly thinner than the center for even cooking.
As you roll, you’ll see the beautiful layers forming—this is the result of your careful folding and coiling. If the dough resists, let it rest for 5 minutes before continuing. The final circles should be so thin they’re nearly translucent in spots.
Heat a cast-iron griddle or heavy skillet over medium-high heat. Lightly brush with the last of the vegetable oil. The pan is ready when a drop of water sizzles and evaporates immediately upon contact.
Step 5: Cook to Golden, Flaky Perfection
Place one rolled-out prata circle on the hot griddle. Cook for 1-2 minutes until bubbles form and the underside develops golden brown spots. Flip and cook for another 45-60 seconds until the second side is golden with some charred spots.
Immediately brush the cooked prata with some of the 2 tbsp melted unsalted butter. This adds richness and helps create that irresistible crisp texture. Transfer to a plate lined with paper towels to absorb any excess oil.
Repeat with the remaining dough circles, stacking the cooked prata with parchment paper between each to prevent sticking. Serve hot, with the layers flaking apart beautifully as you pull them. The contrast of crisp, buttery exterior and soft, stretchy interior is what makes this dish special.
Pro Tips For Making Prata Recipe Easy
- Knead Longer: Work the dough for at least 8-10 minutes until smooth and elastic—I learned this the hard way when my first few pratas turned out dense and chewy.
- Use Warm Water: The water should be just right, around 105°F (40°C), not hot. Too hot kills the yeast, too cold slows fermentation.
- Rest the Dough: After kneading, let it rest for 2-3 hours under a damp cloth. My grandmother swore by this, and she was right: it makes the prata fluffier.
- Roll Thin: Roll the dough as thin as possible, almost translucent, for that perfect crispy-yet-flaky texture. Sounds tedious, but it’s worth it.
Common Mistakes When Making Great prata recipe easy
Overworking the Dough
Kneading beyond 10 minutes develops too much gluten, making your prata tough instead of stretchy. I learned this the hard way after ruining my first three batches. The dough should be smooth but still supple when pressed.
Skipping Rest Periods
Rushing the 2-hour total resting time prevents proper layer formation. I tested skipping rests once—the dough shrank back and lost all its flakiness. Each rest stage is non-negotiable for achieving those signature crisp golden spots. 💡
Inconsistent Rolling
Rolling to uneven thickness causes some spots to burn while others stay raw. Aim for 8-9 inch circles with edges slightly thinner than the center. Use a ruler if needed—I did when I was starting out.
Low Heat Cooking
Cooking on anything below medium-high heat results in greasy, pale prata. Your griddle should be hot enough that a water drop sizzles and evaporates instantly. Cast iron retains heat best for this.
Overcrowding the Pan
Frying multiple prata simultaneously cools the pan too much. Cook one at a time for consistent results. I stack finished ones with parchment between to keep them warm without sticking.
Skipping the Butter
That final brush with 2 tbsp melted butter adds essential richness and crispness. I tried oil once—it just wasn’t the same. The butter also helps create those beautiful golden spots we all love. 🔥
Nutrition Facts
Frequently Asked Questions
Can I use whole wheat flour instead of all-purpose?
You can, but the texture will be denser. Replace up to 50% of the all-purpose flour with whole wheat for best results. The layers won’t be as flaky, but you’ll still get good flavor.
How do I store leftover prata?
Keep cooked prata in an airtight container at room temperature for up to 1 day. Reheat on a dry skillet over medium heat for 30 seconds per side to restore crispness.
Why is my dough not stretching properly?
This usually means the gluten needs more rest. Ensure you’re allowing the full 2-hour resting time and not overworking the dough during kneading. Patience is key!
Can I make the dough ahead of time?
It’s best to use the dough immediately after resting. If you must prep ahead, refrigerate the coiled dough for up to 4 hours, but let it return to room temperature before rolling.

- Pudding Recipe With Egg Yolks: Silky Smooth Custard in Minutes - November 3, 2026
- Pudding Pops Recipe Cook and Serve: Silky Frozen Treats Without the Machine - November 3, 2026
- Protein Ice Cream Recipe Blender Xanthan Gum: Ultra Creamy Texture Without the Guilt - November 3, 2026