
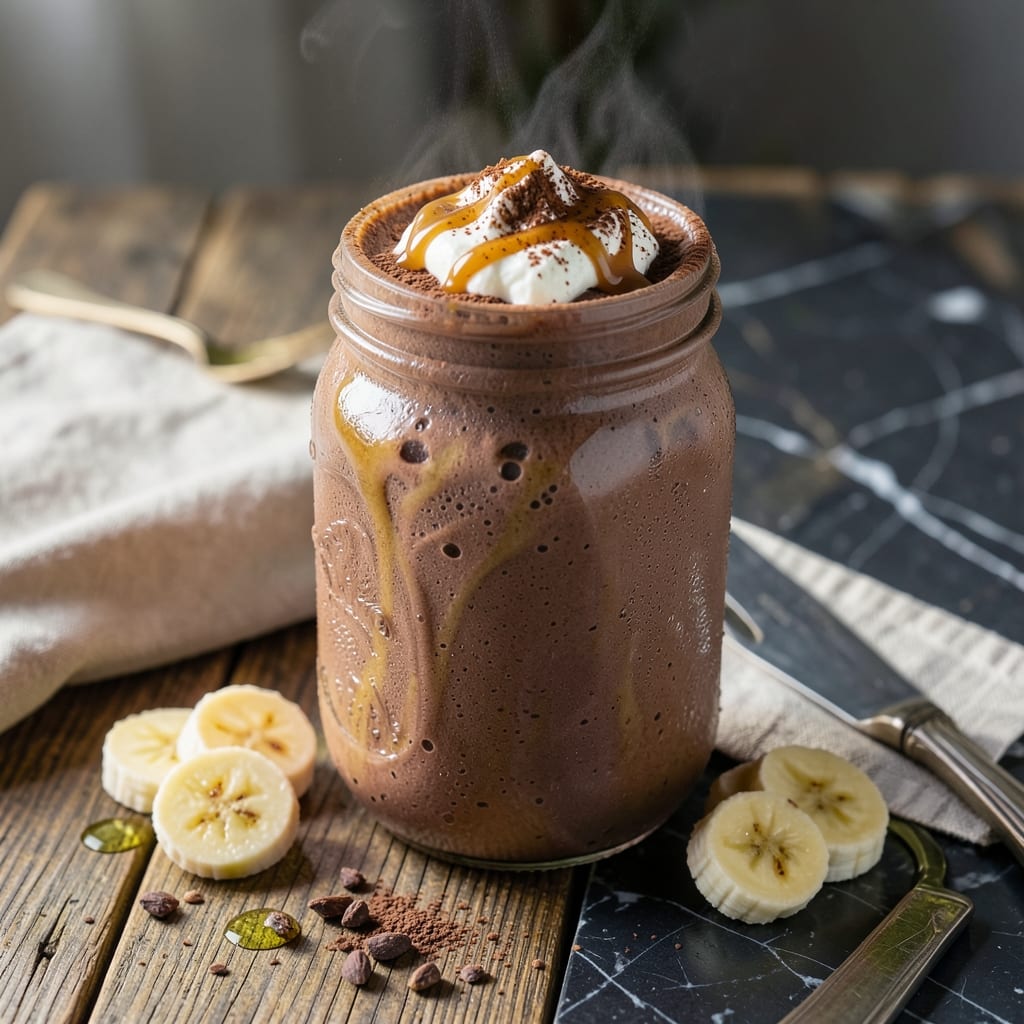
This chocolate protein shake delivers a rich cocoa boost perfect for post-workout recovery. I developed this recipe to maximize protein absorption while satisfying chocolate cravings.
The key is using high-quality chocolate protein powder as the base, then enhancing it with natural cocoa and a touch of sweetness. This creates a smooth, creamy texture that’s far superior to basic shakes.
With just a few simple ingredients and 5 minutes of blending, you’ll have a nutrient-packed drink that tastes like a decadent treat. The balance of protein and flavor makes it ideal for muscle recovery.
Customize with almond milk, banana, or peanut butter for added nutrition. This is one post-workout ritual you’ll look forward to.
Ingredients for Protein Shake Recipe with Chocolate Protein Powder
Short list. Big flavor. Perfect for recovery after the gym.
| Ingredient | Amount | Notes |
|---|---|---|
| Chocolate Protein Powder 🍫 | 2 scoops | High-quality, unsweetened preferred |
| Almond Milk 🥛 | 1 ½ cups | Unsweetened for best results |
| Banana 🍌 | 1 whole | Ripe for natural sweetness |
| Natural Cocoa Powder 🍫 | 1 tbsp | Unsweetened for rich flavor |
| Peanut Butter 🥜 | 2 tbsp | Creamy or crunchy variety |
| Greek Yogurt 🥛 | ½ cup | Plain, full-fat for creaminess |
| Honey 🍯 | 1 tbsp | Optional for extra sweetness |
| Vanilla Extract 🌿 | ½ tsp | Pure extract for best flavor |
| Ice Cubes ❄️ | 1 cup | For thick, frosty texture |
| Chia Seeds 🌱 | 1 tsp | Optional for extra fiber |
The protein powder is non-negotiable here. Opt for a high-quality chocolate whey or plant-based blend—cheap stuff tastes chalky and ruins the texture. I like Orgain or Ghost for their smoothness. The cocoa powder should be 100% natural, unsweetened—Hershey’s Special Dark is a solid grocery store option. Almond milk adds creaminess without overpowering the chocolate.
No banana? Frozen mango or berries work great—just adjust sweetness. Swap peanut butter for almond butter or sunflower seed butter if allergies are a concern. Need it dairy-free? Oat yogurt instead of Greek. The honey can be swapped for maple syrup or agave. Ice is key for that milkshake thickness—don’t skip it unless you’re meal prepping.
Blend and drink immediately for best texture. Leftovers? Not ideal—this is fresh-only territory. But if you must, store in the fridge for 24 hours max. Shake well before drinking (it separates fast).
Why You’ll Love This Recipe
- Blend in Seconds: I dump everything in the blender and hit pulse—no chopping, no fuss, just a creamy shake in under a minute.
- Chocolate Peanut Heaven: That combo of cocoa, peanut butter, and banana tastes like a milkshake but packs a protein punch.
- Post-Gym Staple: I keep the ingredients on hand for a quick recovery drink or a breakfast on the run.
- Budget-Friendly Fuel: Almond milk and banana stretch the protein powder, so one tub lasts me way longer than expected.
Step-by-Step Instructions for a Protein Shake with Chocolate Protein Powder
Here’s the method I use daily—quick, foolproof, and packed with flavor.
Step 1: Layer the Liquid Base Ingredients
Start by pouring the 1.5 cups Almond Milk into your blender first. This creates the liquid foundation that helps everything else blend smoothly. Then add the 0.5 cup Greek Yogurt—I always use full-fat for that ultra-creamy texture that makes this shake feel like a dessert.
At this stage, your blender should have about 2 cups of liquid. This is the perfect amount to allow the blades to move freely while still creating that thick, milkshake-like consistency we’re after. Don’t skip this layering step; it prevents dry ingredients from sticking to the bottom.
Step 2: Add the Sweet and Flavorful Components
Break the 1 whole Banana into chunks and add it to the blender. The riper the banana, the sweeter your shake will be naturally. Then add the 2 tbsp Peanut Butter—I prefer creamy for a smooth finish, but crunchy works too if you like texture.
Next, add the 1 tbsp Honey and 0.5 tsp Vanilla Extract. The honey enhances the natural sweetness while the vanilla adds depth to the chocolate flavor. These ingredients combine to create that rich, dessert-like taste that makes this shake so satisfying.
Step 3: Incorporate the Protein and Boosting Elements
Now add the 2 scoops Chocolate Protein Powder and 1 tbsp Natural Cocoa Powder. The cocoa powder intensifies the chocolate flavor and complements the protein powder beautifully. For extra nutrition, toss in the 1 tsp Chia Seeds—they add fiber and healthy fats without altering the taste.
These dry ingredients need the liquid base we created earlier to blend properly. I’ve found that adding them last prevents clumping and ensures a silky-smooth texture. The protein powder should be unsweetened to let the natural flavors shine through.
Step 4: Add Ice and Blend to Perfection
Finally, add the 1 cup Ice Cubes to the blender. The ice is crucial for creating that thick, frosty texture that makes this shake feel like a treat rather than just a drink. Secure the lid tightly—trust me, you don’t want to clean protein shake off your ceiling.
Blend on high for 30-45 seconds until completely smooth. You’ll know it’s ready when there are no ice chunks left and the mixture has a consistent, creamy texture. If it’s too thick, add a splash more almond milk and pulse until you reach your desired consistency. Serve immediately for the best texture and temperature.
Pro Tips For Making Protein Shake Recipe With Chocolate Protein Powder
- Blend Liquid First: Start with almond milk in the blender before adding powder—I learned this the hard way after scraping chocolate protein powder off the bottom one too many times.
- Freeze the Banana: Use a frozen banana instead of fresh for a thicker, creamier texture, almost like soft-serve ice cream.
- Skip the Cocoa Clumps: Mix the natural cocoa powder with a splash of almond milk before adding it to the blender to avoid those annoying dry pockets.
- Add Peanut Butter Last: Drop the peanut butter in near the end and pulse a few times—it blends smoother and keeps the shake from getting too thick too fast.
Common Mistakes When Making Perfect Results
Overloading the Blender
One of the biggest mistakes I see is filling the blender to the brim. Leave at least 1 inch of space at the top for expansion. Too much volume prevents proper blending and can cause spills. I learned this the hard way after a chocolate explosion in my kitchen. 💫
Using Cold Ingredients
Cold liquids like almond milk straight from the fridge can make your shake too thick and strain your blender. Let liquids come to room temperature or warm slightly for 30 seconds in the microwave. This creates a smoother, creamier texture.
Skipping the Layering
Always add liquids first, then soft ingredients, then powders. This prevents chocolate protein powder from sticking to the bottom. I start with 1.5 cups almond milk and 0.5 cup Greek yogurt as my base layer for perfect blending every time.
Wrong Protein Powder
Cheap protein powders create a chalky texture. Invest in high-quality chocolate whey or plant-based blends like Orgain or Ghost. These dissolve smoothly and provide the rich cocoa flavor you want. Trust me, your taste buds will notice the difference.
Underblending
Stopping too soon leaves ice chunks and gritty texture. Blend for 30-45 seconds on high until completely smooth. If using frozen banana, you may need an extra 10-15 seconds. The result should be silky, not grainy.
Ignoring Sweetness Balance
Ripe bananas and honey both add sweetness. Taste before adding extra sweeteners. If your banana isn’t very ripe, add the 1 tbsp honey gradually. Remember, the protein powder often contains sweeteners too. 💡
Nutrition Facts
Frequently Asked Questions
Can I use water instead of almond milk?
Yes, but the texture will be thinner and less creamy. For best results, stick with 1.5 cups of almond milk or another milk alternative. Water works in a pinch, though.
How can I make it thicker?
Add more ice or use frozen banana instead of fresh. For extra creaminess, include 0.5 cup Greek yogurt or blend in 1 tbsp chia seeds. These adjustments create a milkshake-like consistency.
Is this recipe suitable for meal prep?
Not ideal, as it’s best fresh. If prepping ahead, store in the fridge for 24 hours max and shake well before drinking. The texture may separate over time.

- Pudding Recipe With Egg Yolks: Silky Smooth Custard in Minutes - November 3, 2026
- Pudding Pops Recipe Cook and Serve: Silky Frozen Treats Without the Machine - November 3, 2026
- Protein Ice Cream Recipe Blender Xanthan Gum: Ultra Creamy Texture Without the Guilt - November 3, 2026