
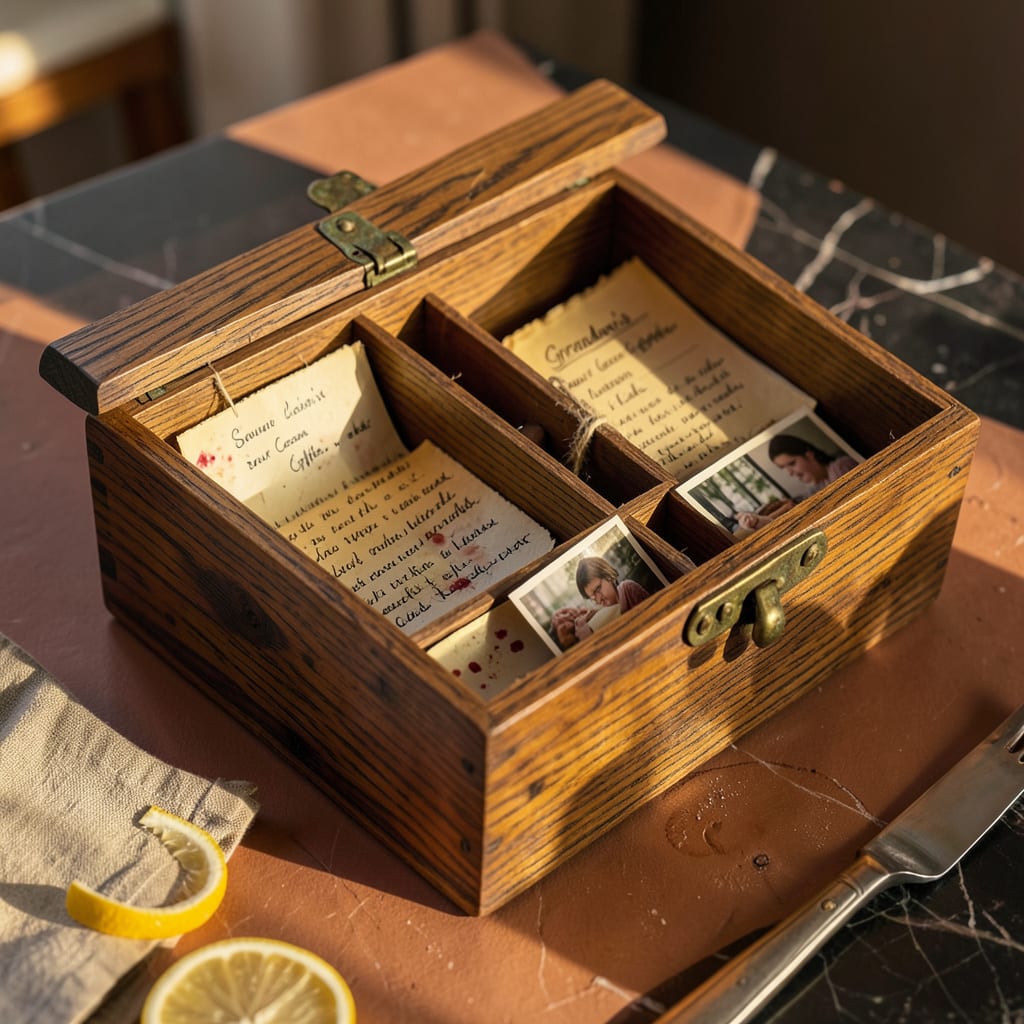
To make a wooden recipe box, start with a small wooden crate or build a simple box from ¼-inch plywood or hardwood. Sand all edges smooth, add dividers for organization, then finish with food-safe stain or paint. Include a decorative label or chalkboard front for personalization.
Crafting your own recipe keeper lets you tailor every detail to match your kitchen aesthetic and storage needs. 🔥 I love how this project combines practicality with creativity—whether you prefer rustic charm or modern minimalism. The key is choosing the right wood grain for durability while ensuring the interior compartments fit standard recipe cards without bending. A well-sealed finish protects against spills and humidity, making it both beautiful and functional for years.
What’s special about this DIY approach is the ability to incorporate sentimental touches, like engraved family names or hand-painted designs. ✨ You can even add magnetic closures or hidden compartments for extra flair. The process itself is surprisingly beginner-friendly, with most steps requiring just basic tools and a weekend’s worth of time.
💡 In This Article
- Essential Materials and Tools for a DIY Wooden Recipe Box
- Customizing Your Wooden Recipe Box for Style and Function
Essential Materials and Tools for a DIY Wooden Recipe Box
Choosing the right wood sets the foundation for your project. Hardwoods like birch or oak offer durability and a polished look, while pine provides a softer, more rustic aesthetic at a lower cost. For standard recipe cards (typically 4×6 inches), your box interior should measure at least 12×10 inches to accommodate 50-60 cards without cramming.
The thickness matters too—¼-inch plywood balances sturdiness and weight, while ½-inch hardwood adds heft for a premium feel. 🔥
Your toolkit should include a fine-tooth saw for clean cuts, 80-120 grit sandpaper for smoothing rough edges, and wood glue with clamps for seamless assembly. Safety gear isn’t optional: dust masks protect against fine wood particles, while safety goggles shield your eyes during cutting.
The glue choice matters—PVA wood glue dries clear and bonds strongly, while epoxy offers waterproofing for kitchen environments. Don’t skip the tack cloth to remove dust before finishing. ✨
For the interior dividers, ⅛-inch hardboard works perfectly—it’s rigid enough to hold cards upright but thin enough to maximize space. Measure divider slots ½-inch deep to keep them secure without compromising box integrity. The exterior finish requires food-safe products: beeswax for a natural matte look or water-based polyurethane for spill resistance.
Remember, oil-based finishes can yellow over time, especially on light woods like maple. 💫
Here’s what most beginners overlook: the importance of grain direction. Align wood grain horizontally on the box front for visual appeal, but vertically on sides for added strength. Pre-drill screw holes to prevent splitting, especially with hardwoods. For hinged lids, choose brass or stainless steel hinges (1-1½ inches) to prevent rust in humid kitchens.
The hardware isn’t just functional—it becomes part of the design statement. ⚡
Consider these material pairings for specific styles:
- Rustic Farmhouse: Reclaimed pine + black iron hinges + milk paint
- Modern Minimalist: Walnut plywood + hidden magnets + matte polyurethane
- Vintage Charm: Oak veneer + brass corners + antiqued stain
The weight of your materials affects daily use—a box over 5 pounds becomes cumbersome when filled with cards. Test your design by loading it with 1 pound of books before final assembly to check balance. This hands-on approach prevents disappointment after hours of crafting.
The right materials transform a simple box into a family heirloom that tells your culinary story. 🌟

- BBQ Sausage Recipe Oven: Smoky Depth Without the Grill - September 28, 2026
- BBQ Chicken Bowl Recipe Rice: Smoky Sweetness Over Fluffy Grains - September 28, 2026
- Beef Cutlet Recipe Ideas: Crispy Breaded Patties With Bold Seasonings - September 28, 2026