
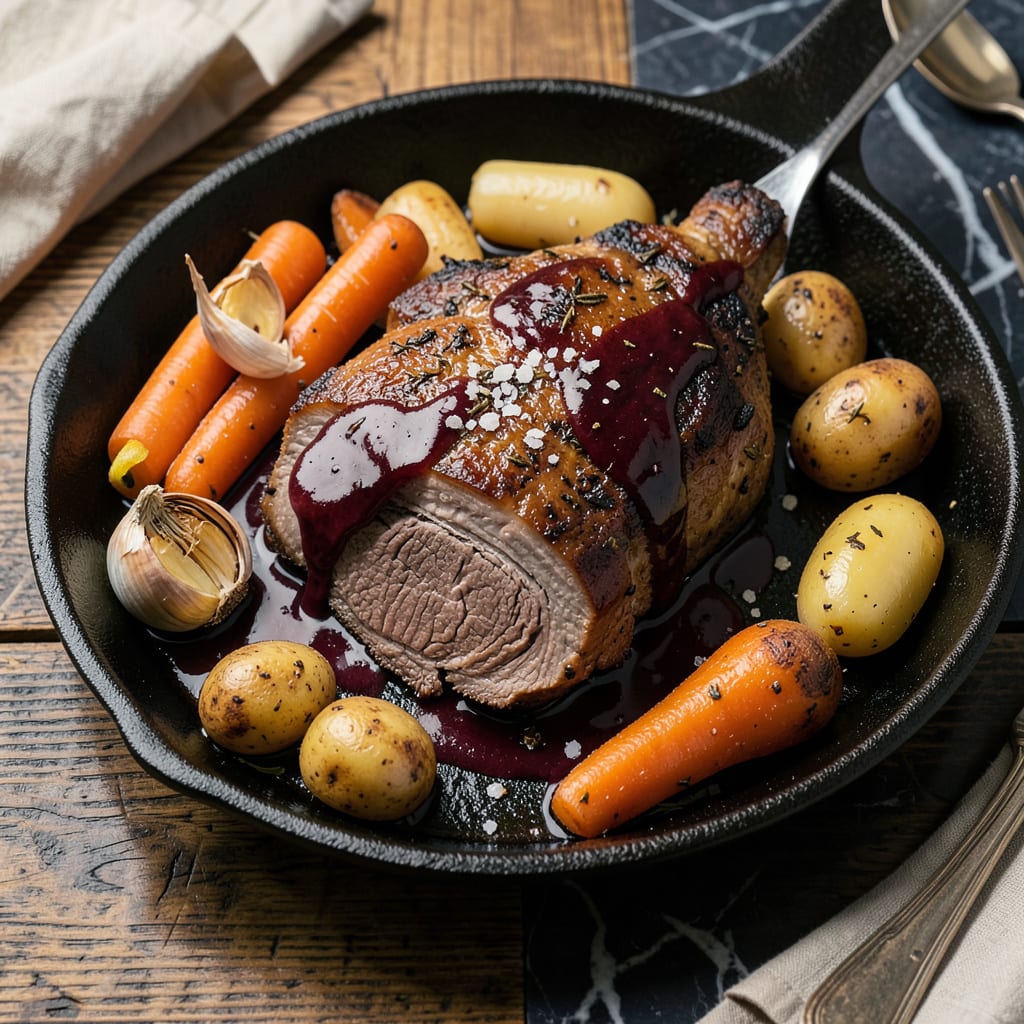
For tender chuck roast, sear the meat first, then slow-cook at 300°F (150°C) for 3-4 hours with broth, aromatics, and seasonings. Use a Dutch oven or slow cooker, and let it rest before slicing against the grain.
This method works because chuck roast’s rich connective tissue needs time to break down properly. The low, steady heat transforms tough collagen into silky gelatin, creating that melt-in-your-mouth texture we all love. 🔥 I always recommend using a meat thermometer to monitor internal temperature—195-205°F is the sweet spot for perfect doneness. Don’t skip the searing step either; that initial caramelization builds deep, complex flavors that infuse the entire dish during cooking.
💡 In This Article
- Why Slow Cooking Transforms Tough Chuck Roast
- Best Seasonings and Side Dishes for Chuck Roast
Why Slow Cooking Transforms Tough Chuck Roast
The magic happens because chuck roast contains abundant collagen—the same protein that makes gelatin. When exposed to moist heat between 160-205°F for extended periods, collagen molecules unwind and convert into gelatin through hydrolysis.
This process requires both time and moisture: at least 3-4 hours for a 3-4 pound roast, with liquid covering about 1/3 of the meat. 🔥
What you’re actually tasting is science in action. The gelatin created from broken-down collagen coats muscle fibers, giving that signature “fall-apart” tenderness. Compare this to quick cooking methods: at 250°F, collagen barely softens, while above 212°F, muscle proteins squeeze out moisture, making meat dry.
Slow cooking at 300°F hits the collagen breakdown sweet spot while keeping muscle fibers intact.
Braising (covered pot with liquid) versus pot roasting (less liquid, more browning) creates different results. Braising yields more sauce and uniform doneness, while pot roasting develops deeper crust flavors. I prefer braising for chuck roast because the constant moisture prevents the exterior from drying before the interior becomes tender.
The liquid also becomes infused with beefy richness as connective tissues dissolve.
Temperature control is everything. Below 160°F, collagen won’t break down sufficiently. Above 210°F, muscle proteins contract violently, expelling juices. That’s why 195-205°F internal temperature is ideal—it’s where collagen fully converts to gelatin while muscle fibers remain juicy. A meat thermometer isn’t optional here; it’s your guarantee against tough meat.
Here’s what most home cooks miss: resting time matters as much as cooking. When you remove the roast, the internal temperature continues rising 5-10°F while juices redistribute. Slicing immediately releases all those precious juices onto the cutting board instead of keeping them in the meat.
I recommend resting for at least 15-20 minutes under foil before serving. ✨
Pro tip: The grain direction changes in different parts of the chuck. Look for the parallel lines of muscle fibers and slice perpendicular to them. This shortens the fibers, making each bite easier to chew. You’ll notice the difference immediately—meat that pulls apart effortlessly versus stringy pieces that require extra chewing.

- BBQ Sausage Recipe Oven: Smoky Depth Without the Grill - September 28, 2026
- BBQ Chicken Bowl Recipe Rice: Smoky Sweetness Over Fluffy Grains - September 28, 2026
- Beef Cutlet Recipe Ideas: Crispy Breaded Patties With Bold Seasonings - September 28, 2026