
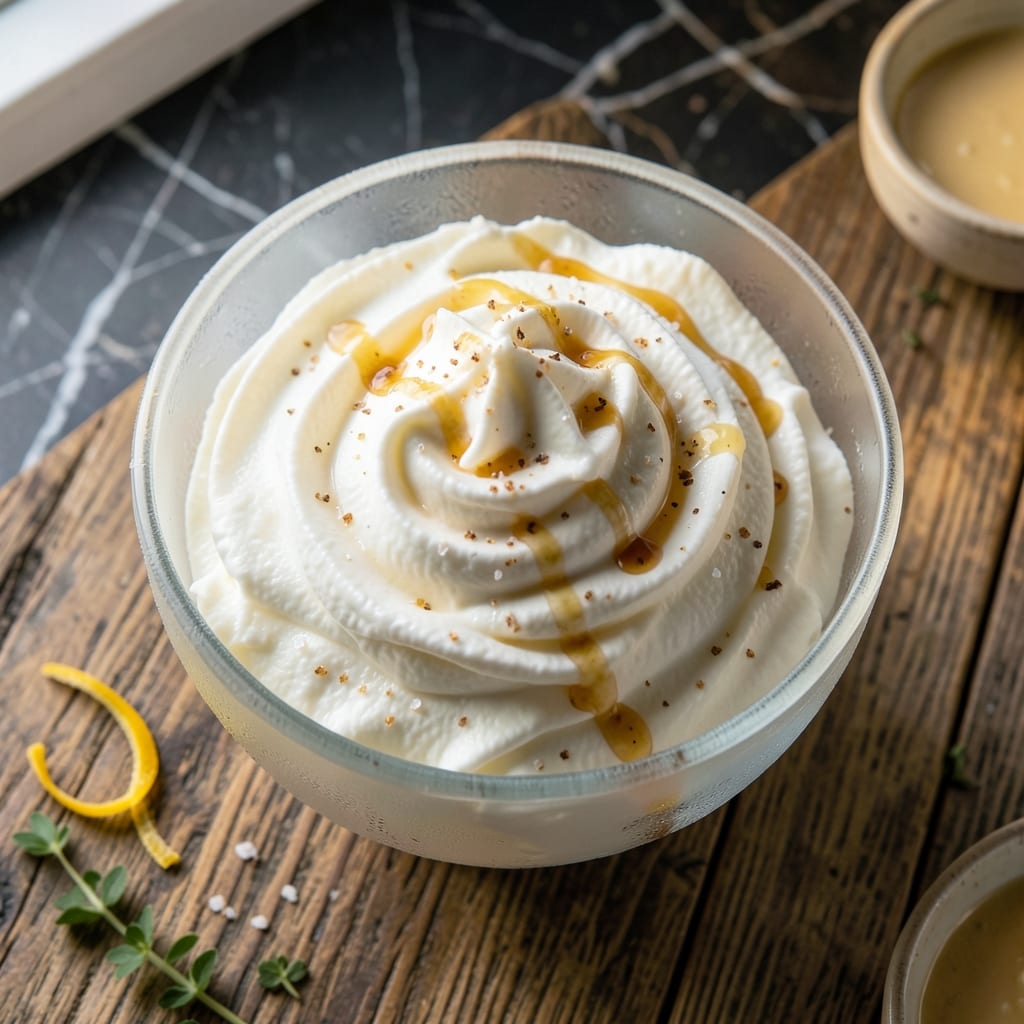
There’s a simple joy in turning fresh snow into creamy, dreamy snow cream—no condensed milk required. This method uses just a few pantry staples to create a light, fluffy treat that captures the magic of winter.
By swapping condensed milk for fresh milk, sugar, and vanilla, you achieve a cleaner, more natural flavor that lets the snow shine. The texture stays soft and scoopable, perfect for enjoying right away.
No special equipment is needed—just a bowl, a spoon, and a fresh snowfall. The process is quick, and the result is a smooth, sweet dessert that feels like a snowy day in every bite.
Serve immediately for the best texture, or add mix-ins like sprinkles or crushed cookies for extra fun. Here’s how to make it.
Ingredients for Snow Cream Recipe Without Condensed Milk
Fresh snow plus a few kitchen staples for a light, fluffy winter dessert.
| Ingredient | Amount | Notes |
|---|---|---|
| Fresh Clean Snow ❄️ | 8 cups | Packed, chemical-free, collected immediately |
| Whole Milk 🥛 | ¾ cup | Cold, full-fat for creaminess |
| Granulated Sugar 🍚 | ⅓ cup | Adjust to taste preference |
| Vanilla Extract 🌿 | 1 tsp | Pure extract for best flavor |
| Salt 🧂 | 0.125 tsp | Fine grain for even distribution |
| Heavy Cream 🥛 | ¼ cup | Optional for richer texture |
| Vanilla Bean 🌿 | 1 whole | Scraped seeds for enhanced flavor |
| Powdered Sugar 🍚 | 1 tbsp | For dusting finished snow cream |
The snow is non-negotiable here. Collect it fresh—first 30 minutes of snowfall is cleanest. Avoid plowed or dirty snow (obviously). Whole milk gives the best texture, but 2% works in a pinch. I grab mine from local dairies when possible, but any grocery store brand is fine if it’s fresh. The vanilla matters more than you’d think—pure extract or real vanilla bean makes a noticeable difference over imitation.
No whole milk? Half-and-half or cream makes it richer (use less sugar). Dairy-free? Coconut milk or oat milk works but texture varies. No vanilla extract? Maple syrup at one-third the amount adds sweetness plus a hint of vanilla flavor. Want it sweeter without more sugar? A drizzle of honey or agave before serving works great. Skip the salt if using salted butter elsewhere.
Snow cream is best eaten fresh—it’ll melt within 30-45 minutes at room temperature. Leftovers? Freeze in a sealed container for up to 1 week (texture changes slightly). Stir in mix-ins just before serving for best results.
Why You’ll Love This Recipe
- 5-Minute Magic: I just grab fresh snow, mix in milk, sugar, and vanilla—no cooking, no waiting.
- Pure Vanilla Bliss: The whole milk and real vanilla make it creamy and rich, like soft-serve but better.
- Kid-Approved Fun: My kids beg to make this after every snowfall, and honestly, I don’t mind the help.
- Pocket-Friendly Treat: No special ingredients, just pantry staples and free snow—cheaper than ice cream runs.
Step-by-Step Instructions for Snow Cream Without Condensed Milk
This method ensures perfectly fluffy snow cream using fresh milk and simple ingredients.
Step 1: Collect and Prepare the Snow
Gather the 8 cups Fresh Clean Snow immediately after it falls, ensuring it’s chemical-free and untouched. Pack it loosely into a large mixing bowl—fresh snow incorporates air better for that signature light texture.
Return the snow to the freezer while you prepare the other ingredients. This keeps it at the ideal temperature for blending. Never use yellowed or dirty snow, as it can affect both flavor and safety.
Step 2: Infuse the Milk Mixture
In a separate bowl, combine the 0.75 cup Whole Milk, 0.33 cup Granulated Sugar, 1 tsp Vanilla Extract, and 0.125 tsp Salt. Whisk vigorously until the sugar and salt fully dissolve—this should take about 1-2 minutes.
For enhanced flavor, split the 1 whole Vanilla Bean lengthwise, scrape out the seeds, and add them to the milk mixture. The tiny black specks add visual appeal and deepen the vanilla notes. Stir in the 0.25 cup Heavy Cream for a richer consistency.
Step 3: Blend Snow and Milk Base
Remove the chilled snow from the freezer and make a well in the center. Gradually pour the milk mixture into the well, then use a large spoon or spatula to fold the ingredients together. Work quickly—the snow begins melting immediately.
Continue folding until the mixture is uniform and resembles soft-serve ice cream. The texture should hold its shape when spooned but still appear light and airy. If it seems too thin, add a bit more snow; if too thick, a splash of milk balances it.
Step 4: Serve and Finish
Scoop the snow cream into serving bowls immediately. The mixture is best enjoyed fresh, as it will soften over time. For a restaurant-style finish, dust the top with 1 tbsp Powdered Sugar using a fine-mesh sieve for even coverage.
Serve within 10 minutes for optimal texture. The surface should glisten slightly, and each bite should dissolve smoothly on the tongue. Leftovers don’t store well, so plan to enjoy it all at once.
Pro Tips For Making Snow Cream Recipe Without Condensed Milk
- Use Fresh Snow: Collect snow as it falls, not from the ground—it stays cleaner and fluffier. I learned this the hard way after my first batch tasted like dirt.
- Chill the Milk: Use ice-cold whole milk straight from the fridge to prevent the snow from melting too fast into a soupy mess.
- Sweeten Gradually: Add sugar a tablespoon at a time and taste as you go—snow’s natural texture can make the sweetness harder to judge.
- Mix Fast: Fold everything together quickly with a wooden spoon so the snow keeps its light, airy texture instead of turning icy.
Creative Variations of This snow cream recipe without condensed milk
Chocolate Lover’s Twist
Add 2 tbsp cocoa powder to your milk mixture for a rich chocolate version. I also fold in ½ cup mini chocolate chips just before serving. The cocoa dissolves completely when whisked with the warm milk, creating a smooth chocolate base that pairs perfectly with the snow’s natural sweetness. 🌟
Tropical Snow Dream
Replace vanilla with 1 tsp coconut extract and fold in ½ cup toasted coconut flakes. This variation tastes like a snowy piña colada. For extra flair, add ¼ cup crushed pineapple—just drain it well first to prevent iciness.
Berry Swirl Delight
Mash ½ cup fresh raspberries with 1 tbsp sugar and swirl into the finished snow cream. The tart berries cut through the sweetness beautifully. I use a fork to create ribbons of pink throughout the white snow cream for a stunning presentation.
Coffee Buzz Version
Dissolve 1 tbsp instant coffee granules in the warm milk mixture. This adds a subtle coffee flavor that pairs wonderfully with the vanilla. For adult versions, I sometimes add 1 tsp coffee liqueur—just reduce the vanilla extract slightly to balance the flavors. 💛
Spiced Chai Snow
Whisk ½ tsp ground cinnamon, ¼ tsp ground cardamom, and a pinch of ground cloves into the milk mixture. These warm spices complement the cold snow beautifully. I often dust the finished cream with extra cinnamon for visual appeal.
Cookie Dough Surprise
Fold in ½ cup chunks of egg-free cookie dough just before serving. The chewy dough bits add texture contrast. I make my cookie dough with brown sugar for extra depth. This version disappears fastest at my winter gatherings.
Nutrition Facts
Frequently Asked Questions
Can I use powdered milk instead of fresh?
Powdered milk works but may create a grainier texture. Reconstitute it with cold water first, then mix with sugar and vanilla before adding to snow. Fresh milk yields the smoothest results.
Why is my snow cream icy?
Icy texture usually means the snow was too old or packed too tightly. Use only fresh, fluffy snow and fold gently with the milk mixture. Adding 1 tbsp corn syrup can help prevent ice crystals.
How long does it keep?
Snow cream is best eaten immediately as it melts quickly. If storing, keep in an airtight container in the freezer for up to 1 hour, but texture will soften.
Can I make this dairy-free?
Yes! Substitute coconut milk or oat milk for whole milk. The flavor will differ slightly, but it remains creamy. Add a pinch of xanthan gum for better texture.

- Pina Colada Dip Recipe Red Lobster: Tropical Creaminess With Toasted Coconut - October 12, 2026
- Pickled Sweet Cherry Peppers Recipe Canning: Tangy Heat for Pantry Staples - October 12, 2026
- Peppercorn Sauce Recipe Vegan: Rich Umami Depth Without Cream - October 12, 2026