
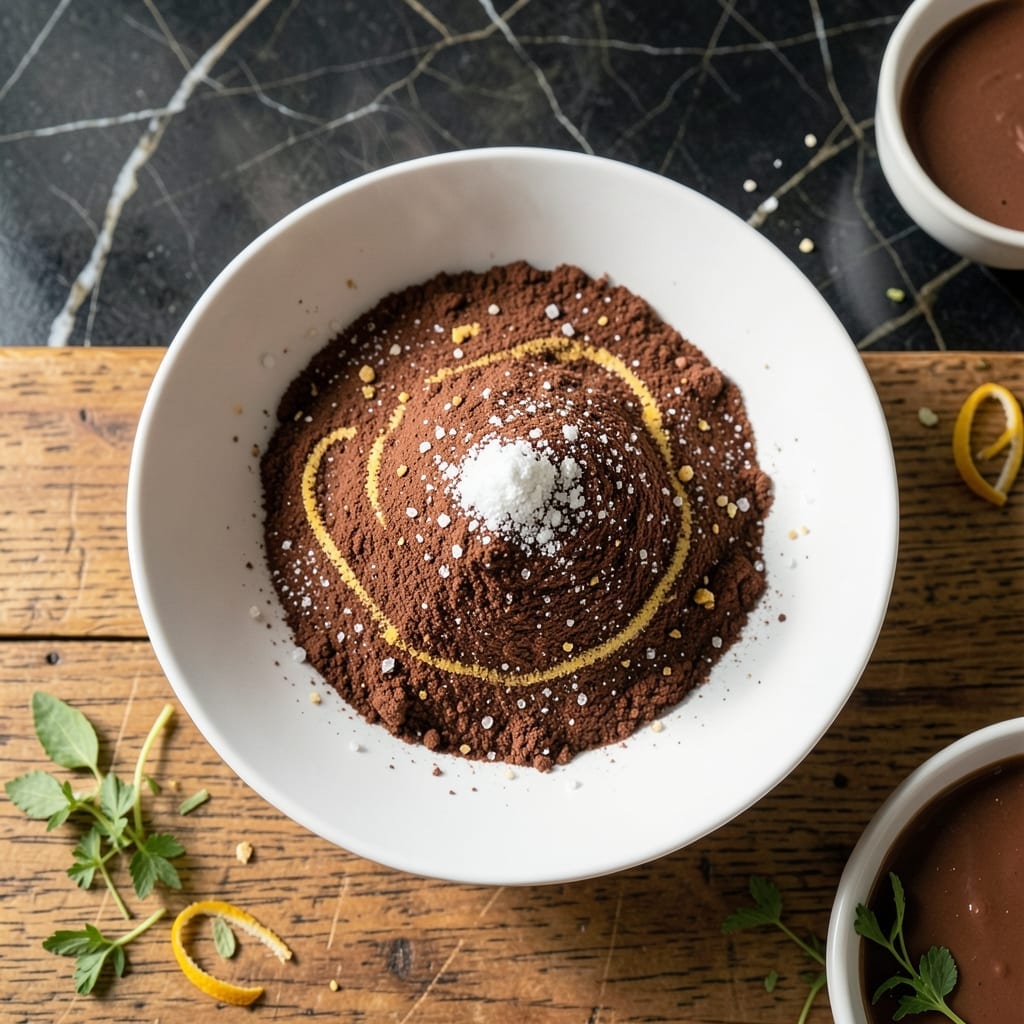
This sugar-free hot cocoa mix delivers the same rich chocolate flavor you love, without any guilt. I developed this recipe to satisfy chocolate cravings while keeping blood sugar in check.
The secret is a carefully balanced blend of cocoa powder and stevia that mimics traditional hot cocoa sweetness. With just 5 ingredients and 5 minutes of prep, you can have a warm, comforting mug ready whenever the craving strikes.
What you get is a smooth, velvety cocoa with deep chocolate notes and just the right amount of sweetness. It dissolves perfectly in hot milk or water, creating a luxurious drink that tastes indulgent.
Store the mix in an airtight container for up to 3 months, so you always have a cozy treat on hand.
Ingredients for Sugar Free Hot Cocoa Mix Recipe with Stevia
Five simple ingredients create this rich, guilt-free cocoa experience at home.
| Ingredient | Amount | Notes |
|---|---|---|
| Unsweetened Cocoa Powder 🍫 | ½ cup | Dutch-processed preferred for smoothness |
| Stevia Powder 🌿 | ¼ tsp | Pure extract, no fillers |
| Powdered Erythritol 🧂 | ½ cup | Bulking agent for texture |
| Vanilla Powder 🌿 | 1 tsp | Enhances chocolate depth |
| Pinch of Salt 🧂 | 0.125 tsp | Balances sweetness |
The cocoa powder is key here. Hershey’s Special Dark or Ghirardelli Dutch-processed gives that velvety texture (the non-alkalized stuff can taste chalky). I grab mine in bulk at Whole Foods—fresher than those tiny supermarket cans. The stevia needs to be pure extract, not the blended stuff with maltodextrin. SweetLeaf or Pyure brands work perfectly and dissolve without graininess.
Out of vanilla powder? Vanilla extract works at double the amount—just mix it into the dry ingredients first so it distributes evenly. No erythritol? Monk fruit sweetener or allulose can substitute (use the same volume). The salt might seem optional, but don’t skip it—it makes all the flavors pop. If you’re sensitive to bitterness, cut the cocoa by a tablespoon and add extra sweetener.
This mix stays perfect for 3 months in an airtight container (mason jars are ideal). Keep it in a cool, dark cabinet—heat and light degrade the stevia. For single servings, pre-portion into small bags or test tubes (yes, really). That way, you can grab and go without measuring every time.
Why You’ll Love This Recipe
- Mix & Forget: I stir it all together once, and it’s ready for weeks of cozy mugs—no daily prep.
- Velvety Depth: Honestly, the vanilla powder plus that pinch of salt makes it taste richer than store-bought.
- Gift Jar Ready: Between us, I portion it into little jars for neighbors and they always ask for the recipe.
- Pantry Staples: Uses what I already keep on hand, so it’s a zero-guilt treat anytime.
Step-by-Step Instructions for Sugar Free Hot Cocoa Mix
Here’s the method. Straightforward, tested, works every time.
Step 1: Combine All Dry Ingredients
In a medium bowl, whisk together the 0.5 cup Unsweetened Cocoa Powder and 0.5 cup Powdered Erythritol until no lumps remain. I prefer Dutch-processed cocoa for its smoother texture and deeper flavor, but any unsweetened variety will work.
The erythritol acts as a bulking agent, giving the mix the body and texture you’d expect from traditional hot cocoa. Without it, the stevia alone wouldn’t provide enough volume for a satisfying cup.
Step 2: Add Sweetener and Flavor Enhancers
Sprinkle in the 0.25 tsp Stevia Powder and 1 tsp Vanilla Powder. Use pure stevia extract without fillers—some blends contain maltodextrin or other additives that can create a gritty texture. The vanilla powder intensifies the chocolate flavor, making it taste richer than it actually is.
Here’s the thing—stevia is exponentially sweeter than sugar, so even this small amount packs a punch. Stir thoroughly to distribute it evenly; otherwise, you’ll get pockets of overpowering sweetness in some sips and none in others.
Step 3: Finish with Salt and Final Mix
Add the 0.125 tsp Pinch of Salt to the bowl. I know it seems counterintuitive for a sweet drink, but this tiny amount balances the sweetness and enhances all the other flavors. It’s the secret to making sugar-free taste like the real deal.
Whisk the mixture vigorously for at least 30 seconds until completely homogeneous. The cocoa should be fully incorporated with no visible streaks, and the texture should be fine and powdery. If you see any clumps, keep whisking—this ensures smooth mixing when you add hot liquid later.
Step 4: Store and Prepare for Use
Transfer the mix to an airtight container. A small jar or resealable bag works perfectly. This recipe makes enough for 2 servings, but you can easily double or triple it for larger batches. The mix will keep at room temperature for up to 3 months.
When ready to use, simply add 2 tablespoons of mix to 1 cup of hot milk or water. Stir well until fully dissolved. The powdered ingredients dissolve more readily than granulated ones, but a quick whisk with a fork helps prevent any settling at the bottom of your mug.
Pro Tips For Making Sugar Free Hot Cocoa Mix Recipe With Stevia
- Whisk the Stevia: I learned this the hard way—stevia powder clumps easily, so whisk it thoroughly with the erythritol before adding cocoa. Otherwise, you’ll get bitter pockets in your mix.
- Use High-Quality Cocoa: After trying three brands, I finally figured out that Dutch-process cocoa gives a smoother, less acidic flavor that pairs better with stevia’s sweetness.
- Skip the Clumping: Sounds weird, but it works: add a few uncooked rice grains to your storage jar to absorb moisture and keep the mix free-flowing.
- Bloom the Vanilla: My grandmother swore by this, and she was right: warm the vanilla powder slightly in the microwave for 10 seconds before mixing to intensify its flavor.
Serving Suggestions for This Recipe
Cozy Mug Presentation
Serve this in a pre-warmed mug to keep your cocoa hot longer. I love using my Stone Lain 16-ounce ceramic mugs—they retain heat beautifully. Rim the edge with a sprinkle of extra cocoa powder for a professional touch.
Topping Ideas
A dollop of sugar-free whipped cream adds luxurious texture. I use Reddi-wip Zero for convenience. For crunch, add a pinch of crushed cacao nibs or a cinnamon stick stirrer. 💫
Dairy Alternatives
For a dairy-free version, try unsweetened almond milk or oat milk. Heat to 180°F before mixing—this prevents the cocoa from clumping. I find oat milk creates the creamiest texture.
Adult Upgrade
Add 1 ounce dark rum or ½ ounce peppermint schnapps for a boozy twist. The alcohol enhances the chocolate notes beautifully. Stir in 1-2 drops of orange extract for a Terry’s Chocolate Orange vibe.
Cold Weather Hack
Make it a frozen hot cocoa by blending the prepared mixture with ½ cup ice. Top with extra whipped cream and a dusting of cocoa. Perfect for those rare warm winter days.
Gift Presentation
Layer the mix in a clear jar with alternating bands of cocoa powder and erythritol for visual appeal. Tie a ribbon and include a tag with instructions: “2 tbsp mix + 1 cup hot liquid.”
Nutrition Facts
Frequently Asked Questions
What can I use instead of erythritol?
You can swap in monk fruit sweetener or allulose at the same volume. Both dissolve well and won’t add unwanted aftertastes.
Why does my cocoa taste bitter?
This usually means the stevia wasn’t fully mixed in. Whisk the dry ingredients for at least 30 seconds to distribute it evenly. A pinch of extra salt can also balance bitterness.
Can I make this with liquid stevia?
Yes, but use ½ teaspoon and mix it into the dry ingredients first. Liquid stevia is more concentrated, so start small and adjust to taste.

- Bread Recipe For Bread Machine: Hands-Off Artisan Loaf With Perfect Rise - September 30, 2026
- BBQ Chicken Drumsticks Recipe Air Fryer: Smoky Char in Half the Time - September 30, 2026
- Korean BBQ Sauce Recipe Homemade: Sweet and Spicy Umami Glaze - September 30, 2026