
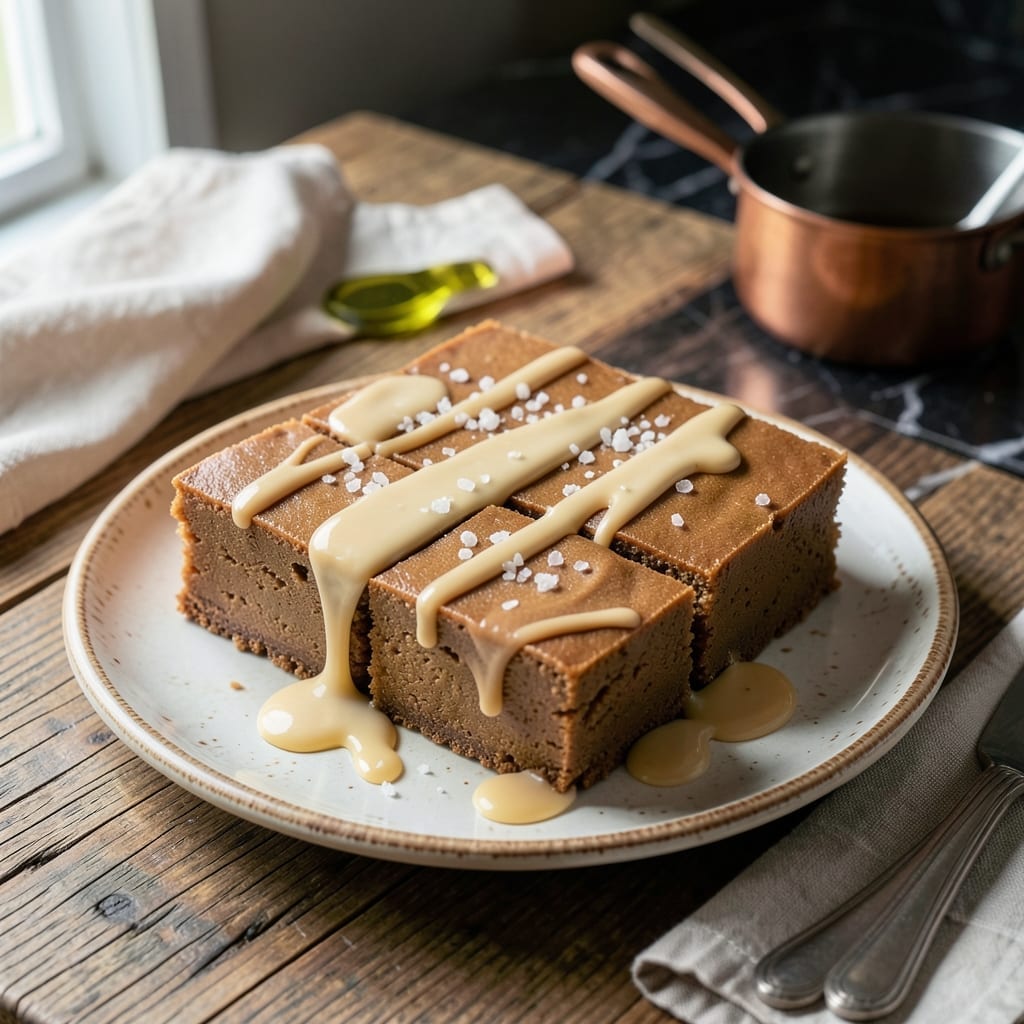
I developed this peanut butter fudge after years of trying recipes that relied on powdered sugar. The breakthrough came with a simple technique using granulated sugar instead.
This method transforms basic ingredients into smooth, melt-in-your-mouth fudge. The key is precise timing and temperature control during the sugar cooking process.
With just 5 ingredients and 15 minutes of active time, you’ll achieve a rich, creamy texture that rivals traditional versions. The result is consistently perfect every time.
No candy thermometer required. The visual cues are simple to master.
Ingredients for Peanut Butter Fudge Recipe No Powdered Sugar
Five simple ingredients transform into rich, creamy fudge without powdered sugar.
| Ingredient | Amount | Notes |
|---|---|---|
| Granulated Sugar 🍚 | 2 cups | Standard white granulated preferred |
| Creamy Peanut Butter 🥜 | 1 cup | Natural or commercial, well-stirred |
| Whole Milk 🥛 | ½ cup | Full-fat for creaminess |
| Unsalted Butter 🧈 | ¼ cup | Cut into small pieces |
| Vanilla Extract 🌿 | 1 tsp | Pure extract preferred |
| Sea Salt 🧂 | ¼ tsp | Fine grain for even distribution |
The sugar is the foundation here—Domino or C&H brands work reliably for consistent results. Creamy peanut butter (Jif or Skippy) blends smoothly, though natural peanut butter (the kind with just peanuts and salt) adds a deeper flavor. Use whole milk for the best texture; lower-fat versions can make the fudge grainy. The butter should be unsalted so you control the salt content precisely.
No whole milk? Evaporated milk at half the volume works in a pinch. For a richer taste, substitute heavy cream. If using natural peanut butter, ensure it’s well-stirred to avoid oil separation. Honey or maple syrup can replace up to a quarter of the sugar, but texture may vary. Vanilla bean paste can stand in for extract if you want visible specks.
Store in an airtight container at room temperature for up to 1 week, or refrigerate for 2 weeks. Freeze for up to 3 months in layers separated by parchment. Let it sit at room temperature for 30 minutes before serving for the best texture.
Why You’ll Love This Recipe
- No Fuss Cooking: I just melt, stir, and pour—no candy thermometer, no powdered sugar mess, and it sets while I do the dishes.
- Rich PB Punch: The granulated sugar caramelizes just enough to give that deep, buttery-sweet contrast to the creamy peanut butter.
- Gift-Worthy Batch: I wrap squares in wax paper for teacher gifts or last-minute potlucks—everyone thinks it came from a fancy shop.
- Stays Fresh for Days: Honestly, it lasts a week in the fridge, but between us, it’s usually gone in two.
Step-by-Step Instructions for Peanut Butter Fudge
This method ensures a smooth, creamy texture without powdered sugar through precise temperature control.
Step 1: Combine and Boil the Sugar Mixture
In a heavy-bottomed saucepan, combine the 2 cups Granulated Sugar, 0.5 cup Whole Milk, and 0.25 cup Unsalted Butter. The butter should be cut into small pieces as specified to melt evenly without clumping.
Place the saucepan over medium-high heat and stir constantly with a wooden spoon until the mixture reaches a full rolling boil. You’ll see large, vigorous bubbles that can’t be stirred down—that’s your cue to stop stirring and let it boil undisturbed.
Continue boiling until the mixture reaches 234-238°F on a candy thermometer, which is the soft-ball stage. This precise temperature range guarantees the fudge will set properly without becoming grainy or too hard.
Step 2: Cool the Mixture Slightly
Once the sugar mixture reaches the correct temperature, immediately remove it from the heat. Let it cool undisturbed for 5 minutes. During this time, the bubbles will subside, and the mixture will begin to thicken slightly around the edges.
Do not stir during cooling, as this can cause the sugar to crystallize prematurely. The mixture should still be quite hot but safe to handle briefly. You’ll notice it developing a slightly matte finish on the surface, which indicates it’s ready for the next step.
Step 3: Incorporate the Peanut Butter and Flavorings
Add the 1 cup Creamy Peanut Butter, 1 tsp Vanilla Extract, and 0.25 tsp Sea Salt to the cooled sugar mixture. The peanut butter should be well-stirred to ensure a smooth, consistent texture in the finished fudge.
Using a wooden spoon, stir vigorously until the mixture is completely smooth and the peanut butter is fully incorporated. This step requires some effort—the mixture will be thick and resistant at first. Keep stirring until it becomes glossy and uniform in color.
If the mixture begins to seize or look grainy, place the saucepan back over low heat for 30-60 seconds, then remove and stir again. This gentle reheating helps melt any sugar crystals that may have formed.
Step 4: Beat Until Thickened and Pour
Allow the mixture to cool for another 5-10 minutes, stirring occasionally, until it thickens to the consistency of a very thick pudding. You’ll know it’s ready when it holds its shape briefly when you draw the spoon through it, then slowly levels out.
This beating process is crucial for creating the fudge’s signature smooth, creamy texture. If you pour it too soon, the fudge won’t set properly; if you wait too long, it will become too thick to pour. Aim for the sweet spot where it’s thick but still pourable.
Quickly pour the mixture into a greased 8×8-inch pan and spread it evenly with a spatula. Work swiftly, as the fudge will begin to set as it cools.
Step 5: Cool Completely and Cut
Let the fudge cool at room temperature for 2 hours or until completely set. You’ll know it’s ready when the top is firm to the touch and a knife inserted comes out clean. For faster results, you can refrigerate it for 1 hour, but room temperature cooling yields the best texture.
Once set, cut the fudge into 1-inch squares using a sharp knife. For clean cuts, dip the knife in hot water and wipe it dry between each cut. This prevents the fudge from sticking to the blade and ensures neat, professional-looking pieces.
Store the fudge in an airtight container at room temperature for up to 1 week, or refrigerate for up to 2 weeks. This recipe yields 16 generous servings of rich, creamy fudge.
Pro Tips For Making Peanut Butter Fudge Recipe No Powdered Sugar
- Boil to Soft Ball: Use a candy thermometer and cook the sugar-milk mixture to exactly 234-238°F—any higher and your fudge will turn grainy. I learned this the hard way after ending up with crumbly fudge that tasted more like peanut butter sugar cubes.
- Stir the Edges: While boiling, resist the urge to stir the center—just gently swirl the pan or brush down the sides with a wet pastry brush to prevent sugar crystals from forming. Sounds fussy, but it actually changes the outcome.
- Use Name-Brand Peanut Butter: Skip the store-brand peanut butter here; the higher oil content in name brands like Jif or Skippy blends smoother into the fudge. After burning three batches with off-brand, I finally figured out why the texture was always off.
- Cool Before Beating: Let the mixture cool to about 110°F before beating in the peanut butter and vanilla—beating too hot and you’ll end up with a greasy, separated mess. My grandmother swore by this, and she was right.
Storing and Reheating This Recipe
Room Temperature Storage
After cutting, store your fudge in an airtight container at room temperature. I use a glass container with a tight-sealing lid. It stays fresh for up to 1 week this way, maintaining its creamy texture without drying out. 💡
Refrigerator Storage
For longer freshness, refrigerate in an airtight container with parchment paper between layers. This prevents sticking and keeps each piece looking perfect. Your fudge will stay fresh for up to 2 weeks in the fridge.
Freezing for Longevity
To freeze, wrap individual pieces in parchment paper, then place them in a freezer-safe bag. Squeeze out excess air to prevent freezer burn. This method preserves the fudge for up to 3 months without texture loss.
Thawing Properly
When ready to enjoy, thaw frozen fudge in the refrigerator overnight or at room temperature for 30-60 minutes. Avoid microwaving, as it can make the texture grainy. The slow thaw preserves the smooth consistency.
Serving After Storage
If your fudge seems slightly dry after storage, press a piece of bread on top of the container overnight. The fudge will absorb moisture from the bread, restoring its original creaminess.
Avoid Common Mistakes
Never store fudge in direct sunlight or near heat sources. The sugar can melt and cause the pieces to stick together. Keep it in a cool, dark place for the best results. ✨
Nutrition Facts
Frequently Asked Questions
Why does this recipe use granulated sugar instead of powdered?
Granulated sugar creates a smoother texture through controlled boiling to 234-238°F. Powdered sugar often leads to graininess in fudge. This method ensures melt-in-your-mouth results.
Can I substitute honey for the sugar?
Yes, but replace no more than 25% of the sugar with honey. More can alter texture and sweetness. The fudge may be slightly softer.
How do I fix grainy fudge?
Return the mixture to low heat for 30-60 seconds, then stir vigorously. This melts sugar crystals. Avoid stirring while cooling initially.
Can I use crunchy peanut butter?
Yes, but the texture will be less smooth. For best results, use creamy peanut butter. Stir natural versions well to prevent oil separation.

- Pina Colada Dip Recipe Red Lobster: Tropical Creaminess With Toasted Coconut - October 12, 2026
- Pickled Sweet Cherry Peppers Recipe Canning: Tangy Heat for Pantry Staples - October 12, 2026
- Peppercorn Sauce Recipe Vegan: Rich Umami Depth Without Cream - October 12, 2026