
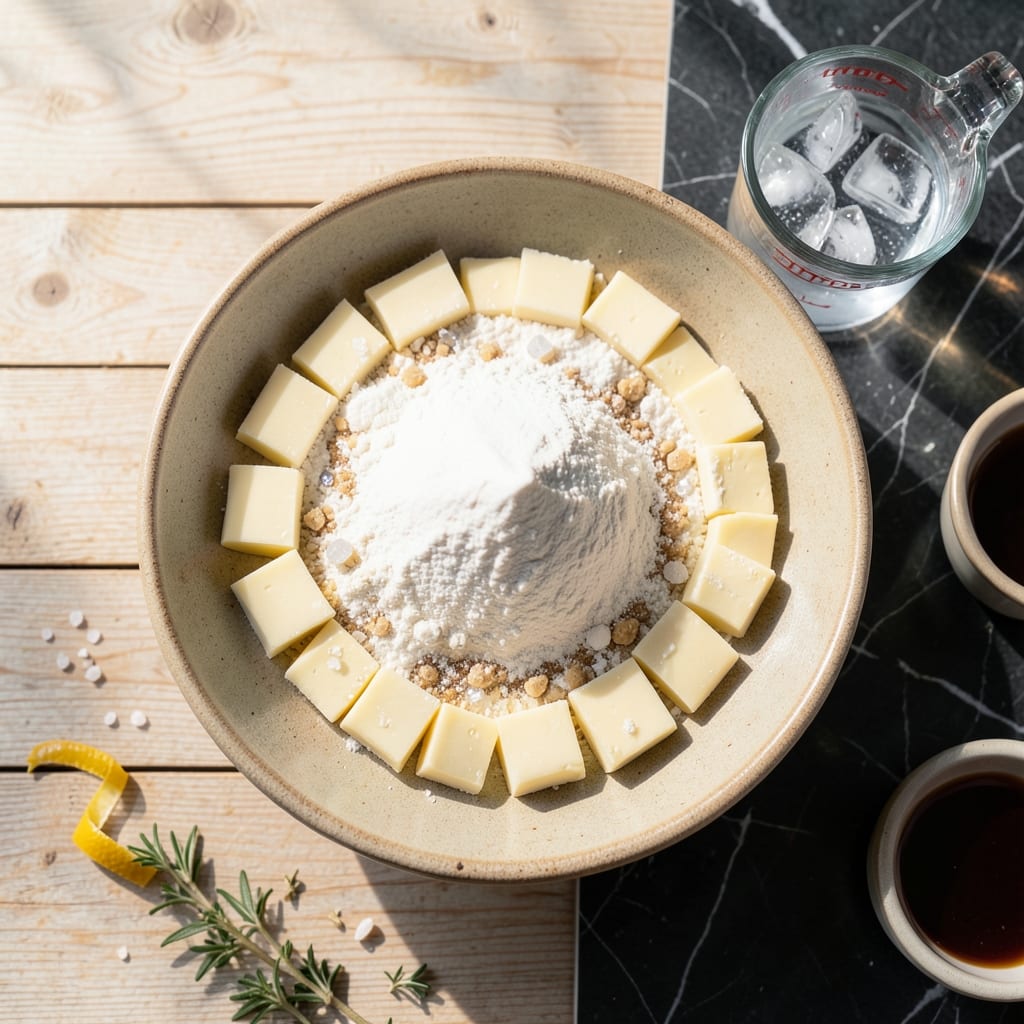
Mastering mini pie crust requires precision and patience. This recipe delivers flaky, buttery layers that maintain structure when baked in small molds.
I developed this method after years of testing to ensure the crust stays crisp yet tender. The key is keeping ingredients cold and handling the dough minimally.
What emerges from the oven is a golden crust with distinct layers that hold fillings without sagging. Perfect for both sweet and savory mini pies.
With simple ingredients and clear techniques, you’ll achieve professional results every time. Here’s how to make it.
Ingredients for Pie Crust Recipe for Mini Pies
Precision ingredients yield flaky, buttery layers that hold shape in mini molds.
| Ingredient | Amount | Notes |
|---|---|---|
| All-Purpose Flour 🌾 | 2 ½ cups | Sifted for even texture |
| Unsalted Butter 🧈 | 1 cup | Cold, cubed for flakiness |
| Granulated Sugar 🍚 | 1 tbsp | Fine grain preferred |
| Salt 🧂 | ½ tsp | Fine sea salt |
| Ice Water 💧 | ½ cup | Plus 1 tbsp as needed |
| Apple Cider Vinegar 🍏 | 1 tbsp | For tenderness |
| Heavy Cream 🥛 | 2 tbsp | Cold, for richness |
| Vanilla Extract 🌿 | ½ tsp | Pure, optional for sweet pies |
| Lemon Zest 🍋 | ½ tsp | Finely grated, optional for brightness |
The butter must be cold and high-quality—Plugrá or European-style with 82% fat content provides superior flakiness. King Arthur Flour or Gold Medal are optimal for consistent protein levels. Ice water is non-negotiable for preventing premature gluten development. Apple cider vinegar tenderizes without imparting flavor. Sift the flour to ensure even distribution of leavening agents.
No unsalted butter? Salted butter at reduced added salt works but adjust seasoning. For a dairy-free version, coconut oil or vegan butter at 1:1 ratio maintains structure. Skip the vinegar? Lemon juice offers similar acidity. The heavy cream can be omitted, but the crust loses some richness. Always use fine sea salt for even dispersion.
Store dough wrapped tightly in plastic for 2 days refrigerated or 1 month frozen. Pre-cubed butter can be prepped 1 day ahead and kept chilled. Baked crusts hold at room temperature for 24 hours in airtight containers. Avoid overworking the dough to maintain flakiness.
Why You’ll Love This Recipe
- One Bowl Wonder: I just dump flour, cold butter, sugar, salt, and ice water in a bowl—no fancy tools, no fuss.
- Buttery Perfection: The unsalted butter and sugar make it flaky, sweet, and ridiculous good with any filling.
- Party Ready: I use this for holiday gatherings, picnics, or just because it’s Tuesday.
- Budget Friendly: All-purpose flour and basic pantry staples keep it cheap, and leftovers freeze like a dream.
Step-by-Step Instructions for Pie Crust for Mini Pies
Master these techniques for a flaky, sturdy crust that maintains its shape in individual portions.
Step 1: Combine Dry Ingredients and Cut in Butter
In a large mixing bowl, whisk together the 2.5 cups All-Purpose Flour, 1 tbsp Granulated Sugar, and 0.5 tsp Salt until evenly distributed. This ensures the leavening and seasoning are consistent throughout the dough.
Add the 1 cup Unsalted Butter, which must be cold and cubed. Using a pastry cutter or your fingertips, work the butter into the flour mixture until the largest pieces are the size of peas. You should see visible butter flakes—this creates the flaky layers in your finished crust.
Step 2: Incorporate Wet Ingredients Gradually
Create a well in the center of the flour-butter mixture. Add the 0.5 cup Ice Water, 1 tbsp Apple Cider Vinegar, and 2 tbsp Heavy Cream all at once. The vinegar tenderizes the gluten, while the cream adds richness and structure.
Using a fork, gently stir the mixture until it begins to come together. The dough should be shaggy with visible dry spots. Avoid overworking it, as this develops gluten and results in a tough crust. If the mixture seems too dry, add up to 1 tbsp of additional ice water.
Step 3: Add Flavor Enhancements and Chill
At this stage, fold in the 0.5 tsp Vanilla Extract and 0.5 tsp Lemon Zest if using. These optional ingredients add subtle depth and brightness, particularly suitable for sweet mini pie applications.
Turn the dough onto a lightly floured surface and gently knead just until it comes together into a cohesive ball. Divide the dough into two equal portions, flatten into discs, and wrap each tightly in plastic wrap. Refrigerate for at least 1 hour or up to 2 days—this chilling step is crucial for preventing shrinkage during baking.
Step 4: Roll and Cut for Mini Pies
On a lightly floured surface, roll out one disc of dough to about ⅛-inch thickness. For consistent results, use rolling pin guides or measure with rulers. The dough should be even but not paper-thin.
Using a round cutter slightly larger than your mini pie molds, cut out circles and press them gently into the prepared pans. Avoid stretching the dough, as this can cause shrinkage. For a professional finish, dock the bottoms with a fork to prevent air bubbles.
Repeat with the second disc of dough, gathering and re-rolling scraps as needed. Chill the shaped crusts for an additional 30 minutes before filling and baking to maintain their structure.
Pro Tips For Making Pie Crust Recipe For Mini Pies
- Chill the Butter: Cut your unsalted butter into small cubes and freeze for 10 minutes before mixing—this keeps it from melting too fast when you work it into the flour.
- Use Ice-Cold Water: I learned this the hard way: if your water isn’t truly ice-cold, the dough will be sticky and hard to roll.
- Skip Overworking: Mix just until the dough comes together, even if it looks shaggy—overmixing makes the crust tough, not flaky.
- Rest the Dough: After shaping, let the dough rest in the fridge for at least 30 minutes; it relaxes the gluten and prevents shrinking when baked.
Make-Ahead Tips for This pie crust recipe for mini pies
Prep Dough in Advance
You can mix and chill the dough up to 2 days ahead—this actually improves flavor as the butter fully hydrates the flour. I wrap discs tightly in plastic and store them in the coldest part of my fridge. Just bring to room temperature for 10 minutes before rolling. 💡
Freeze Unbaked Dough
For longer storage, freeze dough discs for up to 1 month. I double-wrap in plastic and place in a freezer bag, squeezing out all air. Thaw overnight in the fridge before using—no need to adjust the recipe.
Pre-Cut and Store
Roll and cut dough circles, then stack between parchment paper in an airtight container. These keep refrigerated for 24 hours or frozen for 2 weeks. Press into molds straight from the fridge for best results.
Pre-Bake Crusts
Bake empty mini crusts at 375°F for 12-15 minutes until lightly golden, then cool completely. Store at room temperature in a single layer for 24 hours, or freeze for up to 1 month in a sealed container.
Day-Of Assembly
Fill pre-baked crusts with your chosen filling just before serving. For warm pies, add filling to cold crusts and bake as directed. I always keep a few unbaked dough rounds ready for last-minute guests. ❄️
Equipment Prep
Chill your mini pie molds for 30 minutes before pressing in dough—this prevents sticking and helps maintain shape. I keep my molds in the freezer when not in use, as my Nonna taught me.
Nutrition Facts
Frequently Asked Questions
Can I use this dough for full-size pies?
Yes, but you may need to adjust baking time. This recipe makes enough for 12 mini pies or one 9-inch pie. For larger pies, roll the dough slightly thicker to prevent sagging.
Why does the dough need to chill so long?
Chilling for at least 1 hour lets the gluten relax and the butter firm up. This prevents shrinkage and creates distinct flaky layers when baked. Skipping this step risks a tough crust.
What if my crust browns too quickly?
Tent the pies with foil if they’re browning before the filling is done. For extra protection, brush the crust with egg wash only during the last 5 minutes of baking.
Can I make this without a food processor?
Use a pastry cutter or your fingertips to work the butter into the flour. The key is keeping everything cold and working quickly to avoid melting the butter.

- Pina Colada Dip Recipe Red Lobster: Tropical Creaminess With Toasted Coconut - October 12, 2026
- Pickled Sweet Cherry Peppers Recipe Canning: Tangy Heat for Pantry Staples - October 12, 2026
- Peppercorn Sauce Recipe Vegan: Rich Umami Depth Without Cream - October 12, 2026