
Achieving flaky pie crust with gluten-free flour requires precision, not luck. I developed this method after years of testing, ensuring it works perfectly with Bob’s Red Mill 1-to-1 blend.
The secret lies in cold ingredients and minimal handling. This approach guarantees a tender, layered result that rivals traditional crusts. The dough comes together quickly with simple techniques.
You’ll create a crust that bakes to golden perfection, holding its shape while delivering that coveted flaky texture. It’s the foundation for exceptional pies, gluten-free without compromise.
Rest the dough properly before rolling for best results. This recipe makes enough for one double-crust or two single-crust pies.
Ingredients for Pie Crust Recipe Using Bob’s Red Mill 1 to 1
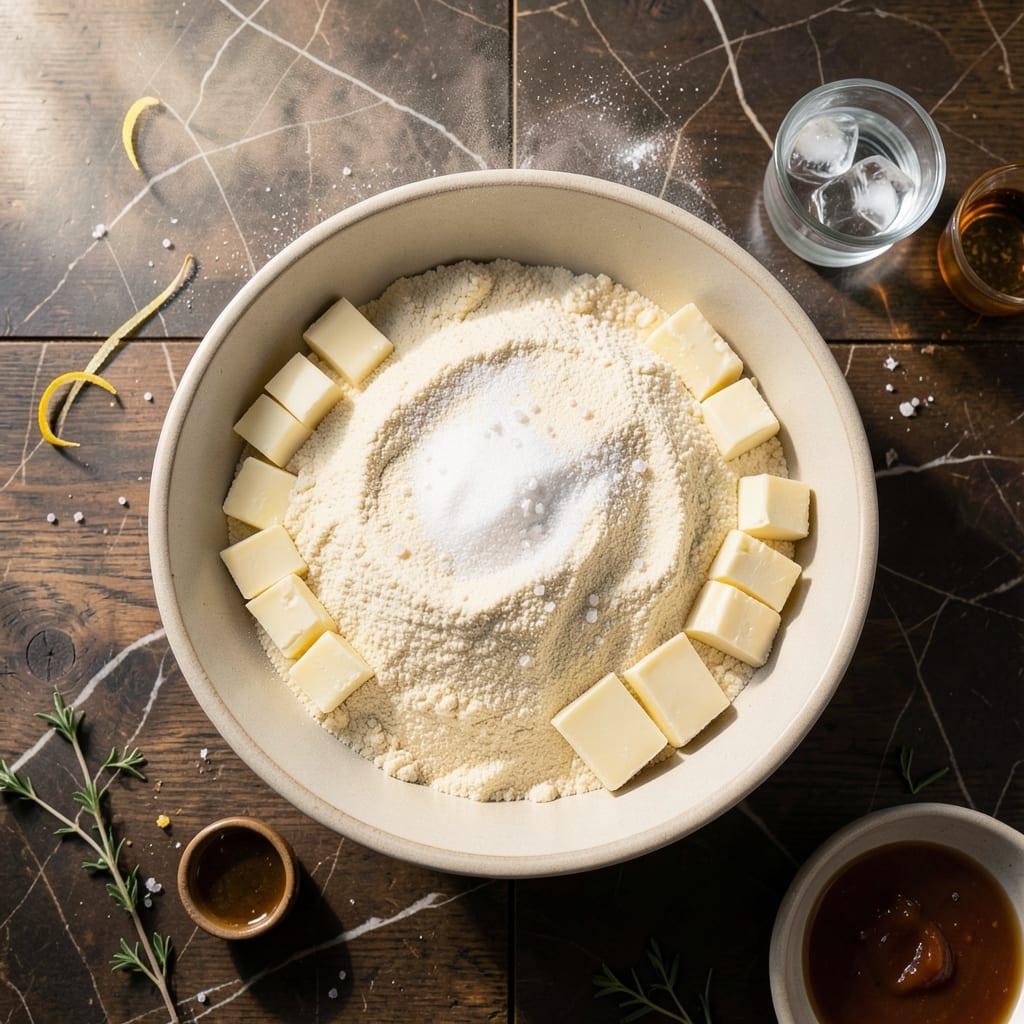
Cold butter, gluten-free flour, and minimal handling create this perfect flaky crust foundation.
| Ingredient | Amount | Notes |
|---|---|---|
| Bob's Red Mill Gluten-Free 1-to-1 Baking Flour 🌾 | 2 ½ cups | Plus extra for dusting |
| Unsalted Butter 🧈 | 1 cup | Cold, cut into cubes |
| Ice Water 💧 | ½ cup | Plus 1-2 tbsp as needed |
| Granulated Sugar 🍚 | 1 tsp | Optional, for sweet crusts |
| Salt 🧂 | ½ tsp | Fine sea salt preferred |
| Apple Cider Vinegar 🍏 | 1 tsp | Enhances flakiness |
| Xanthan Gum 🧪 | ¼ tsp | Omit if blend contains it |
The flour is non-negotiable here—Bob’s Red Mill 1-to-1 has the right protein content and starch blend for structure. Keep the butter ice-cold until mixing; I cube mine and pop it back in the freezer for 10 minutes. For best results, use European-style butter (higher fat content) if available. The vinegar isn’t just for flavor—it tenderizes the gluten-free proteins.
No xanthan gum? Check your flour blend—most include it. For a neutral flavor, vodka at half the water amount works as a substitute (evaporates during baking). If avoiding alcohol, an extra egg yolk adds structure, though this is a vegetarian recipe. The sugar can be omitted for savory pies, or increased to 1 tbsp for sweeter applications.
The dough rests best overnight in the fridge (24 hours maximum), but 1 hour is the minimum. Wrap tightly in plastic to prevent drying. Frozen dough keeps for 3 months—thaw overnight in the fridge before rolling. Always work with chilled dough to prevent the butter from melting.
Why You’ll Love This Recipe
- Five Minute Mix: I dump the flour, cold butter, and ice water in a bowl, pulse it in the food processor, and it’s ready—no fuss, no gluten, no waiting.
- Buttery Crisp: The Bob’s Red Mill blend with chilled butter gives that flaky, golden crust I thought I’d have to give up when I went gluten-free.
- Endless Fillings: Honestly, I’ve used this same crust for apple, pecan, and even quiche—one reliable base for every pie I crave.
- Stays Fresh: It keeps in the fridge for three days or freezes beautifully, so I can make a double batch and pull it out whenever I need a quick dessert.
Step-by-Step Instructions for Gluten-Free Pie Crust
Master this technique for reliably flaky, tender results with gluten-free flour every time.
Step 1: Combine Dry Ingredients for Stability
In a large mixing bowl, whisk together the 2.5 cups Bob’s Red Mill Gluten-Free 1-to-1 Baking Flour, 0.5 tsp Salt, 1 tsp Granulated Sugar, and 0.25 tsp Xanthan Gum until thoroughly integrated. This ensures even distribution of the xanthan gum, which mimics gluten’s elasticity in traditional pie crusts.
The sugar adds subtle sweetness, particularly for dessert pies, while the salt enhances overall flavor. If your flour blend already contains xanthan gum, omit the additional 0.25 tsp to avoid a gummy texture. The mixture should appear uniform with no visible clumps.
Step 2: Cut in Cold Butter for Flaky Layers
Add the 1 cup Unsalted Butter, cold and cut into ½-inch cubes, to the dry ingredients. Using a pastry cutter or your fingertips, work the butter into the flour until the mixture resembles coarse crumbs with pea-sized butter pieces visible. This creates the flaky layers characteristic of superior pie crust.
Keep your hands light and work quickly to prevent the butter from melting. The visible butter flecks will melt during baking, creating steam pockets that separate the dough into distinct, flaky layers. Stop when the largest butter pieces are about the size of peas.
Step 3: Incorporate Liquid for Cohesion
Create a well in the center of the flour-butter mixture. Add the 1 tsp Apple Cider Vinegar and 0.5 cup Ice Water. Using a fork, gently mix until the dough just begins to come together. The vinegar tenderizes the crust by inhibiting gluten formation, which is particularly important with gluten-free flours.
The dough should hold together when pressed but not be sticky. If it feels too dry, add the reserved 1-2 tbsp Ice Water as needed. Avoid overworking the dough, as this can make the crust tough rather than tender.
Step 4: Chill for Optimal Texture
Shape the dough into two equal discs, about 1 inch thick, and wrap each tightly in plastic wrap. Refrigerate for at least 1 hour, or up to 2 days. This chilling period allows the butter to resolidify and the flour to fully hydrate.
Cold dough is easier to roll and less likely to shrink during baking. The resting time also relaxes any developed structure, ensuring your crust rolls out smoothly without springing back. For best results, let the dough sit at room temperature for 5-10 minutes before rolling to prevent cracking.
Pro Tips For Making Pie Crust Recipe Using Bob’S Red Mill 1 To 1
- Chill the Dough: After mixing, wrap the dough and refrigerate for at least 30 minutes—gluten-free flours need this rest to hold together when rolling. I learned this the hard way after my first few crusts crumbled apart.
- Use Ice-Cold Butter: Cut your unsalted butter into small cubes and freeze for 10 minutes before mixing. This keeps the butter from melting too soon, which is crucial for flaky layers in gluten-free crust.
- Skip Warm Water: Resist the urge to use room-temperature water—ice water is non-negotiable here to prevent the butter from softening prematurely in the Bob’s Red Mill flour mix.
- Roll Between Parchment: Place the dough between two sheets of parchment paper to roll it out—this prevents sticking and makes transferring to the pie dish a breeze, especially with gluten-free dough that can be a bit finicky.
Make-Ahead Tips for This Recipe
Overnight Resting
For the best texture, I always let my dough rest overnight in the fridge. This gives the flour plenty of time to hydrate and the butter to firm up completely. Wrap the discs tightly in plastic wrap to prevent drying out or absorbing fridge odors. 💡
Freezing Dough
This dough freezes beautifully for up to 3 months. Wrap each disc in plastic wrap, then place in a freezer bag with all air squeezed out. When ready to use, thaw overnight in the fridge before rolling.
Pre-Rolled Crusts
You can roll out the dough ahead of time and freeze it in the pie plate. Line your plate with the rolled crust, wrap tightly, and freeze. Add 5-10 minutes to baking time if using frozen crust.
Pre-Blind Baking
For custard pies, I often blind bake the crust a day ahead. After baking and cooling, cover the crust with plastic wrap and store at room temperature. This saves time on busy baking days.
If storing longer than 24 hours, refrigerate the pre-baked crust to maintain freshness.
Room Temperature Tip
Before rolling chilled dough, let it sit at room temperature for 5-10 minutes. This makes it more pliable and less likely to crack while rolling. I learned this the hard way after too many cracked crusts early on.
Nutrition Facts
Frequently Asked Questions
Why do I need to keep the butter cold?
Cold butter creates steam when baking, making those coveted flaky layers. If it melts too soon, your crust will be dense instead of light and tender.
Can I make this dough ahead?
Yes! The dough rests best overnight in the fridge for 24 hours maximum. For longer storage, freeze wrapped discs for up to 3 months.
What if my dough cracks while rolling?
Let it warm slightly at room temperature for 5-10 minutes before rolling. If cracks appear, patch with extra dough—no one will notice after baking.
Do I need xanthan gum?
Only if your flour blend doesn’t contain it. Check the label—most include it. Adding extra can make the crust gummy instead of flaky.

- Potato Candy Recipe 1933: Vintage Peanut Butter Roll Delight - October 30, 2026
- Potato Chip Cookie Recipe With Pecans: Buttery Crunch Meets Nutty Richness - October 30, 2026
- Potato Patty Recipe No Egg: Crispy Edges Without the Binder - October 30, 2026