
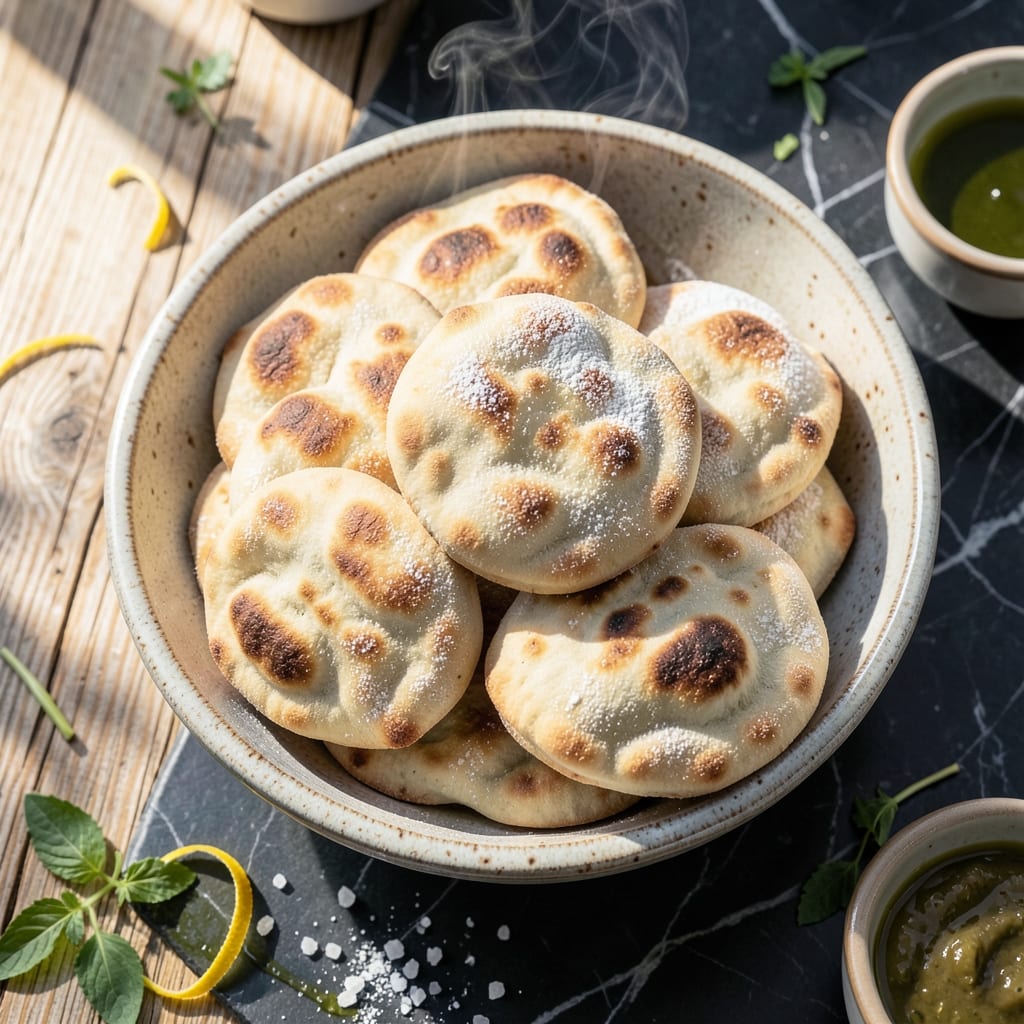
Fresh, warm pita bread transforms any meal into something special. This recipe delivers soft, pillowy pockets that are perfect for stuffing or serving alongside your favorite dishes.
The process is straightforward yet rewarding, with simple ingredients coming together through a proven technique. You’ll achieve that signature puff and tender texture with minimal effort.
These versatile breads are ideal for sandwiches, dips, or even as a side. The key lies in the proofing and baking steps, which ensure a light, airy result every time.
Once you try homemade, you’ll never settle for store-bought again. Here’s how to make them perfectly from scratch.
Ingredients for Pita Bread Recipe Ideas
Simple pantry staples transform into warm, pillowy pita bread. Nothing fancy here.
| Ingredient | Amount | Notes |
|---|---|---|
| All-Purpose Flour 🌾 | 3 ½ cups | Plus extra for dusting |
| Active Dry Yeast 🍞 | 2 ¼ tsp | One standard packet |
| Granulated Sugar 🍚 | 1 tsp | To activate the yeast |
| Warm Water 💧 | 1 ¼ cups | 110°F, not hotter |
| Extra-Virgin Olive Oil 🫒 | 2 tbsp | Plus extra for bowl |
| Kosher Salt 🧂 | 1 tsp | Diamond Crystal preferred |
| Plain Greek Yogurt 🥛 | ¼ cup | Full-fat for softness |
| Honey 🍯 | 1 tbsp | Optional for sweetness |
| Semolina Flour 🌾 | ¼ cup | For dusting, optional |
| Sesame Seeds 🌰 | 1 tbsp | For topping, optional |
| Cornmeal 🌽 | 2 tbsp | For baking surface |
The flour is the foundation here. King Arthur all-purpose is my go-to—consistent protein content, reliable every time. Yeast? Check the expiration date (old yeast = flat bread). I grab mine from Whole Foods bulk section for freshness. The olive oil matters too—California Olive Ranch or similar quality brands. Warm water should feel like bathwater, not hot enough to cook the yeast on contact.
No Greek yogurt? Plain whole-milk yogurt works, or skip it entirely—the dough will just be slightly less tender. Out of honey? Agave syrup at the same amount. Don’t have semolina? Just use more all-purpose for dusting. The sesame seeds are purely decorative (but toasted sesame oil brushed on top after baking is a game-changer). If your kitchen is cold, warm the flour slightly before mixing.
Dough rests best in a slightly warm spot—I use my oven with the light on. Baked pitas keep 2-3 days wrapped in a towel at room temp, but they’re best fresh. Freeze extras for up to 1 month (reheat in a dry skillet to restore that fresh-baked puff).
Why You’ll Love This Recipe
- No-Knead Magic: I just mix flour, yeast, sugar, warm water, and olive oil—no fancy techniques, no standing mixer required.
- Pocket of Warmth: That first bite of soft, pillowy bread with a hint of olive oil richness? Pure comfort in every tear.
- Meal Prep Hero: I make a batch Sunday and use them all week—stuffed with falafel, dipped in hummus, or as mini pizzas.
- Pennywise Bake: Five basic ingredients, most already in my pantry, and it costs pennies compared to store-bought.
Step-by-Step Instructions for Pita Bread
Here’s my tried-and-true method for soft, pillowy pockets that puff beautifully every time.
Step 1: Activate the Yeast and Mix the Dough
In a small bowl, combine the 1 tsp Granulated Sugar with the 1.25 cups Warm Water at exactly 110°F. Stir until the sugar dissolves, then sprinkle the 2.25 tsp Active Dry Yeast over the surface. Let it sit for 5-7 minutes until foamy.
In a large mixing bowl, whisk together the 3.5 cups All-Purpose Flour and 1 tsp Kosher Salt. Make a well in the center and add the yeast mixture, 2 tbsp Extra-Virgin Olive Oil, 0.25 cup Plain Greek Yogurt, and 1 tbsp Honey. Mix until a shaggy dough forms—it’ll look rough at first, but that’s normal.
Step 2: Knead Until Smooth and Elastic
Turn the dough onto a lightly floured surface and knead for 8-10 minutes. I like to use the heel of my hand to push the dough away, then fold it back over itself. It should become smooth, elastic, and slightly tacky but not sticky.
You’ll know it’s ready when you can stretch a small piece thin enough to see light through it without tearing. This windowpane test confirms the gluten has developed properly. If it’s too sticky, dust with a bit more flour, but avoid adding too much—it can make the pitas dense.
Step 3: First Rise Until Doubled
Lightly oil a clean bowl with some of the Extra-Virgin Olive Oil and place the dough inside, turning to coat. Cover with a damp towel and let it rise in a warm, draft-free spot for 1-1.5 hours, or until doubled in size.
I usually place mine near a sunny window or on top of the fridge where it’s slightly warmer. The dough should look puffy and jiggle slightly when you gently shake the bowl. If it hasn’t doubled after 1.5 hours, give it more time—cold rooms can slow the process.
Step 4: Shape and Second Rise
Punch down the dough to release the air, then divide it into 8 equal portions (about 3 oz each). Roll each into a ball and place them on a surface dusted with 0.25 cup Semolina Flour. Cover and let rest for 20-30 minutes.
The balls will puff up slightly during this second rise. This step relaxes the gluten, making the dough easier to roll out thinly without springing back. The semolina prevents sticking while adding a nice texture to the finished pitas.
Step 5: Roll, Bake, and Puff to Perfection
Preheat your oven to 475°F with a baking stone or inverted baking sheet inside. Roll each ball into a 6-7 inch circle about ⅛ inch thick on a surface dusted with 2 tbsp Cornmeal. The thinner you roll them, the better they’ll puff.
Bake two at a time directly on the preheated stone for 3-4 minutes until lightly golden and fully puffed. They should balloon dramatically in the oven. Sprinkle with 1 tbsp Sesame Seeds immediately after baking if desired. Transfer to a wire rack to cool—they’ll deflate slightly as they cool, creating that perfect pocket.
Pro Tips For Making Pita Bread Recipe Ideas
- Check Yeast First: I learned this the hard way—always proof your active dry yeast in the warm water with sugar for 5-10 minutes until foamy before mixing. If it doesn’t bubble, your dough won’t rise, no matter how long you wait.
- Use Bread Flour: Sounds weird, but it works: swap half the all-purpose flour for bread flour. The extra gluten gives your pita that perfect chewy texture and better pocket formation.
- Roll Evenly Thin: Resist the urge to rush this part—roll each dough ball to a consistent ¼-inch thickness. Uneven pitas won’t puff properly, and you’ll end up with dense spots.
- Heat the Pan Well: Crank your skillet to medium-high and let it heat for a full 3-4 minutes before cooking. A properly hot surface is non-negotiable for getting that signature puff and golden char.
Health Benefits of This Recipe
Nutrient-Rich Foundation
Pita bread made with whole wheat flour offers a solid dose of fiber—about 4 grams per serving—which supports digestion and keeps you full longer. I often swap 1 cup all-purpose flour for whole wheat to boost the nutritional value without sacrificing texture. 💪
Low in Unhealthy Fats
This recipe uses minimal olive oil, keeping saturated fats low while adding heart-healthy monounsaturated fats. The Greek yogurt contributes protein and probiotics, which are great for gut health. It’s a smarter choice than many store-bought breads loaded with preservatives.
Complex Carbs for Energy
The all-purpose flour provides complex carbohydrates that release energy slowly, helping you stay energized throughout the day. Unlike refined white bread, homemade pita has a lower glycemic index, which helps maintain steady blood sugar levels.
Protein Boost
With the addition of Greek yogurt, each pita delivers about 6 grams of protein, essential for muscle repair and growth. This makes it a more balanced option compared to traditional bread recipes. I love that it’s both delicious and nutritious.
Rich in B Vitamins
Flour is naturally fortified with B vitamins like folate and thiamine, which are crucial for metabolism and nerve function. These nutrients are often lost in heavily processed breads, but homemade ensures you get the full benefit. 🥗
Customizable for Health
You can easily tweak this recipe to fit dietary needs. Use gluten-free flour blends or add flaxseeds for extra omega-3s. Even small swaps, like honey for sugar, make a difference in overall nutrition without compromising taste.
Nutrition Facts
Frequently Asked Questions
Can I use whole wheat flour instead of all-purpose?
Yes, but replace only 1-2 cups to maintain texture. Whole wheat absorbs more liquid, so add 1-2 tbsp extra water if needed. The flavor will be nuttier and the bread slightly denser.
Why didn’t my pitas puff up in the oven?
This usually means the dough wasn’t rolled thin enough or the oven wasn’t hot enough. Aim for ⅛ inch thickness and preheat to 475°F with a baking stone. Overproofing can also cause this issue.
How do I store leftover pita bread?
Cool completely, then store in an airtight container with a paper towel to absorb moisture. They’ll keep 2-3 days at room temperature or freeze for up to 1 month.
Can I make pita without yeast?
Yes, but it won’t puff the same way. Use 1 tsp baking powder and ½ tsp baking soda for a quick version. The texture will be denser, more like flatbread.

- Potato Candy Recipe 1933: Vintage Peanut Butter Roll Delight - October 30, 2026
- Potato Chip Cookie Recipe With Pecans: Buttery Crunch Meets Nutty Richness - October 30, 2026
- Potato Patty Recipe No Egg: Crispy Edges Without the Binder - October 30, 2026