
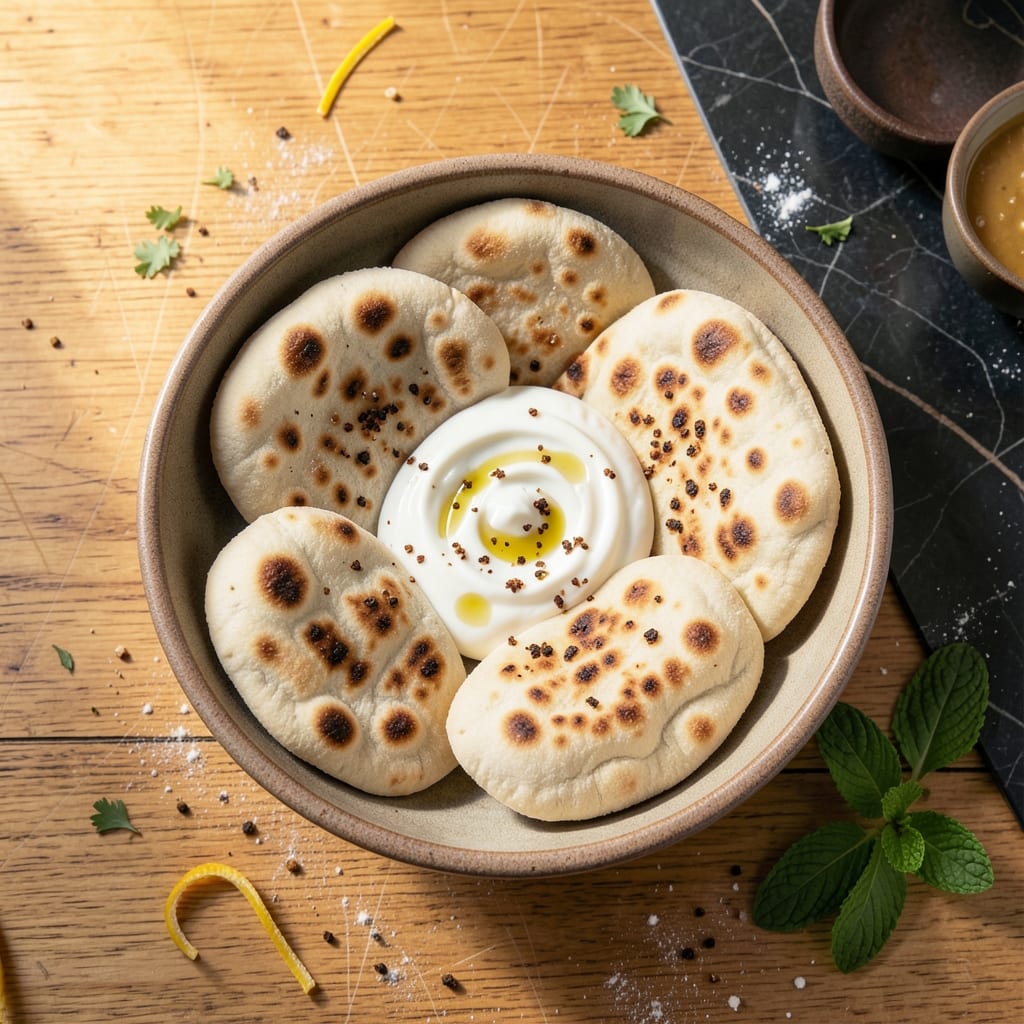
This yogurt-enriched pita bread delivers the soft, pillowy texture that defines authentic Mediterranean flatbread. The tang of yogurt tenderizes the dough while creating pockets perfect for stuffing.
I developed this method after years of testing, focusing on the right balance of flour to yogurt for dough that’s easy to work with yet yields professional results. The resting time is crucial for achieving that signature airy interior.
Each bite offers a delicate chew with just enough elasticity to hold fillings without tearing. The yogurt also adds a subtle richness that complements both savory and sweet toppings beautifully.
Serve warm for the best texture, or store for up to three days in an airtight container. The versatility makes this a staple for any meal.
Ingredients for Pita Bread Recipe with Yogurt
Nine simple ingredients create this soft, pillowy Mediterranean flatbread with yogurt-enriched dough.
| Ingredient | Amount | Notes |
|---|---|---|
| All-Purpose Flour 🌾 | 3 cups | Plus extra for dusting |
| Plain Greek Yogurt 🥛 | 1 cup | Full-fat for best texture |
| Warm Water 💧 | ½ cup | About 110°F |
| Active Dry Yeast 🍞 | 2 ¼ tsp | One packet, proofed |
| Granulated Sugar 🍚 | 1 tsp | To activate yeast |
| Olive Oil 🫒 | 2 tbsp | Extra-virgin preferred |
| Salt 🧂 | 1 tsp | Fine sea salt |
| Baking Powder 🧂 | ½ tsp | For extra lift |
| Honey 🍯 | 1 tbsp | Optional for slight sweetness |
The yogurt is non-negotiable for that signature texture. Full-fat Greek yogurt from Fage or Chobani gives the best results—low-fat versions can make the dough too dense. The flour should be all-purpose (King Arthur or Gold Medal are reliable). Yeast freshness matters: if it doesn’t foam within 5-10 minutes when proofed, start over. Warm water temperature is critical—too hot kills the yeast, too cold won’t activate it.
No Greek yogurt? Regular plain yogurt at the same quantity works, but strain it first to remove excess liquid. Out of honey? Maple syrup or agave can substitute at a 1:1 ratio. For a whole wheat version, swap up to half the all-purpose flour for whole wheat flour. The olive oil can be any neutral oil in a pinch, though extra-virgin adds depth of flavor.
Dough can rest overnight in the fridge for deeper flavor development. Store baked pitas in an airtight container for up to 3 days, or freeze for 1 month. Reheat in a dry skillet or microwave with a damp paper towel to restore softness. Best served warm right off the griddle.
Why You’ll Love This Recipe
- No-Knead Magic: I just mix flour, yogurt, and a little yeast—no fancy techniques or standing at the counter for ages.
- Tangy Perfection: The Greek yogurt gives it this subtle, creamy tang that makes every bite feel fresh and satisfying.
- Meal Prep Hero: I bake a batch on Sunday and they reheat beautifully for wraps, dips, or even mini pizzas all week.
Step-by-Step Instructions for Pita Bread With Yogurt
This method ensures soft, pillowy flatbread with a perfect pocket every time.
Step 1: Activate the Yeast and Prepare the Wet Mixture
In a small bowl, combine the 2.25 tsp Active Dry Yeast, 1 tsp Granulated Sugar, and 0.5 cup Warm Water. Stir gently and let it sit for 5-7 minutes until the mixture becomes frothy and cloudy—this confirms the yeast is active and ready to work its magic.
In a separate large bowl, whisk together the 1 cup Plain Greek Yogurt, 2 tbsp Olive Oil, 1 tbsp Honey, and 1 tsp Salt until smooth. The yogurt’s acidity tenderizes the gluten, ensuring a soft, pliable texture.
Step 2: Combine Wet and Dry Ingredients to Form the Dough
Once the yeast is activated, pour it into the yogurt mixture and stir to combine. In a separate bowl, whisk together the 3 cups All-Purpose Flour and 0.5 tsp Baking Powder to distribute the leavening agent evenly. Gradually add the dry ingredients to the wet mixture, stirring with a wooden spoon until a shaggy dough forms.
The dough will be slightly sticky but should pull away from the sides of the bowl. If it feels too wet, add a dusting of all-purpose flour, but avoid over-flouring—this can make the pitas dense instead of light and airy.
Step 3: Knead and Let the Dough Rise
Turn the dough onto a lightly floured surface and knead for 8-10 minutes until smooth and elastic. You’ll know it’s ready when the dough springs back slowly when pressed with a finger. The gluten development here is key to creating pitas that puff beautifully in the pan.
Place the dough in a lightly oiled bowl, cover with a damp towel, and let it rise in a warm, draft-free spot for 1.5 to 2 hours, or until doubled in size. The ideal environment is 75-80°F—any cooler, and the rise will take longer.
Step 4: Shape and Rest the Pitas
Punch down the risen dough to release the air, then divide it into 8 equal portions (about 70-75 grams each). Roll each portion into a ball, then flatten slightly with your palm. Cover with a damp towel and let them rest for 15-20 minutes—this relaxes the gluten, making the dough easier to roll out thinly.
After resting, roll each ball into a 6-7 inch circle, about ⅛-inch thick. If the dough resists, let it rest for another 5 minutes before continuing. Consistency in thickness ensures even cooking.
Step 5: Cook the Pitas to Perfection
Heat a cast-iron skillet or heavy-bottomed pan over medium-high heat until hot. Place one pita in the pan and cook for 1-2 minutes until bubbles form and the bottom is lightly golden with a few charred spots. Flip and cook for an additional 30-60 seconds until the other side is similarly marked.
Remove from the pan and cover with a clean towel to keep warm. The steam trapped inside will finish softening the pita. Repeat with the remaining dough, stacking the cooked pitas with parchment paper between layers to prevent sticking. Serve warm for the best texture.
Pro Tips For Making Pita Bread Recipe With Yogurt
- Test the Yeast: I learned this the hard way—always bloom your active dry yeast in the warm water with a pinch of sugar first. If it doesn’t foam within 5-10 minutes, your pitas won’t rise, no matter how good your yogurt is.
- Use Thick Yogurt: Skip runny yogurt; full-fat Greek yogurt with at least 10% fat gives the dough the right texture and richness. I was skeptical until I tried it, but the difference is undeniable.
- Roll Evenly Thin: Aim for ¼-inch thickness when rolling the dough—any thicker and your pitas won’t puff properly. Sounds tedious, but it’s the thing that matters most for that perfect pocket.
- Heat the Pan First: Crank your skillet to medium-high and let it heat for at least 5 minutes before cooking. After burning three batches, I finally figured out that a hot pan is non-negotiable for even browning and a good rise.
Regional Styles of pita bread recipe with yogurt
Greek Style
In Greece, yogurt pitas are often made with strained sheep’s milk yogurt for extra tang and richness. The dough is typically rolled thinner—about 1/16-inch thick—and cooked on a griddle rather than a skillet. This creates a slightly crispier exterior while keeping the interior soft and pliable. 🗺️
Levantine Tradition
Levantine pitas often include a touch of olive oil in the dough, which enhances the yogurt’s tenderizing effect. The dough balls are traditionally rolled into 8-inch rounds and baked in a tandoor oven at high heat, producing a dramatic puff that creates a perfect pocket.
Turkish Approach
Turkish-style pitas, called pide, sometimes incorporate semolina flour for a slightly chewier texture. The dough is often brushed with olive oil before baking, giving it a golden, glossy finish. They are typically baked in a stone oven for a rustic, artisanal feel.
Indian Fusion
In Northern India, yogurt-based flatbreads like naan often use full-fat dairy yogurt and sometimes include garlic or nigella seeds for added flavor. The dough is typically thicker and cooked over an open flame or in a tandoor for a smoky aroma.
American Adaptation
Here in the US, I often see home cooks using Greek yogurt for convenience, which works beautifully. For a fun twist, I like to brush the cooked pitas with garlic butter and sprinkle with za’atar seasoning before serving. This adds a Mediterranean flair that pairs well with the yogurt’s tang. 💛
Nutrition Facts
Frequently Asked Questions
Can I use regular yogurt instead of Greek?
Yes, but strain it first to remove excess liquid. Regular yogurt has more water, which can make the dough too sticky.
Why didn’t my pitas puff up?
Check your yeast freshness and rising time. Dough needs 1.5-2 hours in a warm spot to double in size. Over-flouring can also prevent puffing.
How do I store leftover pitas?
Keep in an airtight container for up to 3 days. Reheat in a dry skillet or microwave with a damp towel to restore softness.
Can I make the dough ahead?
Prepare the dough, let it rise, then refrigerate overnight. This enhances flavor and makes rolling easier.

- Potato Candy Recipe 1933: Vintage Peanut Butter Roll Delight - October 30, 2026
- Potato Chip Cookie Recipe With Pecans: Buttery Crunch Meets Nutty Richness - October 30, 2026
- Potato Patty Recipe No Egg: Crispy Edges Without the Binder - October 30, 2026