
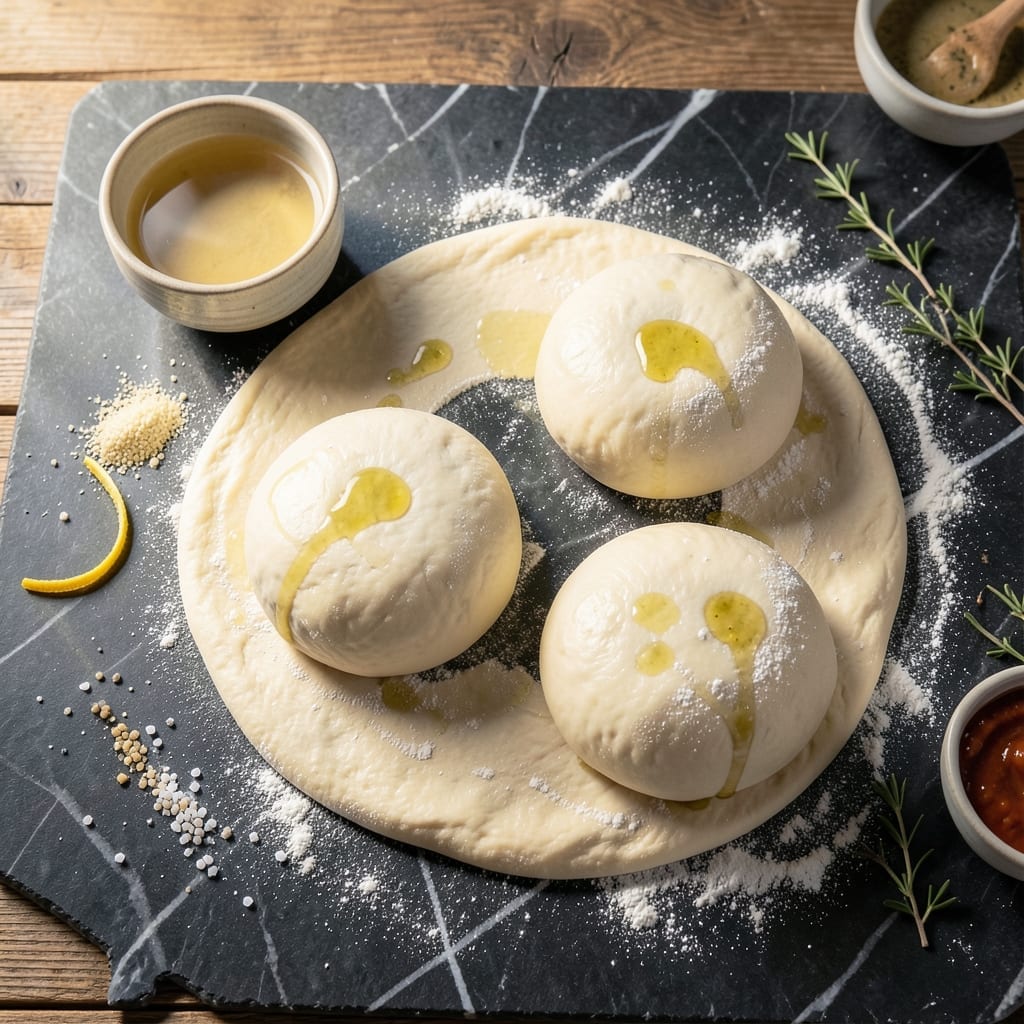
This no-knead pizza dough delivers chewy, restaurant-quality crust with minimal effort. I developed this recipe after years of testing, perfecting the balance between crisp exterior and airy interior for two perfect pies.
The secret lies in a long, slow rise that develops flavor without requiring traditional kneading. With just 5 ingredients and 90 minutes of mostly hands-off time, you’ll achieve professional results that rival any pizzeria.
What emerges is dough that stretches easily, bakes to a golden finish, and holds toppings beautifully. The extended fermentation creates those coveted bubbles and complex flavors that make homemade pizza extraordinary.
Ready to transform your pizza nights? This foundation ensures perfect pies every time.
Ingredients for Pizza Dough Recipe for Two Pizzas
Five basic ingredients transform into two perfect pizza crusts with minimal effort.
| Ingredient | Amount | Notes |
|---|---|---|
| Bread Flour 🌾 | 3 ½ cups | High protein for chewiness |
| Active Dry Yeast 🍞 | 1 tsp | Instant yeast works too |
| Sea Salt 🧂 | 1 ½ tsp | Fine grain for even distribution |
| Warm Water 💧 | 1 ½ cups | 105-110°F for activation |
| Extra-Virgin Olive Oil 🫒 | 2 tbsp | For elasticity and flavor |
Bread flour is non-negotiable here—King Arthur or Gold Medal give that professional chew. Yeast freshness matters (check the expiration date). I grab mine from Whole Foods bulk bins for better turnover. The water temp is key—too hot kills the yeast, too cold slows the rise. A kitchen thermometer is worth the few bucks for this.
No bread flour? All-purpose plus 1 tbsp vital wheat gluten per cup gets you close. Instant yeast can go straight in—no proofing needed. Out of sea salt? Kosher salt at half the volume. The olive oil adds tenderness, but don’t stress over brand—any extra-virgin will do (trust me on the full-fat version).
Dough balls keep 24-48 hours in the fridge (flavor improves!) or freeze for 3 months. Thaw overnight before using. The slow rise is what makes this taste like a pizzeria crust.
Why You’ll Love This Recipe
- One-Bowl Wonder: I mix everything right in the same bowl—no extra dishes, just bread flour, yeast, and a glug of olive oil.
- Crispy Yet Chewy: The bread flour gives that perfect snap on the outside while staying soft inside, and the olive oil adds a subtle richness.
- Date Night Ready: Honestly, it’s my go-to for cozy evenings in—two pizzas mean we can customize toppings without fighting over flavors.
- Budget Stretch: A few cents of flour and yeast make two restaurant-worthy crusts, and leftovers (if there are any) reheat like a dream.
Step-by-Step Instructions for Pizza Dough for Two Pizzas
This no-knead method delivers a chewy, restaurant-quality crust with minimal effort.
Step 1: Activate the Yeast in Warm Water
In a large mixing bowl, combine the 1.5 cups Warm Water with the 1 tsp Active Dry Yeast. The water temperature is critical—it should feel warm to the touch but not hot, between 105-110°F. If it’s too hot, it’ll kill the yeast; too cold, and it won’t activate properly.
Let the mixture sit for 5-10 minutes until it becomes foamy and cloudy. This visual confirmation means the yeast is alive and ready to work. If you don’t see bubbles forming, your yeast may be inactive, and you’ll need to start over with fresh yeast.
Step 2: Mix Wet and Dry Ingredients
Once the yeast is activated, add the 2 tbsp Extra-Virgin Olive Oil to the bowl and stir to combine. Then, in a separate bowl, whisk together the 3.5 cups Bread Flour and 1.5 tsp Sea Salt. The bread flour’s high protein content is key for developing the chewy texture you want.
Gradually add the dry ingredients to the yeast mixture, stirring with a wooden spoon until a shaggy dough forms. It’ll look rough and sticky at this stage—that’s exactly what you want. Don’t be tempted to add more flour; the dough will come together during the rising process.
Step 3: Proof the Dough for Maximum Flavor
Cover the bowl with a damp kitchen towel or plastic wrap and let the dough rise in a warm, draft-free spot. I like to place it near a slightly preheated oven (turned off) or on top of the refrigerator. Let it proof for 1.5 to 2 hours, or until it has doubled in size.
You’ll know it’s ready when the dough is puffy and springs back slowly when poked with a finger. This long fermentation time develops the gluten naturally, giving you that desirable chewy texture without the need for kneading.
Step 4: Divide and Shape the Dough
Turn the risen dough out onto a lightly floured work surface. It will be sticky, so use a bench scraper or lightly oiled hands to handle it. Divide the dough into two equal portions—this ensures you’ll have enough for two 12-inch pizzas.
Shape each portion into a smooth ball by folding the edges under and pinching them together. Place the balls on a lightly floured surface, cover them with the towel, and let them rest for an additional 30 minutes. This relaxation step makes the dough easier to stretch and shape.
Step 5: Stretch and Prepare for Toppings
After resting, take one dough ball and place it on a lightly floured surface. Press down gently with your fingertips to deflate it slightly, then use your hands to stretch it into a 12-inch round. Work from the center outward, leaving the edges slightly thicker for a rustic crust.
Transfer the stretched dough to a piece of parchment paper or a lightly oiled pizza pan. Drizzle a bit of the Extra-Virgin Olive Oil over the surface and use your fingers to create a slight rim around the edge. This prevents toppings from sliding off and gives you that classic pizza look.
Pro Tips For Making Pizza Dough Recipe For Two Pizzas
- Proof the Yeast: I learned this the hard way—always dissolve the active dry yeast in the warm water with a pinch of sugar first. If it doesn’t bubble after 5 minutes, your dough won’t rise, and you’ll waste all that bread flour.
- Use Room-Temp Water: Sounds weird, but it works: 110°F water is ideal—too hot kills the yeast, too cold slows it down. A quick wrist test (should feel warm but not scalding) saves the guesswork.
- Skip the Over-Flouring: Resist the urge to dump extra flour on the counter when kneading. Just a light dusting keeps the dough from sticking, but too much makes your crust tough and dense.
- Oil the Bowl: After shaping the dough into a ball, coat it in about 1 tablespoon of extra-virgin olive oil before placing it in the bowl to rise. This keeps it from drying out and makes stretching easier later.
Troubleshooting Perfect Results
Yeast Not Activating
If your yeast mixture isn’t bubbly after 10 minutes, the water was likely too hot or cold. I always use a thermometer—105-110°F is the sweet spot. David once killed a batch with boiling water, and we had to start over completely. 🌡️
Dense Dough Texture
If your dough feels heavy rather than springy, your yeast may have been old or the rise environment too cold. I test my yeast in ¼ cup water first if I’m unsure. A warm oven (turned off) is my go-to proofing spot.
Sticky Dough Handling
Resist adding extra flour when the dough feels sticky. Instead, use lightly oiled hands or a dough scraper. I keep a bowl of water nearby to rewet my hands. The stickiness decreases as gluten develops during the 2-hour rise.
Dough Not Rising
Check your yeast freshness first—old yeast loses potency. Then verify your water temperature. I once left dough in a 65°F kitchen and it took 4 hours to double. Move to a warmer spot or extend time.
Tearing While Stretching
If dough tears, it hasn’t rested enough after shaping. Let the balls rest 30 minutes before stretching. I press my fingertips into the center and work outward, never pulling. The gluten relaxes with patience.
Uneven Baking
For consistent results, ensure your oven is fully preheated to 475°F with the stone inside. I rotate my pizzas halfway through baking. Uneven heat is often the culprit for one side cooking faster.
Nutrition Facts
Frequently Asked Questions
Can I make this dough ahead of time?
Prepare the dough up to 2 days in advance and refrigerate it. This actually improves the flavor.
What if I don’t have bread flour?
Use all-purpose flour with 1 tbsp vital wheat gluten per cup as a substitute. The texture will be slightly less chewy but still delicious.
How thin should I roll the dough?
For classic pizza, aim for 12-inch rounds about ⅛-inch thick. Thinner for crispy crust, thicker for a softer bite.
Can I freeze the dough balls?
Yes! Freeze shaped dough balls in an airtight container for up to 3 months. Thaw overnight in the fridge before using.

- Potato Candy Recipe 1933: Vintage Peanut Butter Roll Delight - October 30, 2026
- Potato Chip Cookie Recipe With Pecans: Buttery Crunch Meets Nutty Richness - October 30, 2026
- Potato Patty Recipe No Egg: Crispy Edges Without the Binder - October 30, 2026