
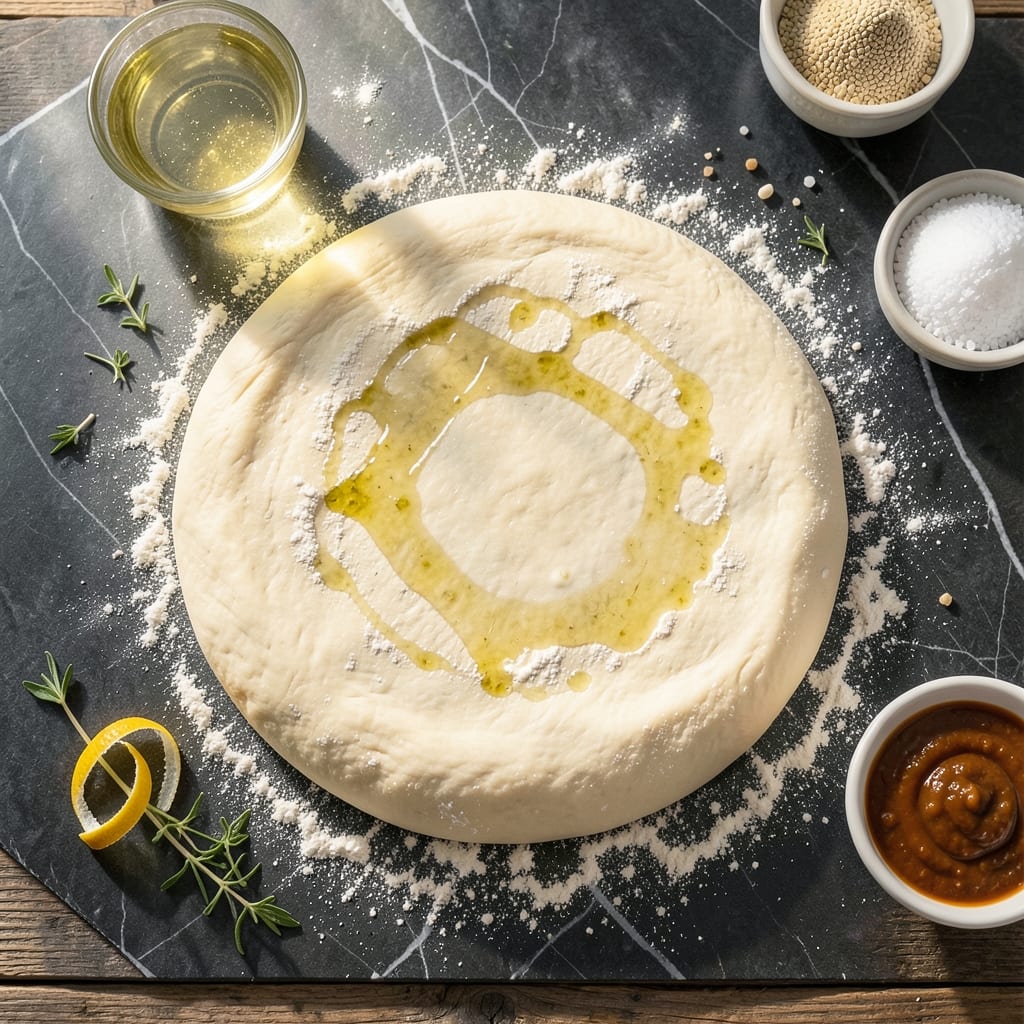
There’s a reason artisan pizzerias achieve that perfect crust—precision in every gram. This recipe delivers that same professional quality with exact measurements and a no-fail method.
With just a few basic ingredients and careful attention to resting times, you’ll create dough that’s elastic, flavorful, and ready for your favorite toppings. The key lies in the balance of flour, water, yeast, and salt.
After a slow rise, the dough develops complexity and structure, ensuring a crisp yet chewy base. No special equipment is required—just patience and a kitchen scale.
This version removes the guesswork, so you can focus on the joy of crafting restaurant-worthy pizza at home.
Ingredients for Pizza Dough Recipe in Grams
Seven ingredients, all measured in grams for perfect precision every single time.
| Ingredient | Amount | Notes |
|---|---|---|
| Bread Flour 🌾 | 500 g | High-protein for elasticity |
| Water 💧 | 300 ml | Filtered, room temperature |
| Active Dry Yeast 🍞 | 7 g | One packet, proofed |
| Fine Sea Salt 🧂 | 10 g | Dissolved in water |
| Extra-Virgin Olive Oil 🫒 | 15 ml | For dough softness |
| Sugar 🍚 | 5 g | Optional, aids yeast activation |
| Semolina Flour 🌾 | 20 g | For dusting work surface |
Bread flour is non-negotiable here—King Arthur or Bob’s Red Mill are my go-tos (look for at least 12% protein). The yeast needs to be fresh; check the expiration date on the packet. I buy mine in bulk from Costco and store it in the freezer to extend its life. Water temp matters—too hot kills the yeast, too cold slows activation (aim for 110°F if you’re checking with a thermometer).
No bread flour? All-purpose works at a 1:1 ratio, but the crust won’t be as chewy. Out of yeast? Instant yeast at the same amount—no proofing needed, just mix it right in with the flour. Sugar isn’t strictly necessary, but it helps the yeast get going faster. For olive oil, any neutral oil (like avocado) can sub in, but you’ll lose some flavor complexity.
The dough is best used the same day, but it’ll keep in the fridge for 48 hours (let it come to room temp first). Freeze balls of dough for up to 3 months—thaw overnight in the fridge before shaping. Always store yeast in an airtight container to keep it potent.
Why You’ll Love This Recipe
- No-Fuss Mixing: I just dump, stir, and let the yeast work its magic—no fancy steps, just bread flour, water, and a little olive oil.
- Crispy Chewy Balance: That first bite with the airy crumb and golden crust? The sea salt and olive oil make it irresistible.
- Endless Toppings: I’ve done margherita, loaded veggie, even dessert pizza—this dough handles anything I throw at it.
- Budget Stretch: A kilo of bread flour makes multiple pies, and honestly, it costs less than takeout for the whole family.
Step-by-Step Instructions for Pizza Dough
Here’s how I make foolproof artisan crust with precise metric measurements.
Step 1: Activate the Yeast
In a small bowl, whisk together the 300 ml Water with the 5 g Sugar until dissolved. The water should be lukewarm—about 38-40°C. If it’s too hot, it’ll kill the yeast; too cold, and it won’t activate properly.
Sprinkle the 7 g Active Dry Yeast over the surface and let it sit undisturbed for 5-7 minutes. You’ll know it’s working when you see a foamy layer about 1 cm thick forming on top. If nothing happens, your yeast might be dead—start over with fresh yeast.
Step 2: Mix and Knead the Dough
In a large mixing bowl, combine the 500 g Bread Flour with the 10 g Fine Sea Salt. Make a well in the center and pour in the yeast mixture and 15 ml Extra-Virgin Olive Oil. Using a wooden spoon or dough whisk, mix until a shaggy dough forms.
Turn the dough out onto a surface dusted with 20 g Semolina Flour. The semolina prevents sticking while adding a subtle texture to your crust. Knead for 8-10 minutes until smooth and elastic—you’ll feel it transform from sticky to silky as the gluten develops.
Step 3: First Rise for Maximum Flavor
Lightly oil the mixing bowl and place the dough inside, turning to coat all sides. Cover with a damp kitchen towel or plastic wrap. Let it rise in a warm, draft-free spot for 1-2 hours or until doubled in size.
I like to place mine near a slightly warm oven (turned off but with the light on) or on top of the refrigerator. The dough is ready when it springs back slowly when gently pressed with a finger. This first rise builds flavor and structure.
Step 4: Divide and Shape the Dough
Punch down the risen dough to release the air. Turn it out onto your semolina-dusted surface and divide into 4 equal portions (about 200 g each for personal pizzas).
Shape each portion into a ball by pulling the edges toward the center and pinching them together. Place the balls on a floured surface, cover, and let rest for 15-20 minutes. This relaxation period makes stretching much easier.
Step 5: Prepare for Baking
After resting, gently flatten each ball with your hands, then use your knuckles to stretch it from the center outward. Work on a surface dusted with more semolina flour to prevent sticking. Aim for a 30 cm round with a slightly thicker rim for the crust.
Transfer to parchment paper or a floured pizza peel. Add your toppings and bake immediately for the best texture. This dough handles beautifully and develops a crisp, airy crust with proper baking.
Pro Tips For Making Pizza Dough Recipe In Grams
- Use Warm Water: Active dry yeast needs water around 38-40°C to activate properly—too hot kills it, too cold slows it down. I learned this the hard way after a few doughs that refused to rise.
- Weigh Your Flour: Scooping flour with a cup can pack it down, adding up to 20% extra. Weighing in grams guarantees consistency every time, and your crust will thank you.
- Don’t Rush the Rise: Letting the dough double in size (about 1-2 hours at room temp) develops flavor and texture. Skipping this leaves you with a dense, flat crust—ask me how I know.
- Oil the Bowl: Coat the rising bowl with about 1 tsp of that extra-virgin olive oil to prevent sticking. Sounds simple, but it saves you from scraping dough off the sides later.
Health Benefits of This Dish
Nutrient-Rich Base
This dough provides a solid foundation of complex carbohydrates from bread flour, offering sustained energy release. The 500 g flour delivers about 1700 mg of plant-based protein per batch, supporting muscle maintenance and repair. 💪
Low in Saturated Fat
With only 15 ml olive oil as the added fat source, this recipe keeps saturated fat minimal. The monounsaturated fats in olive oil support heart health while adding subtle richness to the crust.
Yeast Benefits
The 7 g active dry yeast brings more than just rise—it’s a natural source of B vitamins including folate and B12. These nutrients play key roles in metabolism and red blood cell production.
Minimal Added Sugar
Using just 5 g sugar (optional) to activate the yeast keeps added sugars extremely low. This small amount won’t significantly impact blood sugar levels while ensuring proper fermentation.
Dietary Fiber Boost
Bread flour provides about 12 g dietary fiber per batch, aiding digestion and promoting gut health. The slow fermentation process may also improve nutrient absorption from the flour.
I notice my digestion feels better when I use dough that’s had a longer rise time. 🌾
Nutrition Facts
Frequently Asked Questions
Can I use all-purpose flour instead of bread flour?
Yes, but your crust will be less chewy. Bread flour’s higher protein content creates more gluten, giving that perfect elastic texture. For best results, stick with 500 g bread flour.
Why does the dough need to rest before shaping?
The 15-20 minutes rest relaxes the gluten strands, making the dough easier to stretch without shrinking back. Skipping this step can lead to tough crust.
How long can I store the dough in the fridge?
You can refrigerate the dough for up to 48 hours in an airtight container. For longer storage, freeze dough balls for up to 3 months.
What if my yeast doesn’t bubble?
If no foam appears after 5-7 minutes, your yeast may be expired. Always check the date and use lukewarm water to activate it properly.

- Potato Candy Recipe 1933: Vintage Peanut Butter Roll Delight - October 30, 2026
- Potato Chip Cookie Recipe With Pecans: Buttery Crunch Meets Nutty Richness - October 30, 2026
- Potato Patty Recipe No Egg: Crispy Edges Without the Binder - October 30, 2026