
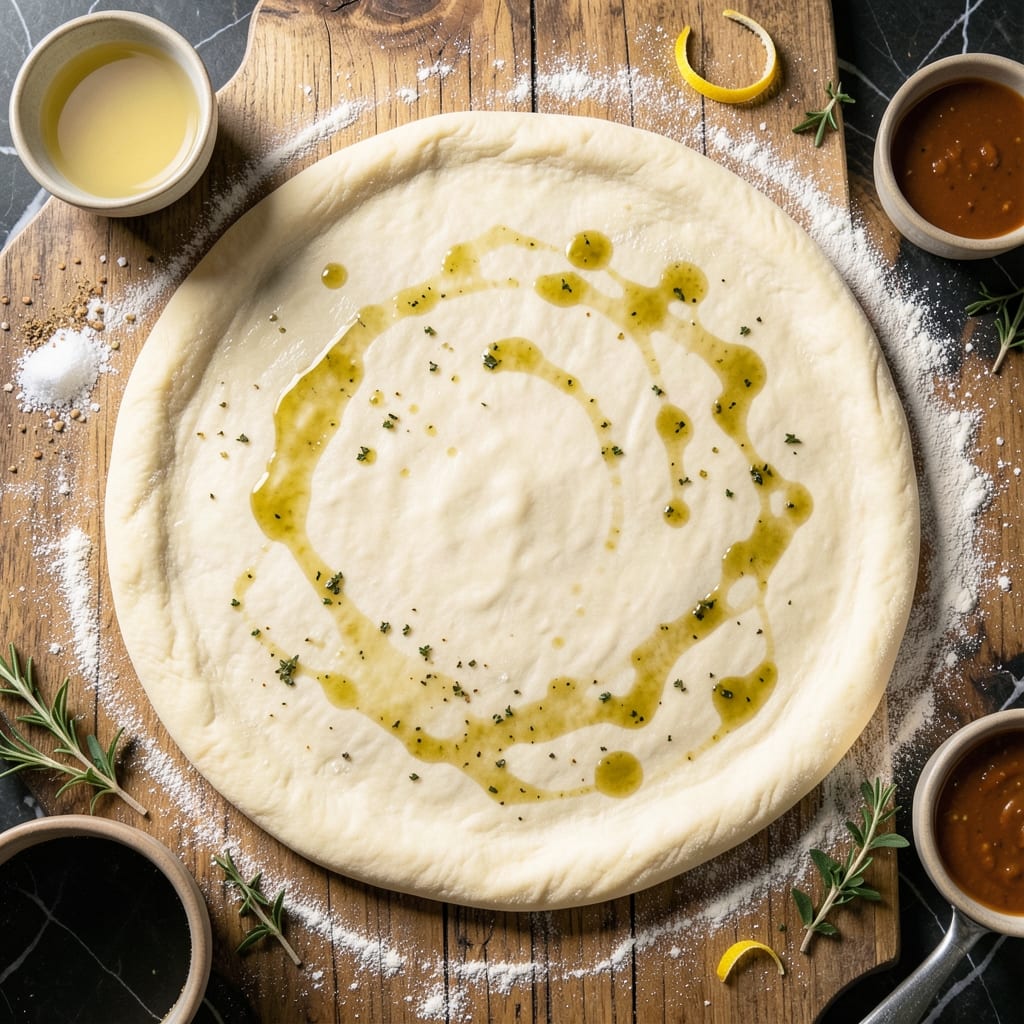
I’ve perfected a quick pizza dough that skips the yeast entirely—using self-raising flour for a light, airy base. This method delivers a crisp yet tender crust in half the time of traditional recipes.
The self-raising flour eliminates the need for proofing, making this ideal for spontaneous weeknight meals. A simple mix of flour, water, and a touch of oil yields dough that’s ready to shape and bake immediately.
What you get is a no-fuss foundation for your favorite toppings, with a texture that’s surprisingly close to classic yeasted dough. It bakes up golden and holds its structure beautifully under layers of sauce and cheese.
No waiting, no complicated steps—just a reliable, quick dough that works whenever the craving hits.
Ingredients for Pizza Dough Recipe Using Self Raising Flour
A handful of pantry staples creates this no-yeast, quick pizza base.
| Ingredient | Amount | Notes |
|---|---|---|
| Self-Raising Flour 🌾 | 3 cups | All-purpose self-raising, sifted |
| Warm Water 💧 | 1 ¼ cups | About 110°F, not boiling |
| Olive Oil 🫒 | 2 tbsp | Extra-virgin preferred |
| Salt 🧂 | 1 tsp | Fine sea salt or kosher |
| Granulated Sugar 🍚 | 1 tsp | Optional, enhances browning |
| Italian Seasoning 🌿 | 1 tsp | Dried blend for flavor |
| Garlic Powder 🧄 | ½ tsp | Optional, for depth |
| Cornmeal 🌽 | ¼ cup | For dusting, prevents sticking |
The self-raising flour is non-negotiable here—King Arthur or Gold Medal have consistent rise. Look for the freshest bag (check the date on the shelf) since old flour loses potency. Most supermarkets stock it alongside regular flour. If you only have all-purpose, add 1.5 tsp baking powder per cup as backup. The warm water should feel like a baby bottle—too hot kills the leavening power.
No self-raising flour? All-purpose plus baking powder (4 tsp per cup of flour) works fine. Skip the sugar if you prefer savory crust. The Italian seasoning can be dried oregano or basil if that’s what’s in your cabinet. Olive oil is flexible—vegetable oil or melted butter (for non-vegan) are decent swaps. Cornmeal adds crunch but semolina or extra flour does the job too.
Dough keeps wrapped in plastic for 2 days in the fridge. For same-day use, let it rest 10 minutes before shaping. Bake immediately—this isn’t a make-ahead dough. Leftover baked crust? 3-4 days in an airtight container, or freeze for 1 month.
Why You’ll Love This Recipe
- No Fuss Dough: No yeast, no waiting—just self-raising flour, warm water, and a quick mix. Honestly, it’s the easiest pizza base I’ve ever made.
- Rich Crust Flavor: The olive oil and sugar give it that golden, slightly sweet taste. That crispy edge with the soft center? Exactly what you need.
- Weeknight Hero: Between us, it’s my go-to when I need dinner fast. Kids can customize their own toppings while it bakes.
- Pantry Friendly: Self-raising flour is all you need—no special trips to the store. I’ll be real: it saves me money and stress every time.
Step-by-Step Instructions for Pizza Dough Using Self Raising Flour
Here’s the method. Straightforward, tested, works every time.
Step 1: Combine Dry Ingredients and Create a Well
In a large mixing bowl, whisk together the 3 cups Self-Raising Flour, 1 tsp Salt, 1 tsp Granulated Sugar, 1 tsp Italian Seasoning, and 0.5 tsp Garlic Powder. I always sift the flour first to remove lumps and ensure even distribution of the leavening agents.
Once combined, make a well in the center of the dry ingredients. This well will hold the wet ingredients and allow you to gradually incorporate them into the flour mixture. The well should be wide enough to hold all the liquid without spilling over the sides of the bowl.
Step 2: Add Wet Ingredients and Mix Until Combined
Pour the 1.25 cups Warm Water and 2 tbsp Olive Oil into the well you created. Using a wooden spoon or spatula, gradually incorporate the flour into the liquid, starting from the inner edge of the well and working your way outward.
Continue mixing until a shaggy dough forms. At this stage, the dough will be sticky and slightly rough, but all the flour should be hydrated. If the dough feels too dry, add a splash of water, but avoid adding too much as it can make the dough too sticky.
Step 3: Knead the Dough Until Smooth
Turn the dough out onto a lightly floured surface. I like to use a small amount of the Self-Raising Flour for dusting to prevent sticking. Knead the dough for 5-7 minutes until it becomes smooth and elastic. You’ll notice the dough starts to tighten up and become more pliable as you work it.
If the dough feels too sticky during kneading, add a bit more flour, but do so sparingly—too much flour can make the dough tough. The dough is ready when it springs back slightly when pressed with your finger and has a smooth, slightly tacky surface.
Step 4: Let the Dough Rest and Rise Slightly
Lightly oil a clean bowl with a small amount of the Olive Oil and place the kneaded dough inside. Cover the bowl with a clean kitchen towel or plastic wrap and let it rest at room temperature for 30-45 minutes. The dough won’t rise as dramatically as yeast-based dough, but it will puff up slightly.
This resting period allows the gluten to relax, making the dough easier to roll out. It also gives the Self-Raising Flour time to activate, ensuring a light and airy texture. You’ll see small bubbles forming on the surface, indicating that the dough is ready for the next step.
Step 5: Shape the Dough and Prepare for Baking
After resting, divide the dough into 4 equal portions for individual pizzas. On a surface lightly dusted with 0.25 cup Cornmeal, roll out each portion into a ¼-inch thick circle. The cornmeal prevents sticking and adds a subtle crunch to the crust.
Transfer the rolled dough to a baking sheet or pizza peel. Add your favorite toppings and bake in a preheated oven at 475°F for 12-15 minutes or until the crust is golden brown and the toppings are bubbly. The cornmeal will crisp up slightly, giving your pizza a professional touch.
Pro Tips For Making Pizza Dough Recipe Using Self Raising Flour
- Warm the Water Right: Use water around 105-110°F—hot enough to activate the raising agents in self-raising flour but not so hot it kills them. I learned this the hard way after my dough refused to rise.
- Skip the Overmixing: Mix just until the dough comes together—overworking it makes the pizza tough. Sounds weird, but it works: the less you handle it, the lighter the crust.
- Rest for 30 Minutes: Let the dough sit covered at room temperature for at least 30 minutes. My grandmother swore by this, and she was right: it relaxes the gluten and makes rolling easier.
- Oil the Bowl Well: Coat your rising bowl with about 1 tablespoon of olive oil before adding the dough. This isn’t the prettiest method, but it’s the tastiest—prevents sticking and adds flavor to the crust.
Health Benefits of This pizza dough recipe using self raising flour
Nutrient-Rich Base
This dough provides essential B vitamins from enriched self-raising flour, supporting energy metabolism. The thiamine and niacin in flour help convert food into fuel for your body. 💪
Healthy Fats
The olive oil adds heart-healthy monounsaturated fats, which can help lower bad cholesterol. Just 2 tbsp provides beneficial fatty acids without overwhelming the recipe.
Low Sugar Content
With only 1 tsp of sugar optional for browning, this crust keeps added sugars minimal. It’s a smarter choice than store-bought doughs packed with hidden sweeteners.
Dietary Fiber
Self-raising flour contains modest fiber that aids digestion. Pair your pizza with veggie toppings to boost the fiber content further. I always add spinach or mushrooms.
Sodium Awareness
The recipe uses just 1 tsp salt, making it easier to control your sodium intake. This is especially helpful if you’re watching blood pressure or heart health.
Quick Energy
Carbs from the flour provide a rapid energy source, ideal for active days. The lack of yeast means it’s gentler on sensitive digestive systems. ✨
Nutrition Facts
Frequently Asked Questions
Can I use all-purpose flour instead?
Yes, but add 4 tsp baking powder and 1 tsp salt per 3 cups flour. This mimics self-raising flour’s leavening power. The texture will be slightly denser.
Why does my dough taste bitter?
Baking powder in self-raising flour can leave a metallic taste if overmixed. Mix just until combined and avoid kneading too long. Fresh flour also prevents this issue.
How thin should I roll the dough?
Roll to ¼-inch thickness for a crispy crust. Thinner dough may burn, while thicker crusts stay soft. Use cornmeal to prevent sticking when rolling.
Can I make this dough ahead?
It’s best used immediately, but you can refrigerate wrapped dough for up to 2 days. Let it sit at room temperature for 30 minutes before shaping.

- Potato Candy Recipe 1933: Vintage Peanut Butter Roll Delight - October 30, 2026
- Potato Chip Cookie Recipe With Pecans: Buttery Crunch Meets Nutty Richness - October 30, 2026
- Potato Patty Recipe No Egg: Crispy Edges Without the Binder - October 30, 2026