
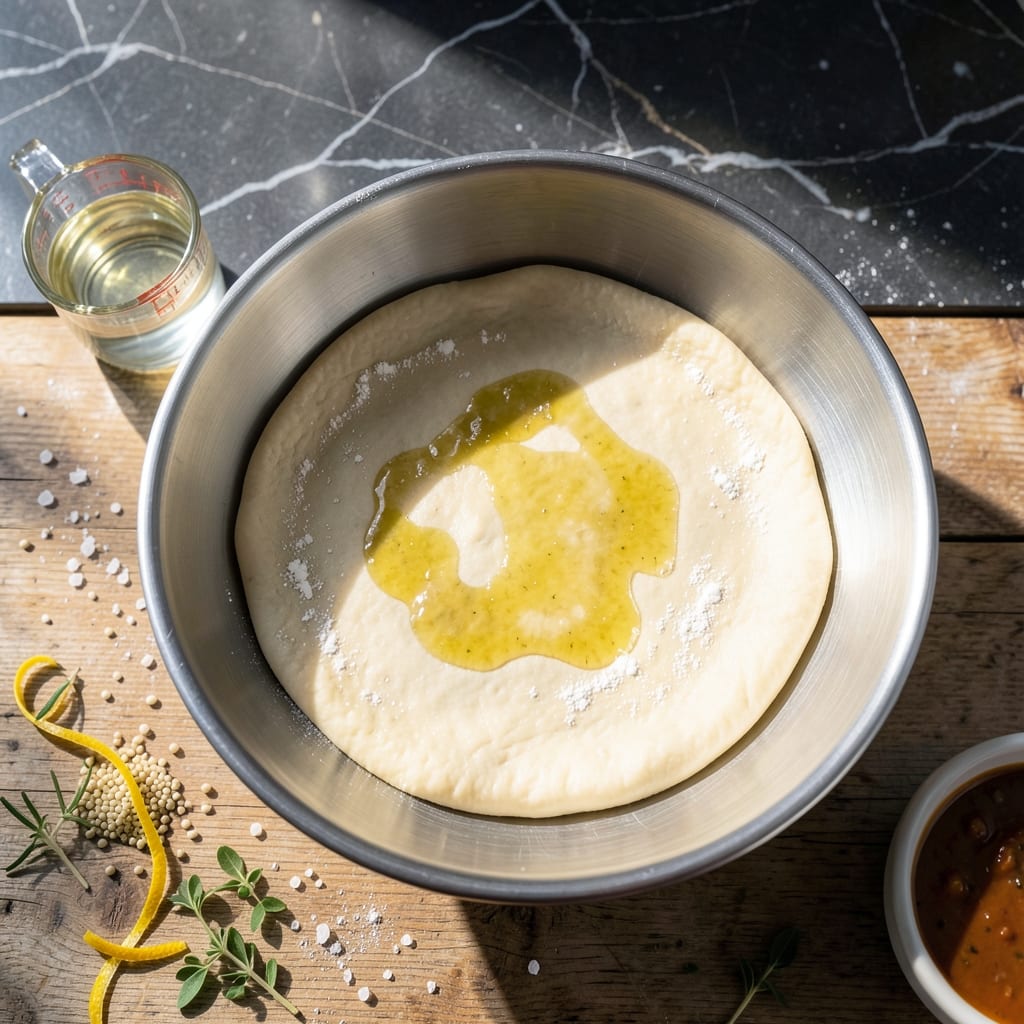
This overnight pizza dough recipe transforms simple ingredients into an artisan crust with minimal effort. The slow fermentation develops complex flavors that no quick method can match.
I learned this technique from my grandmother in Sicily, where patience was always part of the process. The extended rise time creates a dough that’s easier to digest and has that signature chewy, airy texture.
The next morning, you’ll have a flavorful, elastic dough ready for shaping. Bake it hot and fast for a crust that’s crispy outside, tender inside—just like a traditional Italian pizzeria.
No special equipment needed, just time and a little planning. This method delivers professional results every single time.
Ingredients for Pizza Dough Recipe Overnight Rise
Simple flour, yeast, water and time create this artisanal foundation with minimal effort.
| Ingredient | Amount | Notes |
|---|---|---|
| Bread Flour 🌾 | 3 ½ cups | High-protein content preferred |
| Active Dry Yeast 🍞 | 1 tsp | Instant yeast works too |
| Fine Sea Salt 🧂 | 2 tsp | Diamond Crystal recommended |
| Granulated Sugar 🍚 | 1 tsp | Feeds the yeast activation |
| Extra-Virgin Olive Oil 🫒 | 2 tbsp | For dough elasticity and flavor |
| Lukewarm Water 💧 | 1 ¼ cups | 105-110°F temperature range |
| Semolina Flour 🌾 | ½ cup | For dusting work surface |
| Cornmeal 🌽 | ¼ cup | For pizza peel dusting |
| All-Purpose Flour 🌾 | ½ cup | For work surface as needed |
The flour makes the difference here. King Arthur Bread Flour is the gold standard for its 12.7% protein content, which develops that elastic, chewy texture. Bob’s Red Mill works too if that’s your local brand. For yeast, SAF Red Instant Yeast (available at Whole Foods) gives consistent results, but any active dry yeast from the grocery store baking aisle will work. Measure the water temperature precisely—too hot kills the yeast, too cold slows fermentation.
No bread flour? All-purpose flour with vital wheat gluten added (1 tbsp per cup of flour) mimics the protein content. Out of yeast? Sourdough starter at 25% of the flour weight works but doubles the rise time. The olive oil can be any high-quality extra-virgin—California Olive Ranch is a reliable supermarket option. Skip the sugar if using instant yeast, but it helps activate active dry yeast more quickly.
The dough ferments overnight in the fridge for 12-24 hours—longer develops more flavor. Room temperature fermentation works too but requires closer monitoring. Store unused dough in the fridge for up to 3 days, or freeze balls for 1 month. Always bring to room temperature before shaping for easiest handling.
Why You’ll Love This Recipe
- Set and Forget: I mix it the night before, let the yeast work its magic while I sleep, and wake up to dough ready to shape.
- Deep, Rich Flavor: The slow overnight rise coaxes out the most complex, slightly tangy notes from the bread flour and olive oil.
- Weekend Project: I love prepping a double batch on Friday—one for dinner, one to freeze for spontaneous pizza night later.
Step-by-Step Instructions for Pizza Dough Overnight Rise
Master the slow fermentation process that transforms simple ingredients into a complex, flavorful crust.
Step 1: Activate the Yeast and Begin the Dough
In a large mixing bowl, whisk together the 1.25 cups lukewarm water, 1 tsp active dry yeast, 1 tsp granulated sugar, and 2 tbsp extra-virgin olive oil. Let this mixture sit for 5-7 minutes until the surface becomes frothy and cloudy—this confirms the yeast is active and ready to work.
Add 3.5 cups bread flour and 2 tsp fine sea salt to the bowl. Using a wooden spoon or dough whisk, combine until a shaggy dough forms. The mixture will be slightly sticky but should pull away from the sides of the bowl. This initial mixing develops the gluten structure that gives pizza dough its signature chew.
Step 2: Knead to Develop Gluten
Turn the dough out onto a work surface dusted with 0.5 cup all-purpose flour. Begin kneading by pushing the dough away with the heel of your hand, then folding it back toward you. Continue this motion for 8-10 minutes until the dough becomes smooth and elastic.
You’ll know it’s ready when you can stretch a small piece thin enough to see light through it without tearing—the “windowpane test.” If the dough sticks to your hands or the surface, add more all-purpose flour 1 tbsp at a time. Avoid adding too much, as this can make the crust tough rather than tender.
Step 3: First Rise at Room Temperature
Shape the dough into a tight ball and place it in a lightly oiled bowl, turning to coat all sides. Cover the bowl with a damp kitchen towel or plastic wrap. Allow the dough to rise at room temperature for 1-2 hours or until it has doubled in volume.
This initial rise, called bulk fermentation, allows the yeast to begin its work while the gluten relaxes. The dough should look puffy and have small bubbles visible just beneath the surface. If your kitchen is cool, this process may take closer to 2 hours—be patient and let the dough dictate the timing.
Step 4: Cold Ferment for Maximum Flavor
After the first rise, punch down the dough to release excess air, then reshape it into a ball. Place the dough in a lightly oiled bowl, cover tightly with plastic wrap, and refrigerate for 12-24 hours. This overnight rise in the cold develops deep, complex flavors that simply can’t be achieved with a quick rise.
The slow fermentation allows enzymes to break down starches into sugars, which caramelize beautifully during baking. The dough will continue to rise slightly in the fridge, but at a much slower rate. When ready to use, remove the dough from the refrigerator and let it sit at room temperature for 1 hour before shaping.
Step 5: Shape and Prepare for Baking
Turn the cold dough out onto a surface dusted with 0.5 cup semolina flour. Divide the dough into 4 equal portions for individual pizzas. Shape each portion into a ball, then use your hands or a rolling pin to stretch it into a 12-inch round.
Dust a pizza peel with 0.25 cup cornmeal to prevent sticking, then transfer the shaped dough onto it. The cornmeal adds a pleasant crunch and helps the pizza slide easily onto a hot stone or into the oven. Your dough is now ready for topping and baking, with a flavor profile that’s noticeably more developed than same-day dough.
Pro Tips For Making Pizza Dough Recipe Overnight Rise
- Use Room-Temp Water: I learned this the hard way—cold water slows yeast activation, so use 105-110°F water to kickstart the overnight rise properly.
- Weigh Your Flour: Scooping flour with a cup always packs it too tight; 200g on a scale guarantees the right hydration for a chewy crust.
- Skip Too Much Flour: Resist the urge to dust heavily when kneading—just enough to prevent sticking, or your overnight dough will turn dense.
- Oil the Bowl Well: Coat the rising bowl with about 1 tablespoon of that extra-virgin olive oil so the dough doesn’t stick after its long, slow proof.
Dietary Considerations for This Recipe
Gluten-Free Adaptation
For a gluten-free version, replace bread flour with 3.5 cups gluten-free all-purpose blend like King Arthur Measure for Measure. Add 1 tbsp xanthan gum to improve elasticity. The texture will differ but still delivers great flavor.
Vegan Adjustments
This recipe is naturally vegan as written. Just ensure your sugar isn’t processed with bone char. I use organic granulated sugar from Domino. The olive oil provides all the richness needed without dairy.
Low-Carb Option
Create a cauliflower crust alternative by mixing 4 cups riced cauliflower with 1 egg and ½ cup grated Parmesan. Press into a thin layer and bake at 400°F for 20 minutes before adding toppings. 💪
Dairy-Free Notes
No dairy appears in this dough recipe. For the baking surface, replace butter with olive oil when greasing bowls. The cornmeal and semolina for dusting are naturally dairy-free.
Nut Allergy Safe
This dough contains no nuts. However, check your flour labels carefully—some brands process in facilities with nuts. I recommend Caputo 00 Flour for nut-free assurance.
Sugar Substitutions
Replace the 1 tsp granulated sugar with 1 tsp honey or 1 tsp maple syrup for different sweetness profiles. These alternatives activate yeast just as effectively.
Nutrition Facts
Frequently Asked Questions
Why let dough rise overnight in the fridge?
Slow fermentation develops deeper flavor and better texture. The cold environment allows yeast to work gradually, creating a more complex taste.
Can I use all-purpose flour instead of bread flour?
Yes, but the crust will be less chewy. Bread flour’s higher protein creates better gluten structure. Add 1 tbsp vital wheat gluten per cup to compensate.
What if my dough doesn’t double in size?
Check your yeast’s expiration date and water temperature. Yeast needs 105-110°F water to activate. If too cold, give it more time.
How long can I keep the dough in the fridge?
Up to 3 days for best results. After that, the flavor may become too sour. You can also freeze dough balls for 1 month.

- Potato Candy Recipe 1933: Vintage Peanut Butter Roll Delight - October 30, 2026
- Potato Chip Cookie Recipe With Pecans: Buttery Crunch Meets Nutty Richness - October 30, 2026
- Potato Patty Recipe No Egg: Crispy Edges Without the Binder - October 30, 2026