
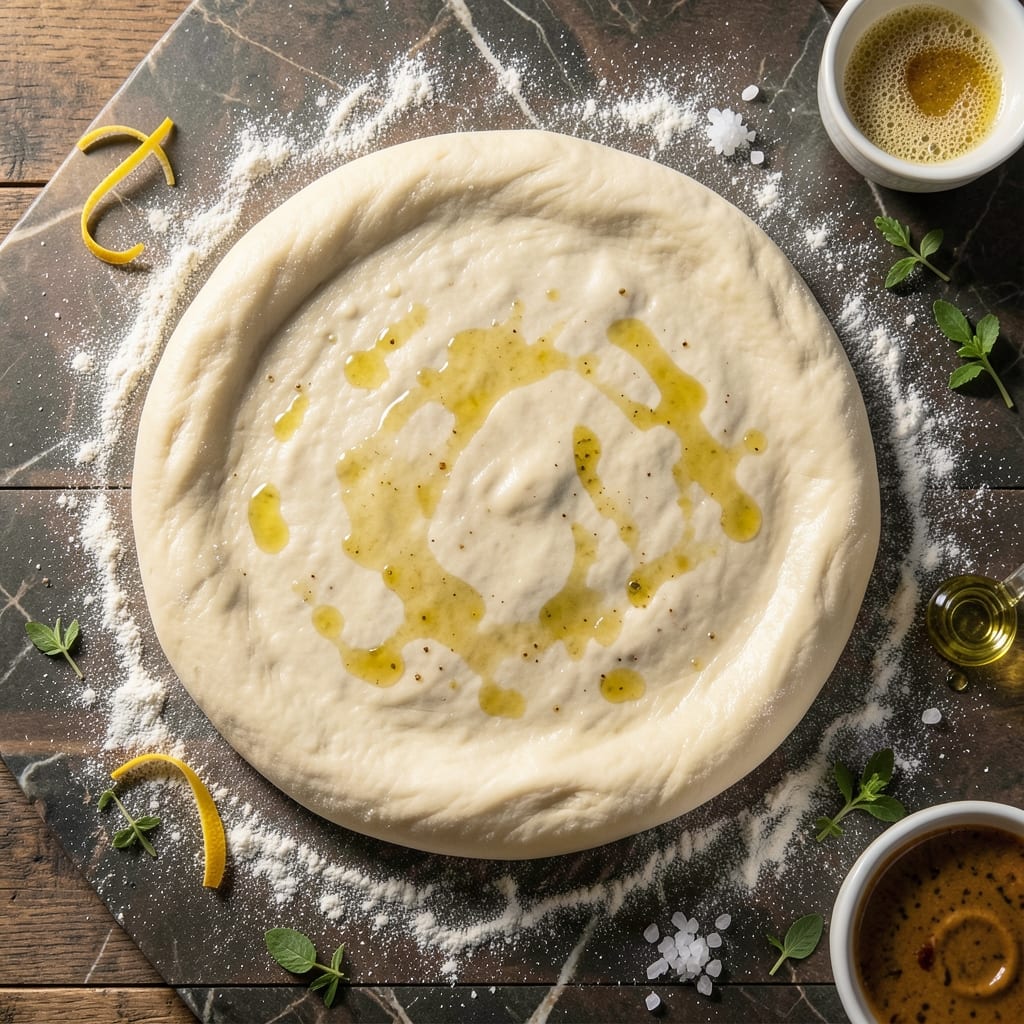
This dough recipe transforms home pizza nights with a professional touch. Standing beside my grandmother in Sicily, I learned that great dough requires patience and the right ingredients.
Diastatic malt powder is the secret to achieving an artisan rise and chewy texture. It enhances fermentation, creating a light, airy crust with a satisfying bite.
The process is precise but rewarding. With a 24-hour cold fermentation, the flavors develop deeply, resulting in a crust that rivals any pizzeria.
Perfect for classic Margherita or loaded specialties, this dough delivers consistent, restaurant-quality results every time.
Ingredients for Pizza Dough Recipe with Diastatic Malt Powder
Ten simple ingredients create that restaurant-quality crust with artisan rise and chewy bite.
| Ingredient | Amount | Notes |
|---|---|---|
| Bread Flour 🌾 | 4 ½ cups | High-protein content preferred |
| Water 💧 | 1 ¾ cups | Room temperature, 75-80°F |
| Diastatic Malt Powder 🌾 | 1 tsp | Essential for fermentation boost |
| Active Dry Yeast 🍞 | 1 tsp | Proofed in warm water first |
| Kosher Salt 🧂 | 2 tsp | Diamond Crystal preferred |
| Extra-Virgin Olive Oil 🫒 | 2 tbsp | For dough elasticity |
| Semolina Flour 🌾 | ½ cup | For dusting work surface |
| Honey 🍯 | 1 tsp | Optional, aids yeast activation |
| Instant Yeast 🍞 | ¼ tsp | Alternative to active dry |
| All-Purpose Flour 🌾 | ½ cup | For lighter texture adjustment |
The flour is critical here. King Arthur Bread Flour delivers the 12-13% protein content needed for structure. Diastatic malt powder isn’t optional—it’s the Sicilian secret for that perfect fermentation. Find it at specialty baking stores or online. I source mine from Baking Steel for consistent quality. The yeast must be fresh; check the expiration date and store it in the freezer.
No diastatic malt? Barley malt syrup at one-fourth the amount works in a pinch, but the texture won’t be identical. Swap bread flour for all-purpose if needed, though you’ll sacrifice some chew. Honey can be replaced with sugar for yeast activation. For a faster rise, instant yeast can replace active dry—just skip the proofing step. The olive oil? Use the good stuff; it adds depth to the crust.
The dough ferments best in a lightly oiled bowl with plastic wrap in the fridge. Keeps for 3 days refrigerated, or freeze for 1 month in airtight portions. Bring to room temperature before shaping—this ensures even stretching and prevents tearing.
Why You’ll Love This Recipe
- One Bowl Wonder: I mix everything in a single bowl—flour, water, yeast, salt, and that magic diastatic malt powder—no fancy equipment needed.
- Caramelized Depth: The diastatic malt powder gives the crust this subtle honeyed richness that’s just next-level good.
- Endless Possibilities: I’ve used this dough for thin crust, thick crust, even calzones—it handles everything beautifully. Honestly, it’s my blank canvas.
- Budget Stretcher: A few cents worth of ingredients makes multiple pizzas. I’ll be real: it’s cheaper than takeout and twice as satisfying.
Step-by-Step Instructions for Pizza Dough With Diastatic Malt Powder
Master the technique for a perfectly chewy, artisan-style crust with these precise steps.
Step 1: Activate the Yeast and Prepare the Liquid Base
In a small bowl, combine the 1.75 cups Water (ensure it’s 75-80°F), 1 tsp Active Dry Yeast, 1 tsp Diastatic Malt Powder, and 1 tsp Honey. Stir gently and let it sit for 5-7 minutes until frothy.
The yeast should activate visibly, forming a cloudy, bubbly mixture on the surface. This step confirms your yeast is alive and ready for fermentation. The diastatic malt powder will enhance the rise and browning of your crust.
Step 2: Combine Dry Ingredients and Form the Dough
In a large mixing bowl, whisk together the 4.5 cups Bread Flour, 0.5 cup All-Purpose Flour, and 2 tsp Kosher Salt. Make a well in the center and add the 2 tbsp Extra-Virgin Olive Oil and the activated yeast mixture.
Using a wooden spoon or dough whisk, mix until a shaggy dough forms. The dough will be sticky but should pull away from the sides of the bowl. Bread flour’s high protein content ensures the gluten development needed for that perfect chew.
Step 3: Knead the Dough to Optimal Elasticity
Turn the dough onto a surface dusted lightly with 0.5 cup Semolina Flour. Knead for 8-10 minutes by hand until smooth and elastic. The dough should spring back slowly when pressed with a finger, indicating proper gluten development.
Semolina flour prevents sticking while adding a subtle texture to the dough. If the dough feels too sticky, resist the urge to add more flour—wet dough yields a more open crumb structure and better texture.
Step 4: First Rise for Maximum Flavor Development
Place the dough in a lightly oiled bowl, turning once to coat all sides. Cover with a damp towel or plastic wrap and let it rise in a warm, draft-free area for 1-2 hours or until doubled in volume.
The diastatic malt powder will accelerate fermentation, so check the dough at the 1-hour mark. Properly risen dough will have a slightly domed top and indent slightly when pressed gently with a finger.
Step 5: Shape, Second Rise, and Prepare for Baking
Punch down the dough to release excess gas. Divide it into 4 equal portions (about 280g each) and shape into balls. Place each ball on a floured surface, cover, and let rest for 30-45 minutes for a second rise.
This second rise relaxes the gluten, making the dough easier to stretch. The balls should noticeably puff up. At this point, your dough is ready to be stretched, topped, and baked into a perfect pizza crust with an artisan rise.
Pro Tips For Making Pizza Dough Recipe With Diastatic Malt Powder
- Use Warm Water: Activate the yeast properly with water around 110°F—any hotter and you’ll kill it, any colder and it’ll take forever to rise. I learned this the hard way after a few sad, flat doughs.
- Measure Malt Precisely: Diastatic malt powder is potent—stick to 0.5-1% of the flour weight (about 1 tsp per 500g flour). Too much and your dough will over-ferment, leaving it gummy.
- Skip the Overproof: Resist the urge to let it rise past double—diastatic malt speeds up fermentation, so overproofing can collapse your dough. Aim for a 1.5x rise in 1-2 hours at room temp.
- Cold Ferment Overnight: After the initial rise, refrigerate the dough for 12-24 hours. This slows fermentation while the malt continues to break down starches, giving you a sweeter, crispier crust with minimal effort.
Essential Equipment for pizza dough recipe with diastatic malt powder
Stand Mixer Method
I always use my KitchenAid stand mixer with the dough hook attachment for this recipe. It handles the sticky dough perfectly and develops gluten more efficiently than hand-kneading. Set it to speed 2 for 6-8 minutes until the dough pulls away from the bowl sides.
Precision Scale
For consistent results, I weigh ingredients with my OXO Good Grips 11lb scale. Bread flour should be 540g, water 420g, and diastatic malt powder 4g. This precision ensures the same perfect texture every time.
Proofing Equipment
A dough proofer or instant pot (with yogurt setting at 85°F) creates the ideal environment for the first rise. I also love using a Brookstone dough rising bucket with lid for its simplicity and effectiveness.
Dough Scraper
A bench scraper is essential for dividing and handling sticky dough. I prefer the Ateco 4-inch stainless steel scraper—it makes portioning the 280g balls effortless and keeps my work surface clean. 💡
Fermentation Containers
For the 24-hour cold fermentation, I use Cambro 6-quart food storage containers with lids. They provide enough space for the dough to expand and are easy to stack in the fridge. The clear sides let me monitor the rise without opening.
Pizza Peel
Transferring dough requires a wooden pizza peel. I recommend a 14-inch peel from Old Stone Oven. Dust it generously with semolina flour to prevent sticking when sliding pizzas onto the stone. 🔥
Nutrition Facts
Frequently Asked Questions
Why use diastatic malt powder in pizza dough?
It boosts fermentation, creating a lighter, airier crust with better browning. This ingredient helps break down starches into sugars, feeding the yeast for a more active rise.
Can I skip the cold fermentation step?
Technically yes, but the flavor and texture will suffer. 24-hour cold fermentation develops depth and improves gluten structure for that perfect chewy bite.
How do I know when the dough is properly kneaded?
The dough should be smooth, elastic, and spring back slowly when pressed. If it tears easily, knead for another 2-3 minutes until it passes the windowpane test.

- Potato Candy Recipe 1933: Vintage Peanut Butter Roll Delight - October 30, 2026
- Potato Chip Cookie Recipe With Pecans: Buttery Crunch Meets Nutty Richness - October 30, 2026
- Potato Patty Recipe No Egg: Crispy Edges Without the Binder - October 30, 2026