
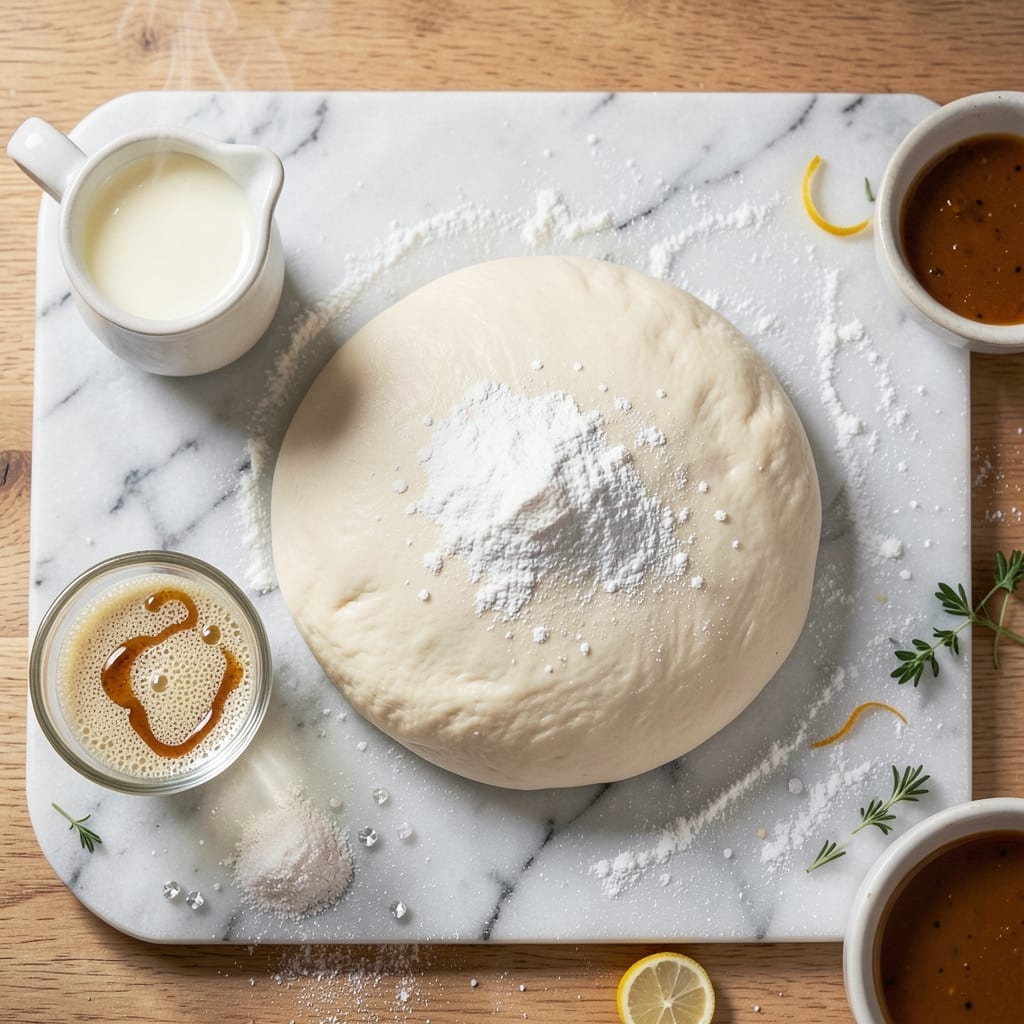
This pizza dough recipe transforms your homemade pies with a tender, slightly sweet crust that only milk can provide. The addition of whole milk creates a softer, more pliable dough that browns beautifully during baking.
I developed this method after years of experimenting with hydration levels and fat sources. Milk not only enhances flavor but also improves the dough’s ability to stretch without tearing, making it ideal for both thin and thick crust styles.
The result is a perfectly golden foundation with just the right amount of chew. This dough rises steadily during its 2-hour rest, developing complex flavors that mimic wood-fired results.
Whether you prefer classic margherita or loaded toppings, this versatile base delivers consistent quality. The milk-based dough holds up to high heat while maintaining its soft interior.
Ingredients for Pizza Dough Recipe with Milk
Warm milk and bread flour create that tender, stretchy base you’re after for perfect pies.
| Ingredient | Amount | Notes |
|---|---|---|
| Bread Flour 🌾 | 3 ½ cups | High protein for chewiness |
| Whole Milk 🥛 | 1 cup | Warm to 110°F for activation |
| Active Dry Yeast 🍞 | 2 ¼ tsp | One packet or bulk equivalent |
| Granulated Sugar 🧂 | 1 tbsp | Feeds yeast for rise |
| Sea Salt 🧂 | 1 ½ tsp | Fine grain for even distribution |
| Extra-Virgin Olive Oil 🫒 | 2 tbsp | For elasticity and flavor |
| Honey 🍯 | 1 tbsp | Adds subtle sweetness |
| Unsalted Butter 🧈 | 1 tbsp | Melted, for tenderness |
| All-Purpose Flour 🌾 | ½ cup | For dusting workspace |
| Cornmeal 🌽 | ¼ cup | For pizza peel dusting |
The flour is non-negotiable—King Arthur Bread Flour is my go-to for that perfect chew (12.7% protein). Whole milk at room temp works best; Organic Valley or any local dairy brand does the trick. Yeast freshness matters: check the expiration date and store it in the freezer to extend shelf life. For the olive oil, California Olive Ranch is a solid everyday pick.
No bread flour? All-purpose plus 1 tbsp vital wheat gluten per cup gets you close. Out of honey? Sugar or maple syrup works, but adjust liquid slightly. Short on time? Instant yeast cuts the rise by half. The butter can be skipped, but it adds that extra tenderness (trust me on this one).
Dough balls keep in the fridge for 3 days or freeze for 1 month (thaw overnight). Let cold dough sit at room temp 1 hour before shaping. Pre-baked crusts? Par-bake, cool, then store airtight for 2 days.
Why You’ll Love This Recipe
- One Bowl Wonder: I just dump the bread flour, warm whole milk, yeast, sugar, and salt in a bowl—no fancy equipment, no mess.
- Rich, Tender Crust: The whole milk adds this incredible depth, making the dough soft inside with a golden, slightly crisp edge.
- Endless Pizza Nights: I use it for thin crust, thick crust, even calzones—my kids request it weekly, no complaints.
- Budget Friendly: Bread flour and milk are cheap, and this makes enough for two large pizzas. Honestly, it’s my wallet’s best friend.
Step-by-Step Instructions for Pizza Dough With Milk
This method delivers a soft, elastic foundation with wood-fired flavor potential.
Step 1: Activate the Yeast and Bloom the Mixture
Warm the 1 cup Whole Milk to exactly 110°F—use a thermometer, as milk that’s too hot will kill the yeast, and milk that’s too cool won’t activate it. In a large bowl, whisk together the warm milk, 2.25 tsp Active Dry Yeast, 1 tbsp Granulated Sugar, 1 tbsp Honey, and 2 tbsp Extra-Virgin Olive Oil.
Let this mixture sit undisturbed for 5-7 minutes until it becomes frothy and slightly domed. This visual cue confirms the yeast is alive and working. I’ve found that adding the honey along with the sugar gives the yeast a more complex food source, resulting in a slightly more flavorful rise.
Step 2: Combine Dry Ingredients and Form the Dough
In a separate large bowl, whisk together the 3.5 cups Bread Flour and 1.5 tsp Sea Salt until evenly distributed. Make a well in the center and pour in the yeast mixture along with the 1 tbsp Unsalted Butter, which should be melted and cooled slightly.
Using a wooden spoon, stir the mixture until it comes together into a shaggy dough. The dough will be slightly sticky at this stage—that’s normal. The high protein content in the bread flour develops gluten strands, which create that desirable chewy texture in your finished crust.
Step 3: Knead to Develop Gluten Structure
Turn the dough out onto a surface lightly dusted with 0.5 cup All-Purpose Flour. Knead for 8-10 minutes by hand, pushing the dough away with the heel of your hand and folding it back over itself. The dough should become smooth and elastic, springing back when poked gently with a finger.
If the dough feels too sticky during kneading, add a little more of the all-purpose flour, 1 tablespoon at a time, but don’t overdo it. Too much additional flour can make your crust dense. You want a dough that’s slightly tacky but doesn’t stick to your hands or the work surface.
Step 4: First Rise for Flavor Development
Shape the dough into a ball and place it in a lightly oiled bowl, turning once to coat all sides. Cover the bowl with a damp kitchen towel or plastic wrap. Let it rise in a warm, draft-free place for 1 to 1.5 hours, or until doubled in volume.
I like to preheat my oven to its lowest setting (170°F or so) and turn it off before placing the bowl inside to rise. This creates an ideal environment. The dough is ready when it holds an indentation when gently pressed with a finger and has a slightly domed, rounded appearance.
Step 5: Shape, Second Rise, and Prepare for Baking
Punch down the risen dough to deflate it, then turn it out onto a surface dusted with 0.25 cup Cornmeal. The cornmeal not only prevents sticking but adds a subtle texture to the crust’s bottom. Divide the dough into 4 equal portions for individual pizzas.
Shape each portion into a ball, then use your hands or a rolling pin to stretch it into your desired shape. Place on a pizza peel or baking sheet dusted with more cornmeal. Let the shaped dough rest for 15-20 minutes for a second rise while you preheat your oven or pizza stone to 475°F or higher. This final rest makes the dough easier to stretch and shape without springing back.
Pro Tips For Making Pizza Dough Recipe With Milk
- Warm the Milk: Heat the whole milk to 110°F—hotter than body temperature but not scalding. I learned this the hard way after killing the yeast with milk that was too hot.
- Use Bread Flour: Skip the all-purpose and stick with bread flour for a chewier, more elastic dough. The higher protein content actually changes the outcome.
- Don’t Rush Proofing: Let the dough rise until it’s doubled in size, even if it takes an extra 30 minutes. Sounds weird, but it works: patience makes the crust lighter.
- Add Sugar Last: Mix the yeast into the warm milk first, then add the sugar after a minute. This guarantees the yeast activates properly before the sugar slows it down.
Serving Suggestions for This Recipe
Classic Presentation
Serve your pizza hot from the oven on a wooden cutting board for rustic charm. The milk-based dough’s golden crust looks stunning against dark wood. Slice with a pizza wheel for clean cuts that show off the perfect rise. 🌟
Garnish Like a Pro
A drizzle of extra-virgin olive oil and sprinkle of flaky sea salt elevate any topping combo. Fresh basil leaves add color and aroma to margherita-style pies. For white pizzas, finish with balsamic glaze and cracked black pepper.
Dipping Sauces
Offer garlic butter or spicy marinara for crust dipping. Warm 2 tbsp butter with 1 minced garlic clove for 30 seconds. My kids love this simple touch. It transforms the crust into its own treat.
Family-Style Serving
Place the whole pizza on a cast iron skillet in the center of the table. The skillet keeps it crispy while making it easy to serve. Add small bowls of red pepper flakes and grated parmesan for customization.
Leftovers Hack
Reheat slices in a dry skillet over medium heat for 2-3 minutes to restore crispiness. The milk in the dough prevents it from drying out. I always make extra for next-day lunches.
Drink Pairings
A cold Italian lager like Peroni cuts through the richness. For non-alcoholic, try sparkling lemonade with fresh mint. The effervescence complements the soft crust beautifully. 💫
Nutrition Facts
Frequently Asked Questions
Why use milk instead of water in pizza dough?
Milk adds richness and creates a softer, more tender crust. The fats and sugars in milk also help with browning, giving you that perfect golden color. Plus, it makes the dough more pliable and easier to stretch.
Can I use a different type of milk?
Whole milk works best for flavor and texture, but you can use 2% or skim in a pinch. Avoid non-dairy milks as they may affect the dough’s consistency and rise. Always warm it to 110°F first.
What if my dough isn’t rising properly?
Check your yeast freshness first. Make sure your milk was at the right temperature (110°F). If it’s too cold, place the bowl in a warm oven (turned off) with the light on. Give it more time—sometimes it takes up to 2 hours.
How do I store leftover dough?
Wrap tightly in plastic and refrigerate for up to 3 days. For longer storage, freeze for 1 month. Thaw overnight in the fridge before using. Let cold dough sit at room temp for 1 hour before shaping.

- Potato Candy Recipe 1933: Vintage Peanut Butter Roll Delight - October 30, 2026
- Potato Chip Cookie Recipe With Pecans: Buttery Crunch Meets Nutty Richness - October 30, 2026
- Potato Patty Recipe No Egg: Crispy Edges Without the Binder - October 30, 2026