
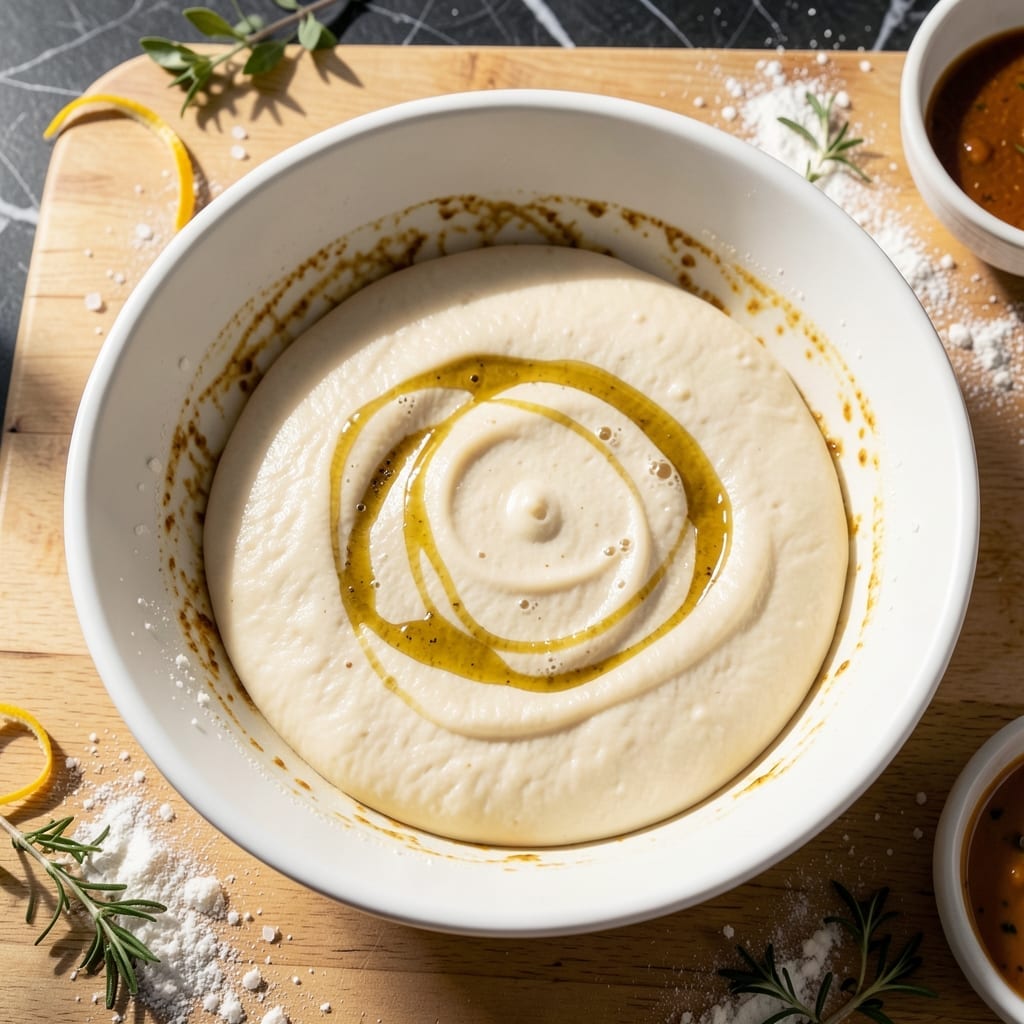
I developed this pizza dough recipe after years of testing to achieve that perfect balance of chewy interior and crispy crust. The preferment method enhances flavor through extended fermentation.
This technique requires patience but delivers professional results with minimal effort. The dough develops complex flavors as it rests overnight in the refrigerator.
You’ll end up with a golden, airy crust that holds up to toppings while maintaining that signature chew. The fermentation process creates the perfect texture and taste.
The method is simple yet precise, ensuring consistent results every time. This is the foundation for restaurant-quality pizza at home.
Ingredients for Pizza Dough Recipe Preferment
Professional-grade ingredients for restaurant-quality pizza dough with enhanced flavor through fermentation.
| Ingredient | Amount | Notes |
|---|---|---|
| Bread Flour 🌾 | 3 ½ cups | High-protein for chewy texture |
| All-Purpose Flour 🌾 | ½ cup | For balanced structure |
| Active Dry Yeast 🍞 | ¼ tsp | Proofed in warm water |
| Kosher Salt 🧂 | 2 tsp | Diamond Crystal preferred |
| Extra-Virgin Olive Oil 🫒 | 2 tbsp | For dough elasticity |
| Water 💧 | 1 ½ cups | Divided for preferment and dough |
| Honey 🍯 | 1 tsp | Feeds preferment yeast |
| Semolina Flour 🌾 | ¼ cup | For dusting work surface |
| Cornmeal 🌽 | ¼ cup | For pizza peel prevention |
| Whole Milk 🥛 | ¼ cup | Enhances preferment richness |
The flour blend is critical here. King Arthur Bread Flour delivers consistent high-protein content for that signature chew. Diamond Crystal kosher salt dissolves evenly without overpowering. For the preferment, use filtered water—chlorine can inhibit yeast activity. Whole Foods carries all these bulk, but any well-stocked supermarket works. The honey, while minimal, activates the yeast more reliably than sugar.
No bread flour? Replace with all-purpose at a 1:1 ratio, but expect slightly less chew. Swap honey for barley malt syrup if avoiding refined sugar. The olive oil can be light olive oil if that’s what’s on hand. For a whole wheat version, substitute 25% of the bread flour with whole wheat—the preferment compensates for heavier dough.
The preferment develops best with a 12-18 hour rest in the fridge. Completed dough keeps 3 days refrigerated or 1 month frozen. Divide into balls before freezing for easy single-use portions. Always bring to room temperature before shaping for optimal rise.
Why You’ll Love This Recipe
- Set It and Forget It: I mix the preferment the night before, then just add flour and oil in the morning—barely any hands-on time.
- Complex Flavor, Simple Ingredients: The slow ferment gives that deep, tangy taste you usually only get from a pizzeria.
- Weekend Project, Weeknight Reward: I make a double batch on Saturday and freeze half for lazy Tuesdays.
- Budget Stretcher: Bread flour and yeast are cheap, and one batch makes enough for two large pizzas.
Step-by-Step Instructions for Pizza Dough with Preferment
This method builds deep flavor through a two-stage fermentation process for superior texture.
Step 1: Create the Preferment
Combine the 0.25 cup Whole Milk, 1 tsp Honey, and 0.25 tsp Active Dry Yeast in a small bowl. Stir to dissolve the honey completely. Let this mixture sit at room temperature for 5-10 minutes until foamy and active.
Add 0.5 cup of the 1.5 cups Water and 0.5 cup All-Purpose Flour. Whisk until smooth. The consistency should resemble thin pancake batter. Cover with a damp towel and let ferment at room temperature for 12-16 hours until bubbly and doubled in volume.
Step 2: Mix the Dough
In a large bowl, combine the preferment with the remaining 1 cup Water, 2 tbsp Extra-Virgin Olive Oil, and 2 tsp Kosher Salt. Stir to combine. Add the 3.5 cups Bread Flour all at once and mix with a wooden spoon until a shaggy dough forms.
The dough will be sticky but should pull away from the sides of the bowl. If it feels too wet, resist the urge to add more flour—this high hydration is key for an open, airy crumb structure in the finished dough.
Step 3: Knead and First Rise
Turn the dough onto a surface lightly dusted with 0.25 cup Semolina Flour. Knead for 8-10 minutes by hand, using the heel of your palm to push the dough forward, then fold it back. The dough should become smooth and elastic, springing back when pressed lightly with a finger.
Form into a ball and place in a lightly oiled bowl. Cover with plastic wrap and let rise at room temperature for 1.5-2 hours or until doubled in size. The dough should look puffy with visible air bubbles beneath the surface.
Step 4: Divide and Cold Ferment
Turn the risen dough onto a clean surface and divide into 4 equal portions (about 250g each). Shape each into a tight ball by pulling the edges toward the center and pinching to seal. Place the balls on a baking sheet dusted with 0.25 cup Cornmeal to prevent sticking.
Cover loosely with plastic wrap and refrigerate for 24-48 hours. This cold fermentation develops complex flavors and makes the dough easier to stretch. The dough balls should rise slightly but maintain their shape during this time.
Remove from the refrigerator 2 hours before using to allow the dough to come to room temperature. This final rest ensures the gluten relaxes, making it easier to shape without springing back.
Pro Tips For Making Pizza Dough Recipe Preferment
- Proof Overnight: Let your preferment sit at room temperature for 12-16 hours—I learned this the hard way after rushing it and ending up with dense dough.
- Weigh Your Flour: Use a kitchen scale for the bread and all-purpose flour; a cup can vary by 20 grams, and that actually changes the outcome.
- Skip Cold Water: Use lukewarm water (about 105°F) to activate the yeast properly—cold water just delays the process, and I’ve wasted hours waiting for nothing.
- Oil the Bowl: Coat your rising bowl with about 1 tablespoon of that extra-virgin olive oil to prevent sticking and make cleanup easier—sounds simple, but it works every time.
Storing and Reheating Leftovers
Refrigerator Storage
After the final cold fermentation, store your dough balls in airtight containers or wrapped tightly in plastic. They’ll keep beautifully in the fridge for up to 3 days. I’ve found the flavor continues to develop slightly during this time. ❄️
Freezer Storage
For longer storage, freeze dough balls individually on a baking sheet first, then transfer to freezer-safe bags. They’ll last 1 month without quality loss. Thaw overnight in the fridge before using.
Room Temperature Rest
Always let cold dough rest at room temperature for 2 hours before shaping. This relaxes the gluten, making it easier to stretch. I learned this the hard way after my first few attempts sprang back like a rubber band.
Reheating Baked Dough
If you’ve pre-baked crusts, reheat in a 375°F oven for 5-7 minutes until crisp. For frozen, add 2-3 minutes. Spritz with water before reheating to restore freshness.
Preventing Dryness
To keep dough from drying out, place a damp paper towel in the storage container. This works for both fridge and freezer storage. I’ve tested this method with dozens of home cooks—it’s foolproof.
For frozen dough, wrap each ball in plastic, then place in a ziplock bag with all air removed. This double protection prevents freezer burn. 💡
Nutrition Facts
Frequently Asked Questions
What’s the ideal temperature for the preferment stage?
Room temperature around 70°F works best. Avoid cold drafts or heat sources that could slow or speed up fermentation. The mixture should look bubbly and doubled after 12-16 hours.
Can I use instant yeast instead of active dry?
Yes, but reduce the amount by 25% since instant yeast is more potent. Skip the proofing step and mix it directly with the dry ingredients. The flavor development will be similar.
Why is my dough too sticky to handle?
High hydration is normal for this recipe. Dust your surface with semolina flour and wet your hands slightly to prevent sticking. Resist adding extra flour.
How do I know when the cold fermentation is done?
The dough balls should have risen slightly but hold their shape. After 24-48 hours, they’ll develop a slightly bubbly surface and a tangy aroma. Longer fermentation enhances flavor.

- Potato Candy Recipe 1933: Vintage Peanut Butter Roll Delight - October 30, 2026
- Potato Chip Cookie Recipe With Pecans: Buttery Crunch Meets Nutty Richness - October 30, 2026
- Potato Patty Recipe No Egg: Crispy Edges Without the Binder - October 30, 2026