
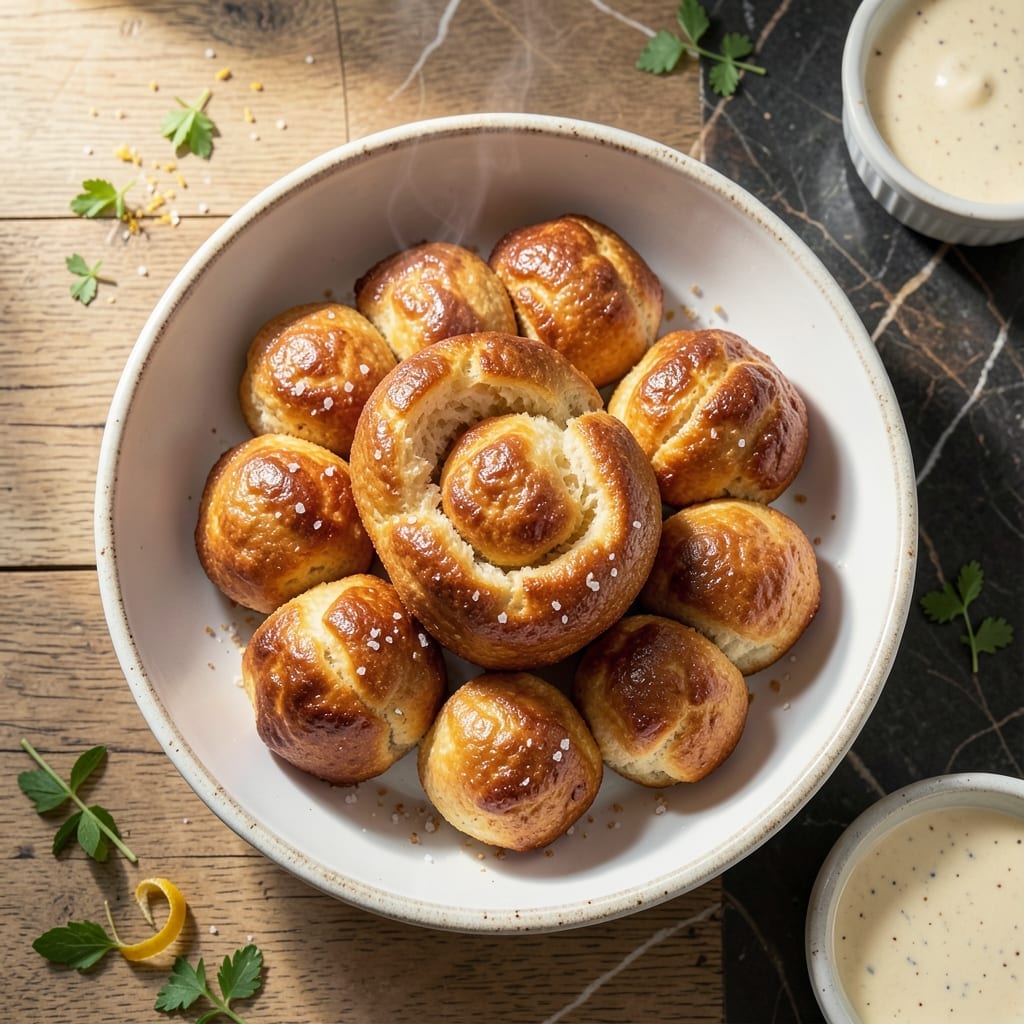
There’s something magical about watching golden puff puff balls emerge from hot oil, perfectly round and irresistibly crisp. This West African favorite combines simple ingredients with precise technique for results that are light inside, slightly crisp outside.
The milk and egg create a batter that fries up tender yet sturdy enough to hold its shape. I’ve tested this method repeatedly to ensure consistent puffs every time, with just the right sweetness to balance the warm, fluffy texture.
What you’ll get are beautiful, golden orbs that stay soft for hours after frying. The aroma alone will draw a crowd, and the taste—warm, sweet, and slightly custardy—makes them impossible to resist.
Perfect for parties or a special treat, these require just a few pantry staples and basic frying skills. Here’s how to make them right.
Ingredients for Puff Puff Recipe with Milk and Egg
Simple pantry staples create these golden, custardy West African treats with ease.
| Ingredient | Amount | Notes |
|---|---|---|
| All-Purpose Flour 🌾 | 2 cups | Sifted for smooth batter |
| Granulated Sugar 🍚 | ¾ cup | Adjust to taste preference |
| Large Eggs 🥚 | 2 whole | Room temperature preferred |
| Whole Milk 🥛 | 1 cup | Full-fat for richness |
| Baking Powder 🧂 | 2 tsp | Ensures light texture |
| Vanilla Extract 🌿 | 1 tsp | Pure for best flavor |
| Ground Nutmeg 🌰 | ¼ tsp | Freshly ground if possible |
| Salt 🧂 | ¼ tsp | Balances sweetness |
| Vegetable Oil 🫒 | 4 cups | For deep frying |
| Powdered Sugar 🍚 | ¼ cup | For dusting finished puffs |
The flour and baking powder are non-negotiable here. King Arthur all-purpose is my go-to for consistent results, but any unbleached brand works. The milk needs to be whole milk—lower fat versions won’t give you that tender crumb. I grab mine from Whole Foods or any major grocery store. For the oil, use something with a high smoke point like vegetable or peanut oil.
No whole milk? Evaporated milk at half the amount plus water works in a pinch. Out of vanilla extract? Almond extract at one-quarter the amount adds a nice depth. The nutmeg can be skipped if you’re not a fan, but it adds that classic warmth. For a richer flavor, swap one cup milk for coconut milk—just reduce the sugar slightly.
Fry in batches and keep warm in a 200°F oven. Best eaten fresh but stays soft for 4-6 hours at room temperature. Leftovers? Reheat in the oven at 350°F for 5 minutes to revive crispness.
Why You’ll Love This Recipe
- Mix & Drop: I love that I just whisk the flour, sugar, eggs, and milk, then drop spoonfuls into hot oil—no fancy techniques.
- Creamy Sweet Bites: The milk adds this rich, almost custardy depth that pairs perfectly with the crispy edges.
- Party in Minutes: I’ve made these for birthdays, picnics, and even unexpected guests—they’re always a hit.
- Budget-Friendly Batch: A handful of pantry staples makes dozens, and honestly, they taste better than store-bought.
Step-by-Step Instructions for Puff Puff With Milk and Egg
Here’s the method. Straightforward, tested, works every time.
Step 1: Combine Dry Ingredients
In a large mixing bowl, whisk together the 2 cups All-Purpose Flour, 0.75 cup Granulated Sugar, 2 tsp Baking Powder, 0.25 tsp Ground Nutmeg, and 0.25 tsp Salt until fully combined. This ensures even distribution of leavening agents and spices throughout the batter.
Sifted flour works best here to prevent lumps in your final product. The baking powder is crucial for creating those airy, light puffs, while the nutmeg adds a subtle warmth that complements the sweetness perfectly.
Step 2: Create the Wet Mixture
In a separate bowl, beat the 2 whole Large Eggs lightly, then add the 1 cup Whole Milk and 1 tsp Vanilla Extract. Whisk until the mixture is smooth and the eggs are fully incorporated into the milk.
Using room temperature eggs helps create a more cohesive batter. The vanilla extract adds depth to the flavor profile, while the whole milk provides the richness needed for proper texture development during frying.
Step 3: Form the Batter
Gradually pour the wet mixture into the dry ingredients while stirring gently with a wooden spoon or whisk. Continue mixing just until the batter comes together—it should be thick but pourable, with no visible flour streaks.
Be careful not to overmix, as this can develop the gluten in the flour and result in tough puffs rather than light, airy ones. The batter will be slightly lumpy, which is perfectly fine.
Step 4: Fry to Golden Perfection
Heat the 4 cups Vegetable Oil in a deep, heavy-bottomed pot to 350°F. Use a deep-fry thermometer to monitor the temperature accurately. When the oil reaches temperature, carefully drop rounded tablespoons of batter into the hot oil.
Fry in batches to avoid overcrowding the pot, which would lower the oil temperature. Cook for 3-4 minutes, turning occasionally, until the puffs are deep golden brown on all sides. They’ll puff up significantly as they cook.
Step 5: Drain and Dust with Powdered Sugar
Using a slotted spoon, remove the puffs from the oil and drain them on a paper towel-lined plate. This helps absorb any excess oil while maintaining their crisp exterior.
While still warm, dust the puffs generously with 0.25 cup Powdered Sugar. The sugar will adhere better to the warm surface, creating that classic sweet coating. Serve immediately for the best texture.
Pro Tips For Making Puff Puff Recipe With Milk And Egg
- Heat the Oil First: I learned this the hard way—always heat the oil to 350°F before dropping the batter, or your puff puff will soak up oil and turn greasy instead of light and airy.
- Whisk Eggs Well: Beat the eggs and sugar until pale and frothy, about 3-4 minutes. Sounds tedious, but it traps air for that signature puff puff lift.
- Skip Overmixing: Stir the batter just until the flour disappears—any longer and you’ll end up with dense, chewy puff puff instead of fluffy ones.
- Use Room-Temp Milk: Cold milk can make the batter clump. I pull mine out 30 minutes early—small step, but it keeps the mix smooth and easy to scoop.
Storing and Reheating This puff puff recipe with milk and egg
Room Temperature Storage
These puffs stay wonderfully soft for 4-6 hours at room temperature. I arrange them on a wire rack to prevent steam buildup, which keeps the exterior crisp. Cover loosely with a clean kitchen towel to protect from dust. 💡
Refrigerator Storage
For longer storage, let cool completely then place in an airtight container with parchment between layers. They’ll keep in the fridge for 2-3 days. The texture changes slightly, becoming denser as they absorb moisture.
Freezer Method
To freeze, spread cooled puffs on a baking sheet and freeze solid first. Then transfer to a freezer bag, squeezing out all air. They’ll maintain quality for up to 3 months. This prevents them from sticking together or absorbing freezer odors. ❄️
Oven Reheating
Preheat oven to 350°F and warm puffs for 5-7 minutes on a baking sheet. This method revives both crispness and soft interior better than any other. I check them at 5 minutes to prevent over-browning.
Air Fryer Revival
For a quick option, reheat at 325°F for 3-4 minutes in the air fryer. Shake the basket halfway for even warming. The circulating air restores that just-fried texture surprisingly well. Watch closely to avoid burning.
Nutrition Facts
Frequently Asked Questions
Why use whole milk instead of skim?
Whole milk’s fat content creates richer, more tender puffs. Skim milk lacks the fat needed for proper texture development during frying.
Can I bake these instead of frying?
Baking won’t produce the same texture. Frying at 350°F gives the classic crisp exterior and soft interior that makes puff puff special.
How do I know the oil is hot enough?
Use a thermometer to check for 350°F. Or test with a drop of batter – it should sizzle immediately and rise to the surface within seconds.
Why did my puffs turn out dense?
Overmixing the batter develops gluten, causing toughness. Mix just until combined, and ensure your baking powder is fresh for proper rise.

- Mary Berry’s Boiled Fruit Cake Recipe: Moist Center and Spiced Crust Magic - November 5, 2026
- Atlantic Salmon Recipe: Honey-Dill Pan-Seared With Crispy Skin - November 5, 2026
- Blaze Pizza Copycat Dough Recipe: Chewy, Airy Crust That Mimics the Original - November 5, 2026