
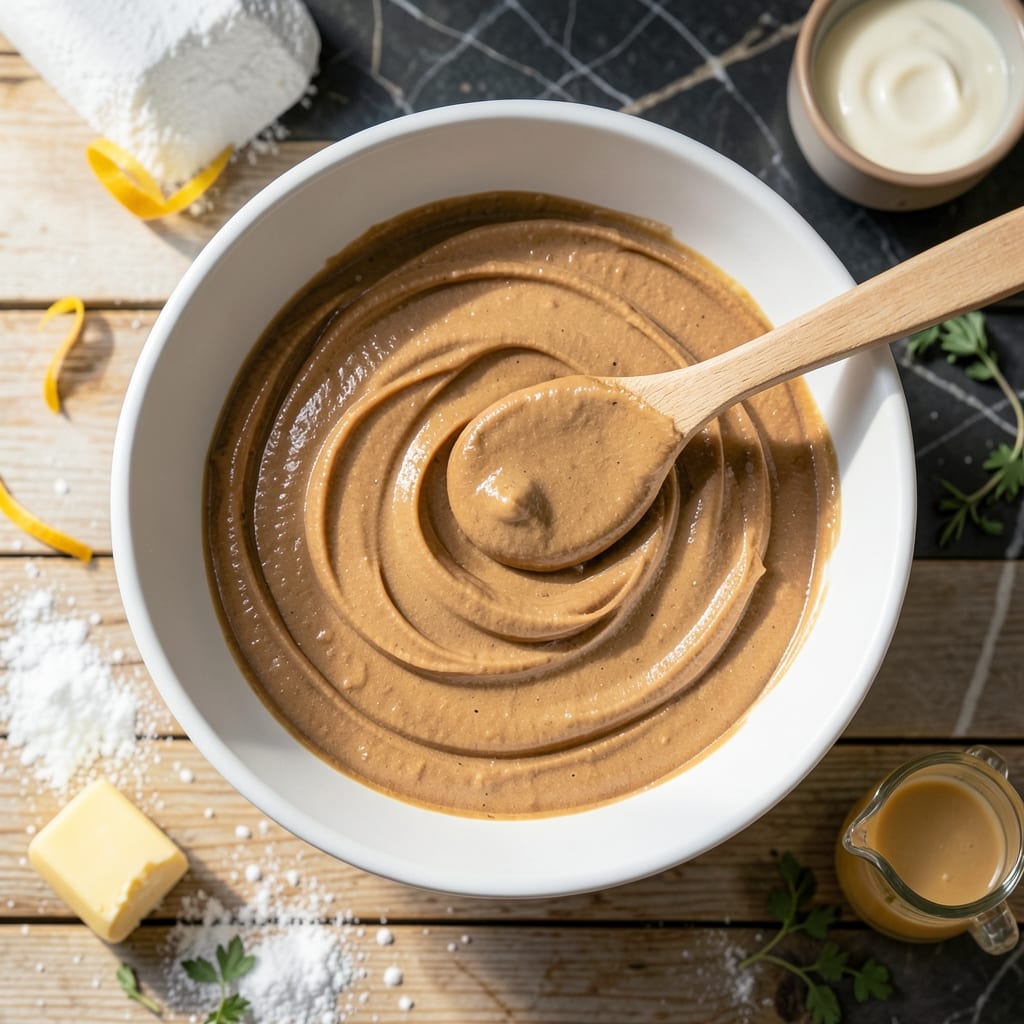
This peanut butter icing delivers ultra-smooth results with minimal effort. I developed this recipe after years of testing to achieve the perfect balance of sweetness and nuttiness.
The secret is using powdered sugar for a silky texture and a touch of cream to thin it to the ideal spreading consistency. It comes together in 10 minutes with just a mixing bowl and whisk.
You’ll end up with a rich, velvety frosting that clings to cakes and cookies without overpowering them. David always requests this for his birthday treats.
Store leftovers in an airtight container for up to a week. This recipe doubles easily for larger batches.
Ingredients for Peanut Butter Icing Recipe from Scratch
Seven ingredients stand between you and silky, rich, spreadable perfection.
| Ingredient | Amount | Notes |
|---|---|---|
| Creamy Peanut Butter 🥜 | 1 cup | Smooth, no stir variety |
| Powdered Sugar 🍚 | 2 ½ cups | Sifted for smooth texture |
| Heavy Cream 🥛 | ¼ cup | Or whole milk in pinch |
| Unsalted Butter 🧈 | ½ cup | Softened to room temperature |
| Vanilla Extract 🌿 | 1 tsp | Pure vanilla preferred |
| Salt 🧂 | ¼ tsp | Fine sea salt or table salt |
| Milk 🥛 | 1 tbsp | As needed for consistency |
Peanut butter quality is non-negotiable here. Jif or Skippy creamy give the smoothest results—natural or stir types can separate and create grainy texture. The powdered sugar should be fresh and lump-free; sifting isn’t just fancy, it prevents those tiny sugar granules from ruining the ultra-smooth finish. For the butter, Plugra or Land O’Lakes have the right fat content for stability.
No heavy cream? Whole milk or half-and-half work at a 1:1 swap. Need a dairy-free version? Coconut cream adds richness without changing the flavor much. The vanilla matters—imitation vanilla can taste artificial next to the peanut butter’s natural nuttiness. If your icing is too thick, the milk adjustment is one tablespoon at a time until it spreads like a dream.
This keeps beautifully in an airtight container for 1 week at room temperature, 2 weeks refrigerated. For longer storage, freeze portions in sealed bags for up to 3 months. Bring to room temp and re-whisk before using—separation is normal.
Why You’ll Love This Recipe
- 5-Minute Mix: I just dump everything in one bowl—peanut butter, powdered sugar, a splash of heavy cream—and it’s ready before the cake cools.
- Rich & Nutty: The creamy peanut butter and vanilla make it taste like the filling of a candy bar, only better.
- Crowd Pleaser: I’ve spread this on cupcakes, sandwiches, even apple slices, and my picky nephew licks the bowl clean every time.
- Budget Stretch: A batch costs pennies compared to store-bought, and I always have the ingredients on hand.
Step-by-Step Instructions for Peanut Butter Icing
This method ensures a silky, spreadable consistency with rich peanut flavor every time.
Step 1: Cream Butter and Peanut Butter Together
In a large mixing bowl, beat the 0.5 cup Unsalted Butter and 1 cup Creamy Peanut Butter with an electric mixer on medium speed for 2-3 minutes until completely smooth and combined.
Scrape down the sides of the bowl frequently to ensure even mixing. The mixture should lighten slightly in color and appear fluffy—this incorporates air for a lighter texture.
I always use room temperature butter here to prevent lumps in the final product. If your mixture looks grainy, the butter wasn’t soft enough.
Step 2: Gradually Incorporate Powdered Sugar
Add the 2.5 cups Powdered Sugar to the bowl, ½ cup at a time, mixing on low speed after each addition until just combined. This prevents a cloud of sugar dust and ensures even distribution.
After all the powdered sugar is added, increase speed to medium and beat for 1-2 minutes until the mixture is completely smooth. You should see no visible sugar grains when you scrape the bowl.
The sifted powdered sugar in the ingredients list makes a noticeable difference here—it dissolves more easily and creates that ultra-smooth texture promised in the title.
Step 3: Add Liquids for Perfect Consistency
Pour in the 0.25 cup Heavy Cream, 1 tsp Vanilla Extract, and 0.25 tsp Salt. Beat on medium speed for 1 minute until fully incorporated and creamy.
Check the texture—it should hold its shape but still be spreadable. If it’s too thick, add the 1 tbsp Milk, 1 teaspoon at a time, mixing after each addition until you reach the desired consistency.
Real talk: The salt might seem like a small amount, but it balances the sweetness and enhances the peanut flavor significantly. Don’t skip it.
Step 4: Final Adjustments and Testing
Taste and adjust as needed. If you prefer a sweeter icing, add a bit more powdered sugar. For a thinner consistency, incorporate additional milk ½ tablespoon at a time.
Beat the icing on medium-high speed for 1-2 minutes until light and fluffy. This final step incorporates maximum air for that professional bakery texture.
To test the consistency, spread a small amount on the back of a spoon. It should hold its shape briefly before slowly settling—this indicates it’s ready to use on cakes or cookies.
The finished product should be pale tan in color, with a glossy sheen and no visible butter or sugar specks. Use immediately or store in an airtight container at room temperature for up to 3 days.
Pro Tips For Making Peanut Butter Icing Recipe From Scratch
- Soften the Butter: Let your unsalted butter sit at room temperature for 30-45 minutes before mixing—cold butter leaves lumps and warm butter makes greasy icing.
- Sift the Sugar: Powdered sugar clumps fast, so sift it first or pulse it in a food processor to avoid grainy texture in your frosting.
- Beat Longer: After adding the cream, beat the mixture for 2-3 minutes on medium-high until it’s fluffy, not just combined—this prevents dense, heavy icing.
- Use Real Vanilla: Skip the imitation stuff; a teaspoon of pure vanilla extract deepens the flavor and balances the peanut butter’s richness.
Troubleshooting Perfect Results
Grainy Texture
If your icing feels gritty, the butter or peanut butter wasn’t soft enough. Let it sit at room temperature for 30 minutes before mixing. Also, ensure powdered sugar is lump-free—I always sift mine, even if the bag says “pre-sifted.” David once tried skipping this and ended up with a sugar-speckled mess. 💡
Too Thick or Thin
For thick icing, add milk 1 tsp at a time until spreadable. If too runny, beat in additional powdered sugar ¼ cup at a time. The ideal consistency should hold peaks when you lift the whisk.
Separated Mixture
If the icing separates or looks greasy, the butter may have been too cold. Fix it by gently warming the bowl over a pot of warm water (not boiling) while whisking. This re-emulsifies the fats.
Overly Sweet
Balance excessive sweetness by adding 1-2 tbsp more peanut butter or a pinch of salt. The salt enhances the peanut flavor and cuts sugar’s intensity. I learned this trick testing recipes for my cookbook.
Color Too Dark
Dark icing often means overmixed butter and peanut butter. Stop mixing once combined. If using natural peanut butter, expect a slightly darker color—it won’t be as pale as store-bought versions.
Storing Issues
If icing hardens in storage, let it sit at room temperature for 15-20 minutes, then whisk in 1-2 tsp milk to restore creaminess. Always use airtight containers to prevent drying. ❄️
Nutrition Facts
Frequently Asked Questions
Can I use natural peanut butter instead of creamy?
Natural peanut butter can separate and create a grainy texture. Stick with smooth, no-stir brands like Jif or Skippy for best results.
How do I fix icing that’s too thick?
Add milk 1 teaspoon at a time while mixing until it reaches spreading consistency. The ideal texture should hold soft peaks.
How long will this keep in the fridge?
Store in an airtight container for up to 2 weeks refrigerated. Let it warm to room temperature and re-whisk before using.
Can I make this dairy-free?
Yes! Substitute coconut cream for heavy cream and use dairy-free butter. The flavor remains rich and balanced.

- Pina Colada Dip Recipe Red Lobster: Tropical Creaminess With Toasted Coconut - October 12, 2026
- Pickled Sweet Cherry Peppers Recipe Canning: Tangy Heat for Pantry Staples - October 12, 2026
- Peppercorn Sauce Recipe Vegan: Rich Umami Depth Without Cream - October 12, 2026