
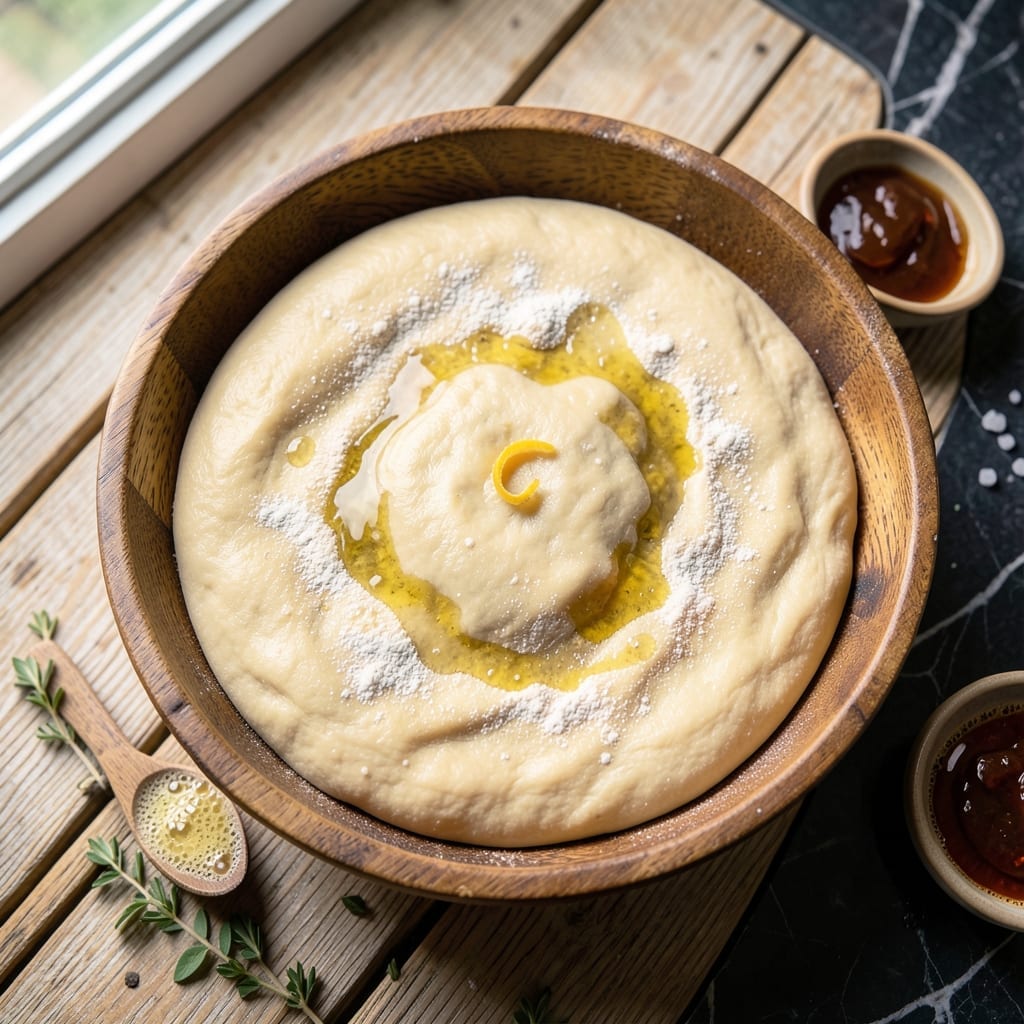
Crafting the perfect pizza dough doesn’t require a professional kitchen or hours of effort. This easy method delivers consistent results with minimal ingredients and tools.
I’ve tested this recipe across different environments, including campfire setups, to ensure it works anywhere. The technique is straightforward yet produces a crust with ideal texture and flavor.
The dough comes together quickly, with a short resting period that fits even the most spontaneous meal plans. Its versatility makes it suitable for various cooking methods beyond traditional ovens.
What you get is a reliable foundation for any pizza creation, ready when you are. The process is as simple as it is effective.
Ingredients for Pizza Dough Recipe Easy National Parks
Minimal ingredients, maximum versatility for any cooking environment. No fancy tools required.
| Ingredient | Amount | Notes |
|---|---|---|
| Bread Flour 🌾 | 3 ½ cups | High-protein for chewy texture |
| Active Dry Yeast 🍞 | 1 tsp | One packet, bloom in warm water |
| Granulated Sugar 🍚 | 1 tsp | Feeds yeast for activation |
| Kosher Salt 🧂 | 1 ½ tsp | Diamond Crystal preferred |
| Extra-Virgin Olive Oil 🫒 | 2 tbsp | For dough elasticity |
| Warm Water 💧 | 1 ¼ cups | 110-115°F for yeast |
| Semolina Flour 🌾 | ¼ cup | For dusting work surface |
| Cornmeal 🌽 | ¼ cup | Prevents sticking on peel |
| All-Purpose Flour 🌾 | ½ cup | For adjusting dough consistency |
| Honey 🍯 | 1 tsp | Optional, enhances browning |
The flour foundation is critical. Bread flour provides the necessary protein for that signature chew, while King Arthur or Bob’s Red Mill brands ensure consistent quality. Semolina and cornmeal aren’t just for texture—they prevent sticking during campfire cooking (a lesson learned the hard way). Yeast freshness matters: check the expiration date and store unopened packets in the freezer.
No bread flour? All-purpose works at a 1:1 ratio, though the crust will be slightly less chewy. Skip the honey if making vegan—sugar alone suffices for yeast activation. For campfire cooking, fine cornmeal dusts better than coarse. The olive oil can be swapped for any neutral oil, but extra-virgin adds subtle depth. Warm water too hot? It’ll kill the yeast—110-115°F is ideal.
Dough rests best at room temperature (70-75°F) for about 1 hour. Refrigerate for up to 3 days in an oiled bowl—it’ll develop more flavor. Freeze dough balls for 1 month; thaw overnight in the fridge. Always bring to room temp before shaping for best results.
Why You’ll Love This Recipe
- No-Fuss Mixing: I just dump the bread flour, yeast, sugar, and salt in a bowl, add olive oil and water, and it’s ready to knead.
- Crisp Yet Chewy: The olive oil gives it that perfect golden crust with a tender bite every time.
- Campfire Ready: Honestly, this dough works on a grill, in a Dutch oven, or over a fire—ideal for park cooking.
- Pennywise Pies: A bag of bread flour and a packet of yeast make multiple pizzas for less than takeout.
Step-by-Step Instructions for Campfire-Ready Pizza Dough
This method delivers consistent results with minimal effort, perfect for outdoor cooking.
Step 1: Activate the Yeast for Optimal Rise
In a small bowl, combine the 1.25 cups Warm Water with the 1 tsp Granulated Sugar and 1 tsp Active Dry Yeast. Stir gently and let it sit for 5-7 minutes until the mixture becomes frothy and cloudy.
This bloom test confirms your yeast is active. The sugar feeds the yeast, creating the bubbles that prove it’s alive and ready to leaven your dough. If it doesn’t foam, your yeast may be expired—start over with fresh yeast.
Step 2: Mix and Knead the Dough to Perfect Consistency
In a large mixing bowl, whisk together the 3.5 cups Bread Flour, 1.5 tsp Kosher Salt, and 1 tsp Honey. Create a well in the center and pour in the activated yeast mixture and 2 tbsp Extra-Virgin Olive Oil.
Mix with a wooden spoon until a shaggy dough forms, then turn it out onto a surface dusted with 0.25 cup Semolina Flour. Knead for 8-10 minutes until smooth and elastic, adding 0.5 cup All-Purpose Flour as needed if the dough sticks. The dough should spring back when pressed lightly with your finger.
Step 3: Let the Dough Rise to Double Its Volume
Lightly oil a clean bowl with some of the Extra-Virgin Olive Oil and place the dough inside, turning to coat. Cover with a damp towel and let it rise in a warm spot for 1-2 hours, or until doubled in size.
For campfire conditions, place the bowl near (but not directly on) a warm cooler or in a sunlit spot. The ideal rise happens at about 75-80°F. Poke the dough gently—if the indentation remains, it’s ready for shaping.
Step 4: Shape and Prepare for Cooking
Punch down the risen dough to release excess air. Divide it into 4 equal portions for individual pizzas. On a surface dusted with 0.25 cup Cornmeal, roll or stretch each portion into a ¼-inch thick round, leaving a slightly thicker edge for the crust.
The cornmeal prevents sticking when transferring to your cooking surface, whether it’s a campfire pizza stone or cast-iron skillet. Let the shaped dough rest for 10 minutes while you prepare your toppings—this relaxes the gluten for easier shaping.
Step 5: Cook to Golden Perfection
Preheat your cooking surface over medium campfire heat for 10-15 minutes. Transfer the dough round to the hot surface and cook for 2-3 minutes per side, or until golden brown with charred spots in places.
For a crispier crust, cook one side completely before adding toppings, then finish the second side with toppings in place. The dough is ready when it’s firm to the touch and has developed a deep golden color with a slightly puffed edge.
Pro Tips For Making Pizza Dough Recipe Easy National Parks
- Proof the Yeast: Always dissolve the active dry yeast in warm water with the granulated sugar first—if it doesn’t foam after 5 minutes, your dough won’t rise and you’ll waste the flour.
- Use Bread Flour: Skip all-purpose flour; the higher protein in bread flour gives the dough that chewy, stretchy texture you want in a proper pizza crust.
- Don’t Over-Knead: Once the dough pulls away from the bowl and feels smooth, stop mixing—I learned this the hard way after ending up with tough, dense crusts.
- Oil the Bowl: Coat the bowl with extra-virgin olive oil before the first rise so the dough doesn’t stick and you get a silky, elastic ball that’s easy to shape later.
Essential Equipment for pizza dough recipe easy national parks
Basic Mixing Tools
Start with a large mixing bowl—I prefer stainless steel for durability. A wooden spoon handles the initial mixing, and a dough whisk prevents clumping. David swears by his OXO Good Grips spoon for comfort. 💪
Kneading Essentials
A clean, flat surface is key—I use my maple cutting board from Asheville. Dust it with semolina flour to prevent sticking. For campfire cooking, a portable silicone mat works on uneven surfaces.
Measuring Accurately
Precision matters with dough. I use OXO nesting measurers for dry ingredients and a Pyrex liquid measure for water. A kitchen scale (I love my Escali Primo) ensures exact flour amounts every time.
Rising Environment
For consistent results, I rely on my proofing basket (banneton) for shaping. A damp kitchen towel covers the bowl during rising. In cooler camp conditions, a cooler with warm water bottles creates the perfect 75-80°F environment.
Cooking Surfaces
At home, my Lodge cast iron skillet doubles as a pizza pan. For camping, I pack a 14-inch cast iron griddle. A pizza stone (even a unglazed quarry tile from the hardware store) works in a pinch.
Extras That Help
A bench scraper divides dough cleanly. Parchment paper makes campfire transfers easier. I always pack tongs for flipping. Honestly, these tools make the process smoother, especially outdoors. 🔥
Nutrition Facts
Frequently Asked Questions
Can I make this dough without bread flour?
Yes, substitute all-purpose flour at a 1:1 ratio. The crust will be slightly less chewy but still delicious. For extra texture, add 1 tbsp vital wheat gluten per cup of all-purpose flour.
How do I know when the dough is ready to shape?
After rising, gently poke the dough. If the indentation stays, it’s ready. The dough should also look puffy and feel springy to the touch. This typically takes 1-2 hours at 75-80°F.
What if my yeast doesn’t foam during the bloom test?
Your yeast may be expired or the water was too hot. Start over with fresh yeast and ensure the water is 110-115°F. If the water feels too hot to touch, it’s too hot for yeast.

- Potato Candy Recipe 1933: Vintage Peanut Butter Roll Delight - October 30, 2026
- Potato Chip Cookie Recipe With Pecans: Buttery Crunch Meets Nutty Richness - October 30, 2026
- Potato Patty Recipe No Egg: Crispy Edges Without the Binder - October 30, 2026