
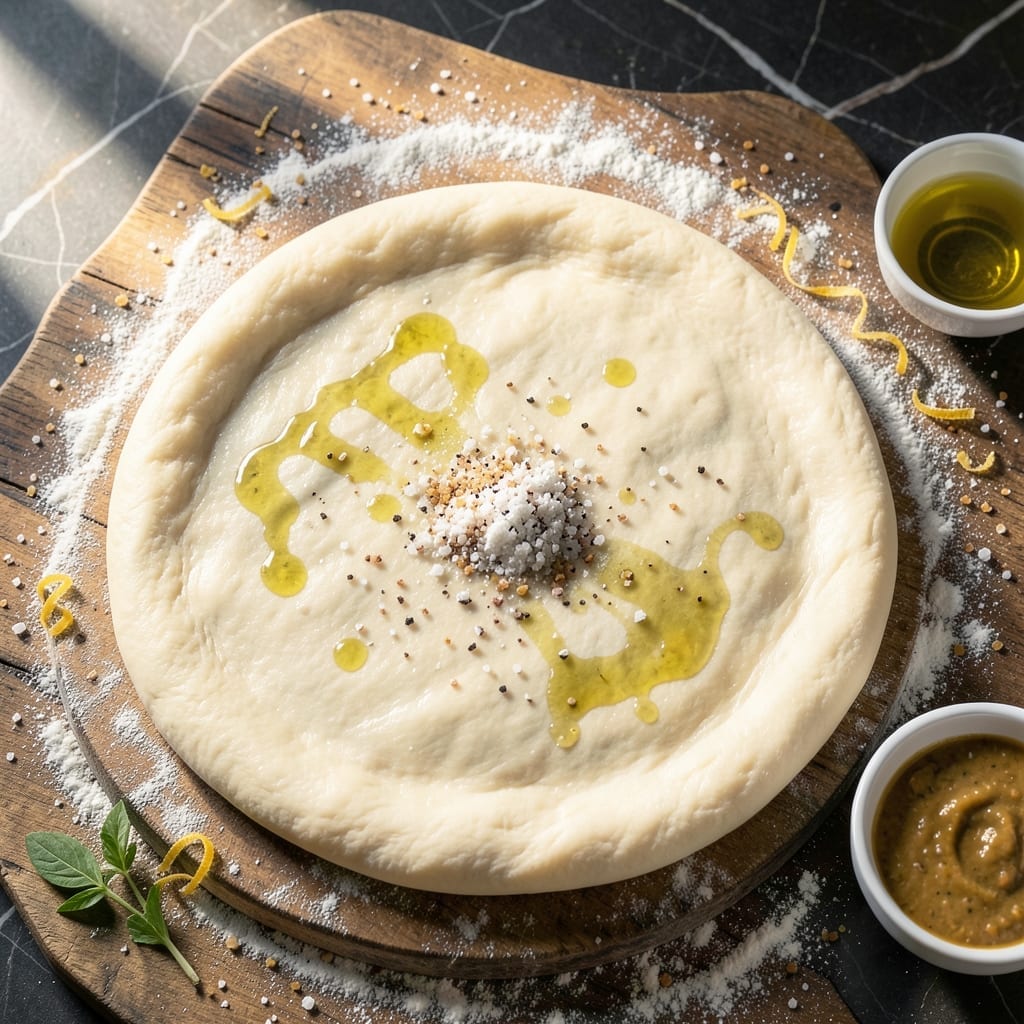
This pizza dough recipe delivers the perfect foundation for your stone-baked creations. Years of testing have refined this method to achieve that coveted crisp exterior with a chewy interior every time.
The secret lies in the slow fermentation process, which develops complex flavors and creates air pockets for that signature artisan texture. Using a pizza stone ensures even heat distribution, mimicking professional brick ovens at home.
You’ll work with simple ingredients but precise techniques to achieve restaurant-quality results. The dough handles beautifully, stretching thin without tearing while maintaining its structure during baking.
Once baked, this base supports your favorite toppings without becoming soggy. The stone creates a perfectly crisp crust that shatters with each bite while keeping the center tender and flavorful.
Ingredients for Pizza Dough Recipe for Pizza Stone
Simple ingredients, precise ratios. The foundation for that perfect stone-baked crust.
| Ingredient | Amount | Notes |
|---|---|---|
| Bread Flour 🌾 | 3 ½ cups | High-protein for chewy texture |
| Active Dry Yeast 🍞 | 2 ¼ tsp | One packet, proofed in warm water |
| Kosher Salt 🧂 | 1 ½ tsp | Diamond Crystal preferred |
| Granulated Sugar 🍚 | 1 tsp | Feeds the yeast for activation |
| Extra-Virgin Olive Oil 🫒 | 2 tbsp | For dough elasticity and flavor |
| Warm Water 💧 | 1 ½ cups | 105-110°F, not hot |
| Semolina Flour 🌾 | ¼ cup | For dusting pizza peel |
| Cornmeal 🌽 | 2 tbsp | Alternative to semolina for dusting |
| All-Purpose Flour 🌾 | ½ cup | For work surface dusting |
| Honey 🍯 | 1 tsp | Optional, enhances browning |
The flour is non-negotiable here. Bread flour’s higher protein gives you that chewy bite—all-purpose just won’t cut it. King Arthur is my go-to, but any high-quality brand works. Yeast matters too: check the expiration date (old yeast = sad dough). I grab mine from the fridge section at Whole Foods where turnover is fastest. Warm water should feel like a baby’s bath—not hot enough to kill the yeast.
No bread flour? All-purpose plus 1 tbsp vital wheat gluten per cup gets you close. Out of yeast? Sourdough starter works but adds a tang—use 1 cup active starter and skip the sugar. Honey can be swapped for maple syrup or agave. The olive oil is flexible—any neutral oil works, but extra-virgin adds flavor depth that refined lacks.
Dough balls keep in the fridge for 3 days (flavor improves daily) or freeze for 1 month. Portion into individual balls before freezing for easy use. Thaw overnight in the fridge. Semolina and cornmeal last indefinitely in the pantry—just keep them dry.
Why You’ll Love This Recipe
- One Bowl Wonder: I mix everything right in the same bowl—no fancy equipment, just bread flour, yeast, and a drizzle of olive oil.
- Crispy Perfection: The stone turns this dough into something magical: chewy inside, with that golden crust I can’t stop sneaking bites of.
- Weeknight Hero: Between us, I’ve used this dough for pizza night, calzones, and even mini flatbreads when company drops by unannounced.
- Pantry Staples: Honestly, I always have bread flour and yeast on hand, so this costs me pennies and tastes like a million bucks.
Step-by-Step Instructions for Pizza Dough for Pizza Stone
Here’s my tested method for achieving that perfect crisp-chewy balance on your stone.
Step 1: Activate the Yeast and Start the Dough
In a large mixing bowl, combine the 1.5 cups warm water, 1 tsp granulated sugar, and 2.25 tsp active dry yeast. Let it sit for 5-7 minutes until the surface becomes foamy and bubbly—this confirms your yeast is alive and active.
Once activated, stir in the 2 tbsp extra-virgin olive oil and 1 tsp honey. The honey adds subtle sweetness and promotes better browning. Now add 1.5 tsp kosher salt and 2 cups of the bread flour, stirring with a wooden spoon until a shaggy dough forms.
Step 2: Knead to Develop Gluten Structure
Turn the dough out onto a surface lightly dusted with 0.5 cup all-purpose flour. Add the remaining 1.5 cups bread flour gradually as you knead, working it in until the dough is smooth and elastic. You want it slightly tacky but not sticky—add more bread flour 1 tbsp at a time if needed.
Knead for 8-10 minutes by hand, or 6-7 minutes in a stand mixer with the dough hook attachment. The dough is ready when it springs back slowly when poked with a finger. This gluten development is what gives your crust that perfect chewy texture.
Step 3: First Rise for Maximum Flavor
Shape the dough into a ball and place it in a lightly oiled bowl, turning to coat all sides. Cover with a damp towel or plastic wrap and let it rise in a warm, draft-free spot for 1-2 hours, or until doubled in volume.
I like to place mine in a turned-off oven with the light on—this creates the perfect warm environment. The dough should look puffy and jiggle slightly when you gently shake the bowl. This slow rise allows the yeast to develop complex flavors in your crust.
Step 4: Shape and Final Proof
Punch down the risen dough to release the air, then divide it into 4 equal portions for individual pizzas. On a surface dusted with 0.25 cup semolina flour or 2 tbsp cornmeal, shape each portion into a ball, then roll or stretch into a 12-inch round.
Transfer the shaped dough to a pizza peel generously dusted with more semolina or cornmeal—this prevents sticking when you slide it onto the stone. Let the dough rest for 15-20 minutes while you preheat your oven to its highest setting, typically 500-550°F.
Step 5: Pre-Bake for Perfect Stone Results
Slide your dough onto the preheated pizza stone in the oven. For the crispiest base, I recommend pre-baking the dough for 3-4 minutes before adding toppings. You’ll see the edges start to puff slightly and the surface develop small bubbles.
Remove from the oven, add your sauce and toppings, then return to the stone for the final bake. The pre-bake ensures the crust sets properly before the toppings release moisture, giving you that ideal crisp-chewy texture that makes stone-baked pizza so special.
Pro Tips For Making Pizza Dough Recipe For Pizza Stone
- Preheat the Stone: Crank your oven to 500°F and let the pizza stone heat for at least 45 minutes—I learned this the hard way after pulling out a doughy, undercooked mess my first few tries.
- Use Bread Flour: Skip the all-purpose and stick with bread flour; the higher protein content actually changes the outcome, giving you that chewy, elastic crust we all want.
- Skip Cold Water: Warm your water to about 110°F before mixing—after burning three batches of dough with water that was too hot, I finally figured out this is the sweet spot for activating the yeast without killing it.
- Rest the Dough: Give it a solid 1-2 hour rise at room temperature, covered with a damp towel—sounds weird, but it works, and the flavor develops in a way that just doesn’t happen if you rush it.
Serving Suggestions for This pizza dough recipe for pizza stone
Serving Immediately
For the best texture, serve your pizza straight from the stone. The crust stays crisp for about 5 minutes before it starts to soften. I always let it cool just enough to handle—about 2 minutes—so the cheese sets slightly. 🔥
Slice Like a Pro
Use a pizza wheel or sharp chef’s knife to cut clean slices. For even portions, cut the pizza into 8 equal wedges for 12-inch pies. A rocking motion with a wheel gives the cleanest cuts through the crisp crust.
Garnish Last
Add fresh toppings after baking to preserve their texture and color. I love sprinkling fresh basil leaves or arugula over the top. A drizzle of high-quality olive oil or balsamic glaze adds a finishing touch that elevates the flavors.
Dipping Sauces
Offer warm marinara or garlic-infused olive oil for dipping the crust. For a creamy option, mix ¼ cup ranch dressing with 1 tsp dried oregano. These complement the crisp-chewy base perfectly. ✨
Family-Style Service
For gatherings, serve the whole pizza on a wooden board with a pizza stone as a base. This keeps the crust crisp longer. Place small bowls of toppings like red pepper flakes or grated Parmesan nearby for customization.
Leftovers Tip
If you must hold pizza before serving, keep it warm in a 200°F oven on a wire rack for up to 15 minutes. Avoid stacking slices, as this traps steam and makes the crust soggy. Always serve on a preheated plate for the best experience.
Nutrition Facts
Frequently Asked Questions
How long should I preheat the stone?
Preheat for 30-45 minutes at your oven’s highest setting, typically 500-550°F. This ensures even heat distribution. A properly heated stone will give you that perfect crisp base.
Can I make the dough ahead of time?
Yes! Prepare the dough and refrigerate for up to 3 days. The flavor actually improves with time. Let it come to room temperature before shaping for best results.
Why did my dough tear when stretching?
This usually means it needs more resting time. After shaping, let it rest for 15-20 minutes before stretching. Also, work on a well-floured surface to prevent sticking.
What’s the ideal thickness for stone-baked pizza?
Aim for 1/4-inch thick in the center, slightly thicker at the edges. This creates the perfect balance between crisp crust and chewy interior. Use a rolling pin for even thickness.

- Potato Candy Recipe 1933: Vintage Peanut Butter Roll Delight - October 30, 2026
- Potato Chip Cookie Recipe With Pecans: Buttery Crunch Meets Nutty Richness - October 30, 2026
- Potato Patty Recipe No Egg: Crispy Edges Without the Binder - October 30, 2026