
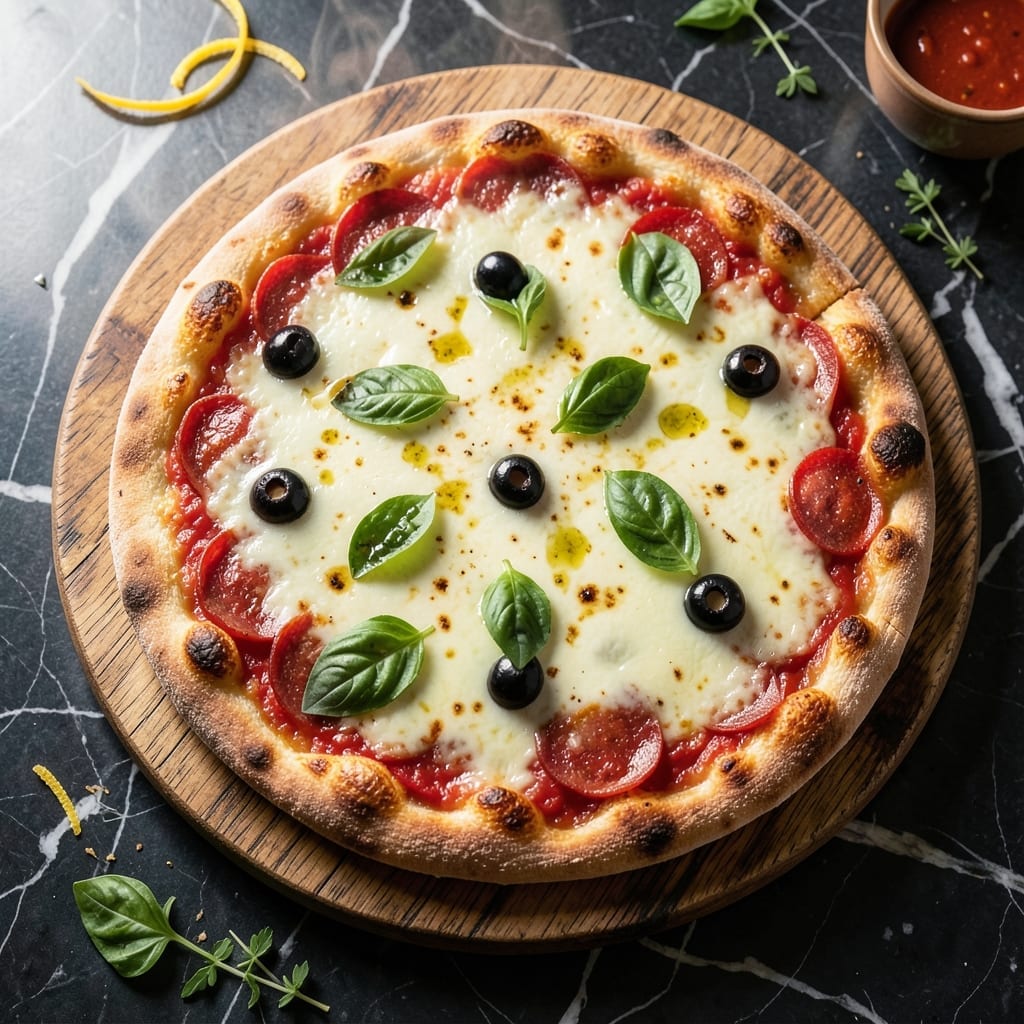
I developed this bread machine method after testing dozens of pizza dough recipes on different equipment. The hands-free approach delivers artisan-quality crust without the traditional kneading and resting time.
This technique produces a perfectly chewy, flavorful base that bakes up golden and crisp. The machine handles the mixing and first rise, leaving you with dough ready for shaping and topping in 90 minutes or less.
You’ll achieve a crust with just the right amount of chew and crispness, ideal for supporting your favorite toppings. The bread machine ensures consistency that’s hard to match with manual methods.
From classic margherita to loaded specialty pies, this dough serves as the perfect foundation. David confirmed it passes the taste test every time.
Ingredients for Pizza Recipe Bread Machine
Pantry staples plus a quick yeast check. Nothing exotic, just perfect pizza dough.
| Ingredient | Amount | Notes |
|---|---|---|
| Bread Flour 🌾 | 3 ½ cups | High-protein for chewy crust |
| Warm Water 💧 | 1 ¼ cups | 110°F, not hotter |
| Active Dry Yeast 🍞 | 2 ¼ tsp | One packet plus extra |
| Olive Oil 🫒 | 2 tbsp | Extra-virgin for richness |
| Granulated Sugar 🍚 | 1 tbsp | Feeds the yeast |
| Kosher Salt 🧂 | 1 ½ tsp | Diamond Crystal preferred |
| Semolina Flour 🌾 | ½ cup | For dusting work surface |
| Cornmeal 🌽 | ¼ cup | For pizza peel dusting |
| Garlic Powder 🧄 | 1 tsp | Optional for flavor boost |
| Dried Oregano 🌿 | 1 tsp | Crushed between fingers |
| Parmesan Cheese 🧀 | ½ cup | Freshly grated for topping |
The flour is non-negotiable here. King Arthur Bread Flour is my go-to—consistent protein content every time. Yeast freshness matters more than brand; just check the expiration date (those little packets go stale fast). Warm water should feel like a baby bottle—too hot kills the yeast, too cold slows the rise. I keep a jar of semolina in the freezer just for pizza nights.
No bread flour? All-purpose plus 1 tbsp vital wheat gluten per cup gets you close. Out of yeast? Sorry, no good substitute—this is yeast bread. The olive oil can be any neutral oil in a pinch, but extra-virgin adds depth. Skip the sugar if you prefer, but your crust might rise slower. The cornmeal is just for texture—fine polenta works too.
Dough balls freeze beautifully for 3 months. Thaw overnight in the fridge before shaping. Baked crusts? Not so much—they get soggy. Always measure flour by weight if you’ve got a scale (1 cup = 120g). Trust me, your bread machine will thank you.
Why You’ll Love This Recipe
- Hands-Off Magic: The bread machine does all the kneading and rising for me—I just press start and walk away.
- Buttery Crust: That olive oil in the dough gives it a rich, golden crust that’s crispy outside, soft inside.
- Endless Toppings: I’ve done everything from classic marinara to pesto and breakfast pizza with this base.
- Budget Dinner: Five simple pantry staples and I’ve got a homemade pizza night that costs less than delivery.
Step-by-Step Instructions for Pizza Dough in a Bread Machine
This hands-free method delivers a perfectly chewy, artisan-quality crust with almost no effort.
Step 1: Load the Bread Machine with Wet Ingredients
Pour the 1.25 cups Warm Water into the bread machine pan first. The water should be exactly 110°F—any hotter and you’ll kill the yeast, any cooler and it won’t activate properly. Next, add the 2 tbsp Olive Oil and 1 tbsp Granulated Sugar.
I always use extra-virgin olive oil here for depth of flavor. The sugar isn’t just for sweetness—it provides immediate food for the yeast to jumpstart the rising process. Make sure these wet ingredients are added before the dry ones to prevent premature activation.
Step 2: Add Dry Ingredients in Precise Layers
Measure the 3.5 cups Bread Flour into the pan, spreading it evenly over the liquid surface. Then add the 1.5 tsp Kosher Salt in one corner of the pan and the 2.25 tsp Active Dry Yeast in the opposite corner. This separation is crucial—salt can inhibit yeast activation if they come into direct contact.
I prefer Diamond Crystal kosher salt for its clean flavor and consistent grain size. The bread flour’s high protein content creates that desirable chewy texture we all love in pizza crust. Don’t pack down the flour—just let it sit lightly on top of the liquids.
Step 3: Select and Start the Dough Cycle
Secure the pan in the bread machine and select the dough cycle. Most machines will take 1 hour 30 minutes to 2 hours to complete this cycle. The machine will handle all the kneading and rising for you—just let it work its magic.
About 5 minutes into the cycle, check that the dough has formed into a smooth ball. If it looks too dry, add water 1 teaspoon at a time. If it’s too sticky, sprinkle in a bit more bread flour. The dough should pull away from the sides of the pan cleanly when properly hydrated.
Step 4: Shape and Prepare the Dough for Baking
When the cycle completes, turn the dough out onto a surface dusted with 0.5 cup Semolina Flour. The semolina prevents sticking while adding a nice texture to the crust. Gently press the dough into a disk, being careful not to overwork it.
For easy transfer to the oven, sprinkle your pizza peel or baking sheet with 0.25 cup Cornmeal. This creates a non-stick surface while adding a pleasant crunch. If you want extra flavor, now’s the time to sprinkle the 1 tsp Garlic Powder and 1 tsp Dried Oregano over the dough before adding toppings.
Step 5: Bake and Finish with Parmesan
Stretch the dough to your desired thickness and add your favorite toppings. Bake in a preheated 475°F oven for 12-15 minutes until the crust is golden brown and the cheese is bubbly.
As soon as it comes out of the oven, sprinkle with 0.5 cup Parmesan Cheese for that final touch of richness. The freshly grated cheese melts beautifully from the residual heat. Let it rest for 2 minutes before slicing to allow the cheese to set slightly.
Pro Tips For Making Pizza Recipe Bread Machine
- Check Yeast Freshness: I learned this the hard way—always test your active dry yeast in the warm water with sugar first. If it doesn’t bubble within 5 minutes, toss it and start over.
- Use Bread Flour Only: Skip the all-purpose flour here; bread flour’s higher protein content gives the dough that chewy, elastic texture pizza needs.
- Don’t Overfill Machine: Resist the urge to max out the bread machine—keep the dough under half the pan’s capacity so it rises properly without spilling.
- Add Oil Last: Pour the olive oil in after the wet ingredients, not with them. It coats the flour better and keeps the crust tender instead of dense.
Common Mistakes When Making Perfect Results
Yeast Temperature Errors
Using water that’s too hot will kill your yeast instantly. I learned this the hard way when David’s first test batch came out as dense as a hockey puck. Always use a thermometer to verify 110°F—no guessing. Too cold, and your dough won’t rise properly. 🌡️
Wrong Ingredient Order
Adding yeast directly on top of salt can prevent activation. I always put wet ingredients first, then flour, with yeast and salt in separate corners. This simple step ensures proper fermentation every time.
Overloading the Machine
Exceeding your bread machine’s capacity leads to uneven mixing. Most home machines handle 3-4 cups flour max. I use my Zojirushi for larger batches. Stick to manufacturer guidelines for best results.
Skipping the Dough Check
About 5 minutes into the cycle, peek at your dough. If it’s too dry, add water 1 tsp at a time. Too sticky? Sprinkle in extra flour. The dough should form a smooth ball that pulls from the pan sides.
Premature Shaping
Let the dough complete the full cycle—rushing this step ruins the texture. I once tried shaping early and ended up with a tough crust. Patience pays off with that perfect chewy bite.
The machine’s timer exists for a reason. Trust the process. 💪
Nutrition Facts
Frequently Asked Questions
Can I use all-purpose flour instead of bread flour?
Yes, but add 1 tbsp vital wheat gluten per cup of all-purpose flour to match the protein content. Bread flour’s higher protein creates that perfect chewy texture we love.
How do I know when the dough is ready?
The dough should form a smooth, elastic ball that pulls cleanly from the pan sides. This typically happens after the full 90-minute dough cycle completes.
What if my machine doesn’t have a dough setting?
Use the basic white bread setting and stop it after the first knead/rise cycle (about 1 hour 20 minutes). Don’t let it bake!
Can I make this dough ahead of time?
After shaping, refrigerate the dough in an airtight container for up to 24 hours. Let it warm slightly before baking.

- Potato Candy Recipe 1933: Vintage Peanut Butter Roll Delight - October 30, 2026
- Potato Chip Cookie Recipe With Pecans: Buttery Crunch Meets Nutty Richness - October 30, 2026
- Potato Patty Recipe No Egg: Crispy Edges Without the Binder - October 30, 2026