
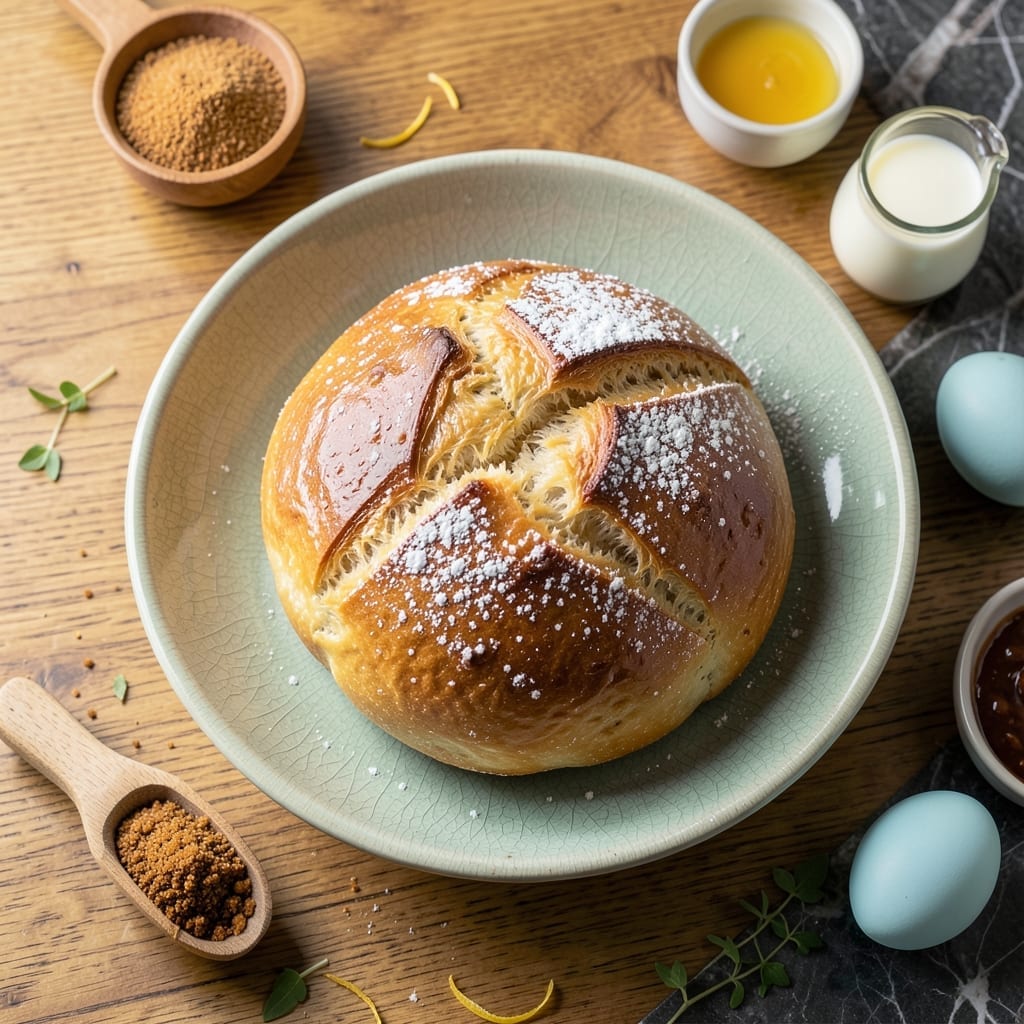
This bread maker recipe brings authentic Portuguese sweet bread to your kitchen with minimal effort. The machine handles the mixing and kneading while you enjoy the aroma filling your home.
Traditional Portuguese flavors shine through with just a handful of simple ingredients. The bread maker adapts the classic method perfectly, ensuring a golden crust and soft, slightly sweet interior every time.
What emerges is a beautiful loaf with the characteristic rich, eggy taste that makes this bread special. The texture stays tender for days, making it ideal for sandwiches or French toast.
No special skills required—just add ingredients, select the setting, and let technology do the work. The results will taste like they came from a Lisbon bakery.
Ingredients for Portuguese Sweet Bread Recipe for Bread Maker
Simple ingredients deliver that authentic Lisbon bakery sweetness and richness in every slice.
| Ingredient | Amount | Notes |
|---|---|---|
| Bread Flour 🌾 | 3 ½ cups | All-purpose works in a pinch |
| Granulated Sugar 🍚 | ½ cup | Fine white sugar preferred |
| Large Eggs 🥚 | 2 whole | Room temperature for best texture |
| Unsalted Butter 🧈 | ½ cup | Melted and cooled slightly |
| Whole Milk 🥛 | ¾ cup | Warm to 110°F |
| Active Dry Yeast 🍞 | 2 ¼ tsp | One packet, proofed if testing |
| Salt 🧂 | 1 tsp | Fine sea salt or table salt |
| Vanilla Extract 🌿 | 1 tsp | Pure vanilla for best flavor |
| Lemon Zest 🍋 | 1 tbsp | Finely grated from fresh lemon |
| Ground Cinnamon 🌶️ | ½ tsp | Optional for subtle warmth |
| Orange Zest 🍊 | 1 tsp | Finely grated from fresh orange |
The flour is non-negotiable here—King Arthur Bread Flour gives you that perfect rise and texture. Eggs and butter must be at room temperature to emulsify properly, so take them out an hour before starting. Whole milk (not skim) adds the richness this bread is known for. Yeast should be fresh—check the expiration date if you haven’t used it recently.
No bread flour? All-purpose plus 1 tbsp vital wheat gluten per cup works in a pinch. Out of whole milk? 2% milk plus 1 tbsp melted butter per cup substitutes well. For a lighter texture, use cake flour for half the amount. Vanilla and citrus zests can be omitted, but they add that signature Portuguese depth (frozen zest works too).
Store the loaf wrapped in plastic at room temperature for 3-4 days. For longer storage, slice and freeze for up to 3 months. Reheat slices in a toaster or oven to restore that fresh-baked softness.
Why You’ll Love This Recipe
- Hands-Off Baking: I just dump everything in the bread maker and let it do the work—no kneading, no mess.
- Buttery Sweetness: The combo of butter, sugar, and whole milk gives it that rich, slightly sweet flavor I crave with coffee.
- Breakfast to Dessert: Honestly, it’s just as good toasted for breakfast as it is turned into French toast for dessert.
- Budget Friendly: A few pantry staples and I get a loaf that costs less than half the bakery price.
Step-by-Step Instructions for Portuguese Sweet Bread for Bread Maker
This hands-off method delivers a tender, golden loaf with minimal effort.
Step 1: Prepare the Wet Ingredients
In a microwave-safe bowl, warm the 0.75 cup Whole Milk to 110°F—it should feel warm but not hot to the touch. Add the 0.5 cup Unsalted Butter and microwave in 15-second bursts until melted. Let it cool slightly.
Whisk in the 2 whole Large Eggs, 0.5 cup Granulated Sugar, 1 tsp Vanilla Extract, 1 tbsp Lemon Zest, and 1 tsp Orange Zest until fully combined. The mixture should be smooth and slightly frothy. This builds the rich, citrusy base that defines this bread.
Step 2: Combine Dry Ingredients
In a separate large bowl, whisk together the 3.5 cups Bread Flour, 2.25 tsp Active Dry Yeast, 1 tsp Salt, and 0.5 tsp Ground Cinnamon until evenly distributed. The cinnamon adds a subtle warmth, but don’t overmix—just ensure no clumps remain.
Make a well in the center of the dry ingredients. This creates a pocket for the wet mixture, ensuring even incorporation when you begin mixing. The yeast should be fully dispersed to avoid dense pockets in the final loaf.
Step 3: Assemble in the Bread Maker
Pour the wet ingredients into the bread maker pan first, followed by the dry ingredients. Use a spatula to gently tap the pan on the counter—this removes air pockets that could disrupt the dough’s rise.
Select the “Sweet” or “Basic” cycle on your bread maker, depending on the model, and set the crust to light or medium. The machine will handle the kneading, rising, and baking, but check after 5 minutes of kneading to ensure the dough forms a smooth, elastic ball. If it looks too dry, add 1 tablespoon of warm water; if too sticky, add 1 tablespoon of bread flour.
Step 4: Bake and Cool
Let the bread maker complete the full cycle, which typically takes 3-4 hours. Resist the urge to open the lid during baking—this can cause the loaf to collapse. You’ll know it’s done when the bread is golden brown and a toothpick inserted into the center comes out clean.
Once finished, remove the pan from the bread maker and let the loaf cool in the pan for 5 minutes. Then, transfer it to a wire rack to cool completely for at least 1 hour. Slicing too soon can result in a gummy texture, but the wait is worth it for that perfect, tender crumb.
Pro Tips For Making Portuguese Sweet Bread Recipe For Bread Maker
- Warm Your Milk: Take the chill off your whole milk before adding it—cold milk can shock the yeast and slow the rise. I learned this the hard way after wondering why my first few loaves stayed dense.
- Soften Butter Right: Use unsalted butter that’s soft but not melted—about 65°F. If it’s too warm, it’ll make the dough greasy; too cold, and it won’t incorporate evenly.
- Weigh Your Flour: Scooping bread flour with a cup can pack it down and add 20% extra. I switched to a kitchen scale (480g for 4 cups) and finally got consistent, light texture every time.
- Delay the Eggs: Add the large eggs after the dough starts forming—around the 5-minute mark in your bread maker. This prevents the fat in the yolks from interfering with the initial kneading.
Health Benefits of This Recipe
Rich in Energy
This loaf packs complex carbohydrates from bread flour, providing steady energy that keeps you full for hours. The 2 eggs add high-quality protein, making it more satisfying than typical white bread. I love starting my morning with a slice for lasting fuel. 💪
Heart-Healthy Fats
The ½ cup butter and whole milk deliver essential fatty acids that support brain function. While moderation is key, these fats help your body absorb the fat-soluble vitamins present in the eggs and citrus zest.
Vitamin Boost
You’ll get a natural dose of vitamin A from the eggs and vitamin C from the lemon and orange zest. These nutrients support immune function and skin health. My Nonna always said good food should nourish both body and soul.
Mineral Richness
Bread flour provides iron and B vitamins, while the milk contributes calcium for strong bones. The 1 tsp salt enhances flavor while providing essential electrolytes—just enough to balance without overdoing it.
Antioxidant Zing
The citrus zests bring flavonoids and polyphenols, antioxidants that combat inflammation. Combined with the cinnamon’s warming properties, this bread offers subtle health perks beyond its delicious taste. 💛
Comfort Food Benefits
There’s emotional nourishment too—the aroma alone can lift your mood. Sharing this bread with family, as I do at Sunday dinners, creates connections that are as vital to well-being as the nutrients themselves.
Nutrition Facts
Frequently Asked Questions
What setting should I use on my bread maker?
Use the “Sweet” or “Basic” cycle with a light or medium crust. The cycle typically takes 3-4 hours to complete.
Can I make this without a bread maker?
Yes! Mix and knead by hand or stand mixer, then let rise for 1-2 hours before baking at 350°F for 25-30 minutes.
Why is my bread dense?
Old yeast or incorrect liquid measurements often cause this. Ensure yeast is fresh and liquids are at 110°F. Also, avoid opening the lid during baking.
How do I store leftover loaves?
Wrap tightly in plastic and keep at room temperature for 3-4 days. For longer storage, freeze slices for up to 3 months.

- Potato Patty Recipe No Egg: Crispy Edges Without the Binder - October 30, 2026
- Paula Deen’s Potato Chip Cookies Recipe: Salty-Sweet Crunch in Every Bite - October 30, 2026
- Potato Gnocchi Recipe Ideas: Pillowy Soft Dumplings With Rustic Charm - October 30, 2026