
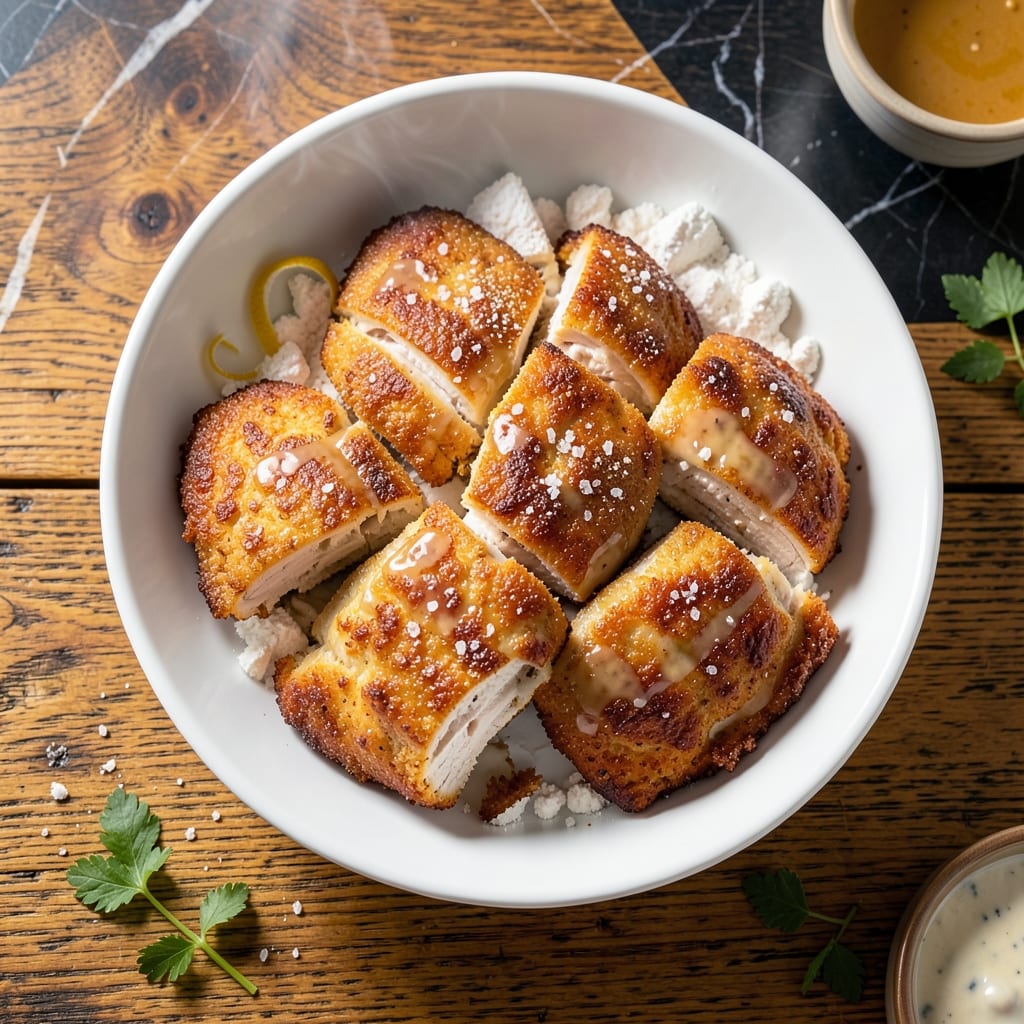
This method delivers juicy chicken with a golden, shatteringly crisp coating every time. The secret lies in a double-dipping breading process that locks in moisture while creating that perfect crunch.
I’ve refined this technique to ensure the chicken stays tender inside without drying out. A quick brine before breading makes all the difference, infusing flavor deep into the meat and keeping it succulent.
The result is restaurant-quality fried chicken that’s crispy on the outside and perfectly juicy with each bite. No special equipment is needed—just a few simple steps and a little patience.
Serve hot for the best texture, and pair with your favorite dipping sauces. This is comfort food at its finest, made right in your own kitchen.
Ingredients for Recipe for Fried Boneless Chicken Breast
Simple ingredients for that perfect crunch and juicy bite every time.
| Ingredient | Amount | Notes |
|---|---|---|
| Boneless, Skinless Chicken Breasts 🍗 | 1 ½ lb | Pounded to even thickness |
| Buttermilk 🥛 | 1 cup | For brining and dredging |
| All-Purpose Flour 🌾 | 1 ½ cups | Divided for double-dipping |
| Large Eggs 🥚 | 2 whole | Beaten for egg wash |
| Cornstarch 🌾 | ½ cup | For extra crispiness |
| Salt 🧂 | 2 tsp | Kosher or sea salt preferred |
| Black Pepper 🌶️ | 1 tsp | Freshly ground |
| Paprika 🌶️ | 1 tbsp | For color and flavor |
| Garlic Powder 🧄 | 1 tsp | Enhances breading flavor |
| Onion Powder 🧅 | 1 tsp | Adds depth to seasoning |
| Cayenne Pepper 🔥 | ¼ tsp | Optional for heat |
| Vegetable Oil 🫒 | 2 cups | For frying, enough for 1-inch depth |
The chicken is the star here—boneless, skinless breasts work best for even cooking. I grab mine from Costco or Whole Foods when they’re on sale. Pounding them to equal thickness (about ½ inch) keeps them from drying out. For the buttermilk brine, full-fat gives the best tenderness, but low-fat works in a pinch (just don’t skip the brine).
No buttermilk? Mix 1 cup milk with 1 tbsp vinegar or lemon juice and let it sit 5 minutes. Swap all-purpose flour for gluten-free 1:1 blend if needed. Cornstarch can be replaced with arrowroot powder for similar crispiness. For extra flavor, add a pinch of smoked paprika to the breading. Vegetable oil can be peanut or canola instead.
Store raw chicken in the fridge for up to 2 days before cooking. Leftovers keep 3-4 days in the fridge—reheat in the oven at 375°F to restore crispiness. The breading mix can be prepped ahead and stored in an airtight container for 1 week.
Why You’ll Love This Recipe
- No-Fuss Coating: I just dip, dredge, and fry—no fancy techniques, and the cornstarch makes it extra crispy with minimal effort.
- Buttermilk Magic: That tangy buttermilk soak keeps the chicken juicy inside while the crust stays golden and crunchy.
- Crowd Pleaser: Honestly, it’s a hit with kids and adults alike, whether it’s a weeknight dinner or a weekend picnic.
- Budget Stretcher: One batch feeds my family for two meals, and boneless chicken breasts are always a wallet-friendly protein.
Step-by-Step Instructions for Fried Boneless Chicken Breast
Here’s the method I use to get that perfect crunch without drying out the meat inside.
Step 1: Prep and Season the Chicken
Start by pounding the 1.5 lb boneless, skinless chicken breasts to an even ½-inch thickness using a meat mallet. This ensures they cook evenly and stay juicy. I place them between plastic wrap to prevent tearing.
Season both sides generously with 2 tsp salt, 1 tsp black pepper, 1 tbsp paprika, 1 tsp garlic powder, 1 tsp onion powder, and 0.25 tsp cayenne pepper. This spice blend gives the chicken its signature flavor before the coating even goes on.
Step 2: Create the Buttermilk and Egg Wash
In a shallow bowl, whisk together the 1 cup buttermilk and the 2 whole large eggs until fully combined. The buttermilk tenderizes the chicken while the eggs help the coating adhere.
Dip each seasoned chicken breast into the buttermilk mixture, turning to coat completely. Let them soak for 5 minutes—this gives the buttermilk time to work its magic. You’ll notice the chicken starts to look slightly opaque where the liquid has penetrated.
Step 3: Dredge in the Flour and Cornstarch Mixture
In another shallow dish, combine the 1.5 cups all-purpose flour and 0.5 cup cornstarch. The cornstarch is the secret to an extra-crispy coating that stays crunchy even after frying.
Remove each piece of chicken from the buttermilk wash, letting any excess drip off, then dredge it in the flour mixture. Press gently to ensure the coating sticks to every surface. For maximum crunch, I like to double-dip: back into the buttermilk, then back into the flour mixture. Shake off any excess—you want a thick, even layer, not clumps.
Step 4: Fry to Golden Perfection
Heat the 2 cups vegetable oil in a deep, heavy skillet over medium-high heat until it reaches 350°F on a deep-fry thermometer. The oil should be about 1-inch deep—enough to submerge the chicken halfway. I always use a thermometer because oil temperature drops when you add the chicken, and maintaining 350°F is key to even cooking.
Carefully place the breaded chicken in the hot oil—don’t crowd the pan, or the temperature will drop too much. Fry for 4-5 minutes per side until the coating is deep golden brown and the internal temperature reaches 165°F. The crust should be crispy enough to hear a satisfying crunch when you cut into it.
Step 5: Drain and Rest Before Serving
Transfer the fried chicken to a wire rack set over a paper towel-lined baking sheet. This setup lets excess oil drain while keeping the coating crispy—unlike paper towels alone, which can steam the breading and make it soggy.
Let the chicken rest for 5-10 minutes before serving. This allows the juices to redistribute, ensuring every bite is moist and flavorful. Serve immediately while still hot and crispy for the best texture.
Pro Tips For Making Recipe For Fried Boneless Chicken Breast
- Pound the Breasts: Use a meat mallet or rolling pin to even out the thickness—about ½ inch—so they cook uniformly and don’t dry out on the thin ends while waiting for the thick parts to finish.
- Brine First: Soak the chicken in buttermilk for at least 4 hours or overnight; I learned this the hard way after my first few tries came out dry and tough.
- Double Dredge: Dip in flour, then egg, then back in flour mixed with cornstarch—this gives that extra-crispy crust that stays put, even when you cut into it.
- Rest Before Frying: Let the breaded chicken sit for 10 minutes before hitting the oil; sounds weird, but it works to keep the coating from sliding off in the pan.
Troubleshooting Perfect Results
Oil Temperature Issues
If your coating browns too quickly but the chicken is raw inside, your oil is too hot. Use a thermometer to maintain 350°F—I love my ThermoWorks instant-read. If the oil smokes excessively, it’s over 375°F, which burns the outside before cooking through. 🌡️
Soggy Coating Fix
Soggy breading often happens when the oil isn’t hot enough. Test with a wooden chopstick—if bubbles form around it, the oil is ready. Also, avoid covering fried chicken with a lid, as trapped steam softens the crust.
Uneven Cooking
If some pieces cook faster than others, ensure they’re pounded to an even ½-inch thickness. Thicker parts take longer, so use a meat mallet to even them out. I always check internal temp with a thermometer to hit 165°F.
Breading Falls Off
This usually means the chicken wasn’t dry before dredging or the oil temperature was too low. Pat the chicken with paper towels after the buttermilk soak, and double-dip in flour for better adhesion. The cornstarch in the mix also helps it stick. 💪
Dry Chicken
Overcooking is the main culprit. Use a thermometer to pull the chicken at exactly 165°F. Brining in buttermilk for 5 minutes before breading adds moisture insurance. Let it rest 5-10 minutes after frying to redistribute juices.
Greasy Texture
Drain on a wire rack, not paper towels, to prevent steam from making the coating greasy. If the oil looks dirty or foamy, it’s time to replace it—reusing oil too many times adds unwanted greasiness.
Nutrition Facts
Frequently Asked Questions
What’s the ideal oil temperature for frying?
Maintain 350°F for perfect crispiness without burning. Use a thermometer to check—oil that’s too hot browns the outside before the inside cooks.
Can I use chicken tenders instead of breasts?
Yes! Adjust cooking time to 3-4 minutes per side since they’re thinner. The breading process and oil temperature remain the same.
How do I keep the coating crispy longer?
Drain on a wire rack, not paper towels, to avoid steam. Serve immediately for best texture, and reheat in the oven at 375°F if needed.
What if my breading falls off during frying?
Pat the chicken dry after the buttermilk soak and double-dip in flour. The cornstarch in the mix helps adhesion, so don’t skip it!

- Chicken Breast Recipe Tender: Brine-Soaked Juiciness Without Overcooking - September 28, 2026
- Baked Chicken Recipe for Acid Reflux: Gentle Flavors for Sensitive Stomachs - September 28, 2026
- BBQ Lamb Rack Recipe Grill: Smoky Herb-Crusted Chops in Minutes - September 28, 2026