
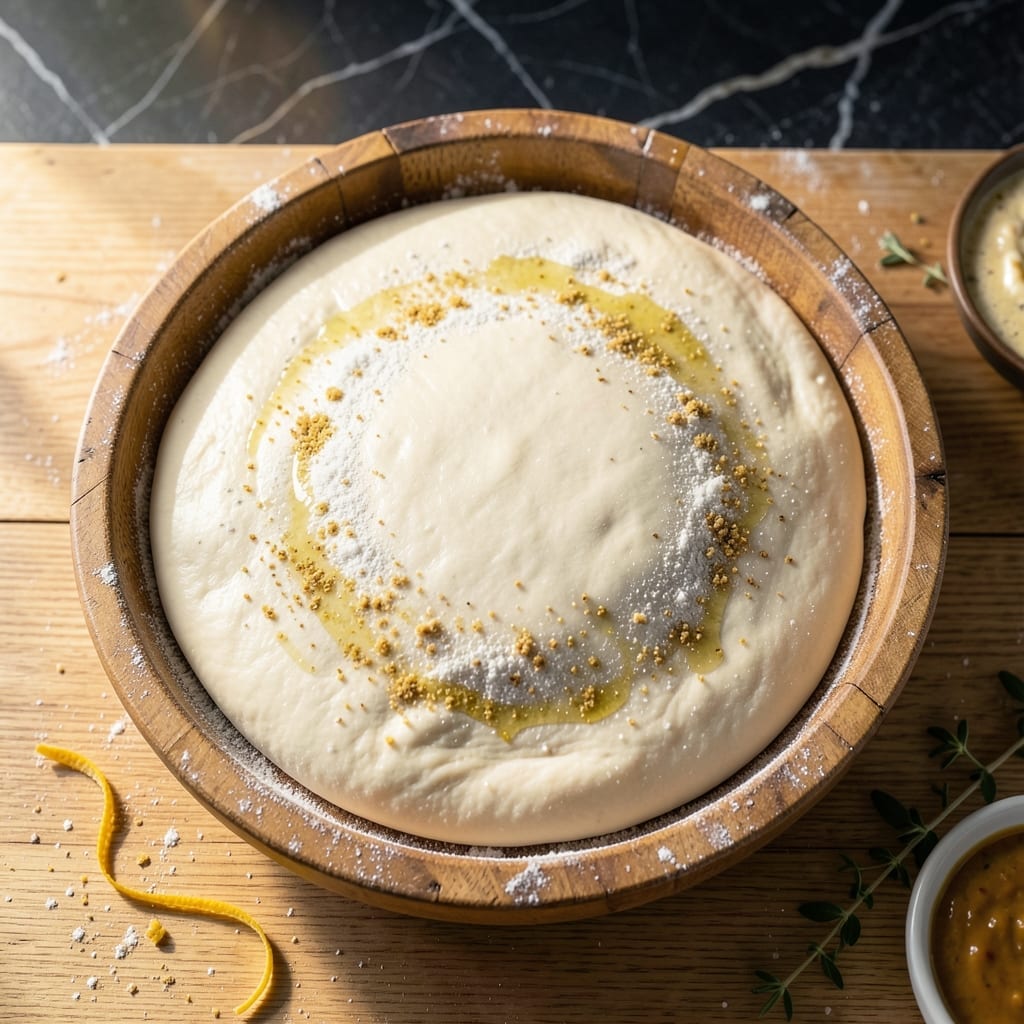
Making pizza dough without sugar results in a crust with pure, authentic flavor and perfect texture. I learned this technique from my grandmother in Sicily, where traditional dough relies on natural fermentation.
This recipe produces a chewy interior with a slightly crisp exterior. The no-sugar approach allows the yeast to work with just flour, water, salt, and olive oil, creating a balanced base for any topping.
With a 2-hour rise time and simple ingredients, you’ll achieve professional-quality dough. The absence of sugar lets the wheat’s natural sweetness shine through.
Bake at high heat for a golden, airy crust that holds up to sauces and toppings. This method proves that great pizza starts with patience and quality ingredients.
Ingredients for Pizza Dough Recipe No Sugar
Just four core ingredients plus a few pantry staples for perfect no-sugar pizza dough.
| Ingredient | Amount | Notes |
|---|---|---|
| Bread Flour 🌾 | 3 ½ cups | Plus extra for dusting |
| Active Dry Yeast 🍞 | 2 ¼ tsp | Or 1 packet, proofed in warm water |
| Warm Water 💧 | 1 ½ cups | 110-115°F for yeast activation |
| Fine Sea Salt 🧂 | 2 tsp | Diamond Crystal preferred |
| Extra-Virgin Olive Oil 🫒 | 2 tbsp | High quality for authentic flavor |
| Semolina Flour 🌾 | ¼ cup | For dusting work surface |
| Cornmeal 🌽 | ¼ cup | For pizza peel or pan |
The flour is critical here. King Arthur Bread Flour gives the right chew and structure—all-purpose works in a pinch but the texture won’t be as good. Yeast freshness matters too; check the expiration date or test it in warm water with a pinch of sugar (even though we’re not using it in the dough) to confirm it’s active. Whole Foods or Trader Joe’s have reliable bulk yeast if you bake often.
No bread flour? All-purpose plus 1 tbsp vital wheat gluten per cup gets you close. Short on olive oil? Use any neutral oil, but the flavor won’t be as authentic. Skip the cornmeal? Just use extra semolina or flour—it’s just for preventing sticking. For a whole wheat version, swap half the bread flour for whole wheat, but add a tbsp more water.
Dough keeps in the fridge for 3 days (it’ll develop more flavor) or freezes for 1 month. Bring to room temp before shaping. Leftovers? Wrap tightly—3 days on the counter, 1 week refrigerated.
Why You’ll Love This Recipe
- Five Ingredients Only: That’s it—flour, yeast, water, salt, and olive oil. No hunting for specialty items or sugar substitutes.
- Crisp Yet Chewy: The olive oil gives it a rich depth while the bread flour delivers that bakery-style texture I crave.
- Freezer Friendly: I double the batch, freeze half, and pull it out for spontaneous pizza nights. Saves me every time.
- Budget Stretcher: Bread flour and yeast cost pennies compared to takeout, and it makes enough for two large pies. Honestly, my wallet thanks me.
Step-by-Step Instructions for Pizza Dough Without Sugar
Here’s the method. Straightforward, tested, works every time.
Step 1: Activate the Yeast in Warm Water
In a large mixing bowl, combine the 2.25 tsp active dry yeast with the 1.5 cups warm water at 110-115°F. Let it sit undisturbed for 5-7 minutes until the surface becomes foamy and bubbly.
This visual confirmation tells you the yeast is alive and ready to work. If you don’t see bubbles, your water may have been too hot or cold. The temperature is critical—too hot kills the yeast, too cold slows activation.
Step 2: Mix the Dough Components
Add the 3.5 cups bread flour, 2 tsp fine sea salt, and 2 tbsp extra-virgin olive oil to the yeast mixture. Stir with a wooden spoon until a shaggy dough forms and all the flour is incorporated.
The dough will be sticky at this stage—that’s normal. Bread flour’s higher protein content creates the chewy texture we want. Don’t be tempted to add more flour yet; the gluten needs time to develop properly.
Step 3: Knead to Develop the Gluten
Turn the dough out onto a surface lightly dusted with semolina flour. Knead by hand for 8-10 minutes until smooth and elastic. You’ll notice the texture change from rough to silky as the gluten develops.
Press your thumb into the dough—if it springs back slowly, it’s ready. This windowpane test ensures proper gluten structure for that perfect airy bite. The semolina prevents sticking while adding subtle texture.
Step 4: First Rise Until Doubled
Place the dough in a lightly oiled bowl, cover with a damp towel, and let rise in a warm place for 1-2 hours or until doubled in volume. The timing depends on your kitchen’s temperature—warmer spots speed up the process.
You’ll know it’s ready when the dough holds an indent when pressed gently with a finger. This first rise develops flavor and creates those characteristic air pockets in the finished crust.
Step 5: Shape and Second Rise
Punch down the dough and divide it into portions for your desired number of pizzas. On a surface dusted with the 0.25 cup cornmeal, shape each portion into a ball, then press or roll into your preferred thickness.
Transfer to a peel or pan dusted with more cornmeal. Let rest for 15-30 minutes while you preheat your oven to its highest setting. The cornmeal prevents sticking and adds a satisfying crunch to the crust.
Pro Tips For Making Pizza Dough Recipe No Sugar
- Check Water Temp: Use a thermometer—105-110°F is the sweet spot for activating yeast without killing it. I learned this the hard way after too many flat doughs from water that was too hot.
- Use Bread Flour: Skip all-purpose flour; bread flour’s higher protein content gives that chewy, elastic texture you want. My grandmother swore by this, and she was right.
- Don’t Rush Proofing: Let the dough double in size, even if it takes 1-2 hours. After burning through a few batches, I finally figured out patience is the thing that matters most here.
- Oil the Bowl: Coat your rising bowl with about 1 tablespoon of olive oil to prevent sticking. Sounds weird, but it works and makes cleanup a breeze.
Common Mistakes When Making Great pizza dough recipe no sugar
Yeast Temperature Issues
Using water that’s too hot will kill your yeast instantly—I learned this the hard way in my grandmother’s kitchen. Aim for 110-115°F and always use a thermometer. Cold water slows activation, leaving you with dense dough instead of that airy bite we want.
Skipping the Proof
Never add your yeast directly to flour without proofing first. That foamy layer confirms it’s alive. I always check for bubbles within 5-7 minutes. No foam means your yeast is inactive, and your dough won’t rise properly.
Over-Flouring Early
Adding extra flour too soon creates tough, dense crust. The dough should be sticky initially—resist the urge to add more than the 3.5 cups bread flour until after kneading. Trust the process; the gluten will develop with time and proper technique.
Rushing the Rise
Patience is key. Letting the dough rise for the full 1-2 hours develops flavor and texture. I often place mine near the oven for consistent warmth. A proper rise ensures those beautiful air pockets in your finished crust.
Improper Kneading
Under-kneading results in weak gluten structure. I knead by hand for 8-10 minutes until smooth and elastic. Use the windowpane test: stretch a small piece—if it’s translucent without tearing, your gluten is properly developed. 💪
Neglecting the Second Rest
After shaping, give your dough that final 15-30 minute rest. This relaxes the gluten, making it easier to stretch and preventing it from shrinking back. Skipping this step often leads to uneven crusts that don’t hold their shape.
Nutrition Facts
Frequently Asked Questions
Why omit sugar from pizza dough?
Sugar feeds yeast too quickly, creating uneven texture. This recipe lets the natural fermentation process develop flavor and structure slowly for a superior crust.
How long can the dough rise?
For best results, don’t exceed 2 hours for the first rise. Over-proofed dough loses structure. A slow, steady rise at room temperature yields the best texture.
Can I use all-purpose flour instead?
Yes, but add 1 tbsp vital wheat gluten per cup. Bread flour’s higher protein gives better chew, but all-purpose works in a pinch.
What if my dough doesn’t rise?
Check your yeast freshness and water temperature first. If both are good, try a warmer spot for rising. Cold environments can significantly slow the process.

- Potato Candy Recipe 1933: Vintage Peanut Butter Roll Delight - October 30, 2026
- Potato Chip Cookie Recipe With Pecans: Buttery Crunch Meets Nutty Richness - October 30, 2026
- Potato Patty Recipe No Egg: Crispy Edges Without the Binder - October 30, 2026